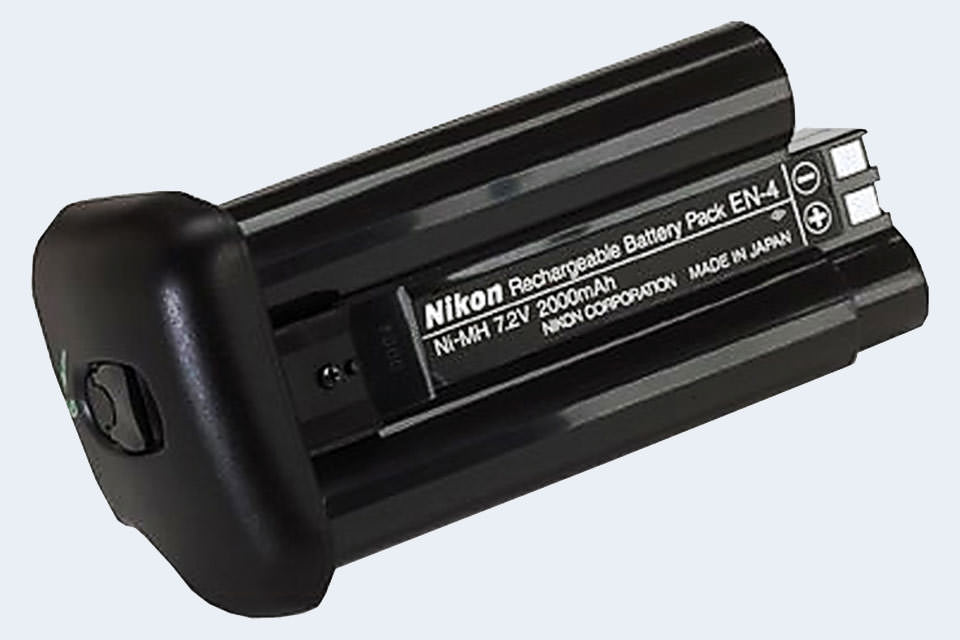
I used to have two Nikon D1-series cameras – a Nikon D1 and a D1X. These, along with the D1H, were the first Nikon pro-level digital cameras – essentially Nikon F5 bodies with digital innards. These cameras were powered by the Nikon rechargeable nickel metal-hydride (NiMH) EN-4 battery.
Large and heavy, these batteries were also infamous for not keeping a charge after they have been used for a while. They were a bane for photographers using the D1 series cameras as they had to carry 3 to 4 of these heavy batteries on a photographic outing as these batteries were, on an average, good for about 300 shots each.
That was 20 years ago, the D1 series have long been superseded by newer models of Nikon pro-level digital cameras – D2 series and the latest of the pro-models, the D5. Nikon, cognizant of the shortcomings of the NiMH batteries, replaced the batteries of the new models with more reliable lithium-ion (Li-Ion) batteries.
I recently bought a 2.7 megapixel Nikon D1H camera on eBay for $50. $50 is a cheap way to shoot with a pro-level Nikon camera, albeit 2.7 megapixels. It came with 2 Nikon EN-4’s and 1 after market EN-4. One of the Nikon EN-4’s was dead – the charger couldn’t revive it anymore. I had seen another seller on eBay offering a Nikon D1X with a Li-Ion converted EN-4 battery. First time I had seen one of these and it looked like a good way to extend the shooting stamina of the D1H. I decided to play Dr.Frankenstein and revive the dead EN-4 that I had!
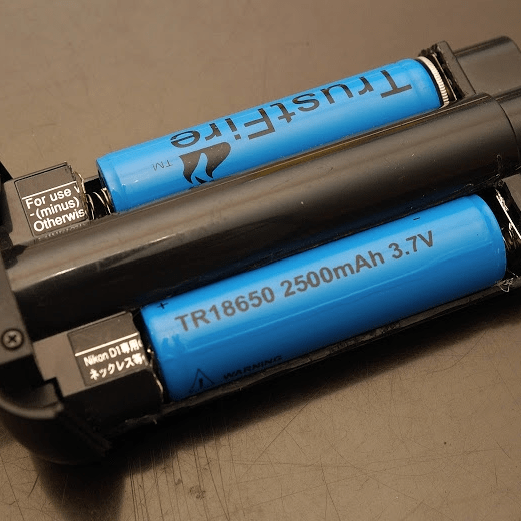
Scouring the internet, I came across a few posts describing how these batteries could be converted. The EN-4 could be configured in different ways but fundamentally the NiMH batteries in the plastic EN-4 casing had to be replaced with two 18650 Li-Ion batteries. 18650 batteries are so called because they are 18mm in diameter and 65mm in length. Each are rated at 3.7V with varying capacity (mAh) depending on the manufacturer. The Nikon EN-4’s were rated at 7.2V and 2000mAh. Two 18650 batteries will provide 7.4V which is enough to power the D-series Nikon cameras.
So I set out to buy the 18650 batteries and charger on Amazon. I settled on 4 Samsung 18650 Li-Ion batteries rated at 3.7V and 2500mAh each. While I waited for the items to arrive from Amazon, I started disassembling the EN-4.

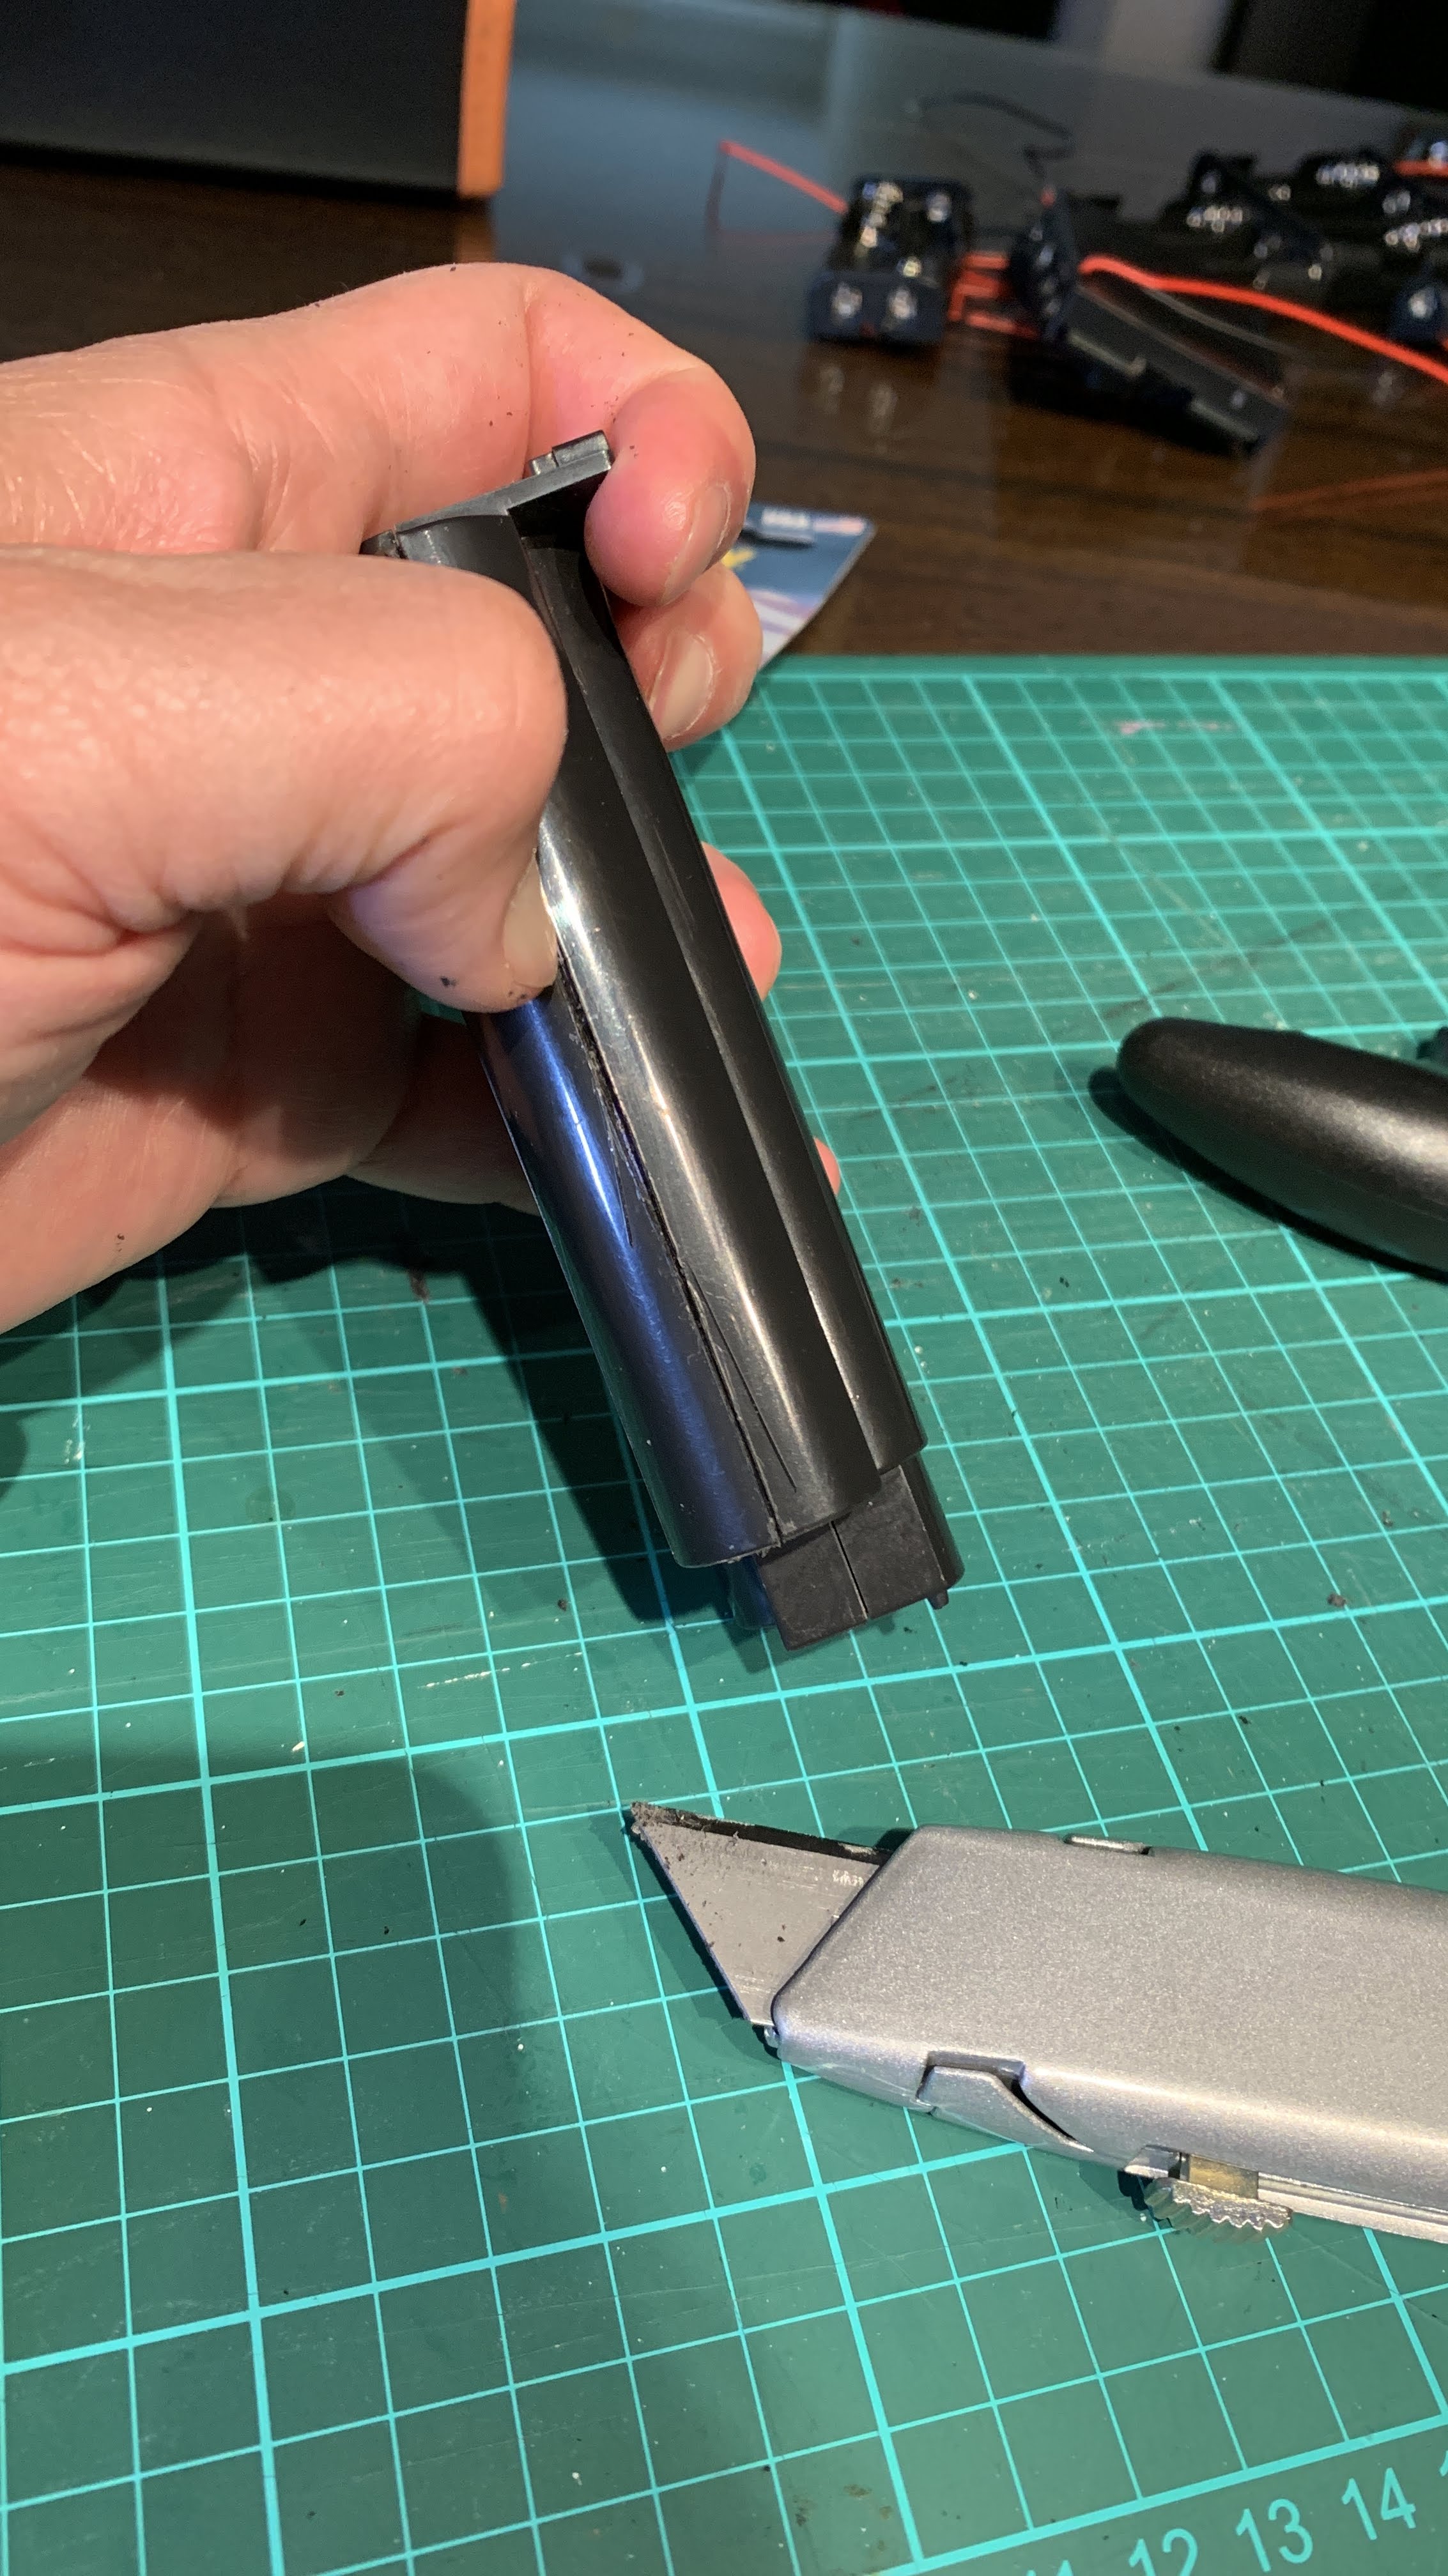
Using a Stanley knife, I started scoring along the joint lines of the EN-4 casing on the sides, being careful not to cut myself. After scoring for about 15mins, I could start seeing the blue NiMH batteries inside the casing.
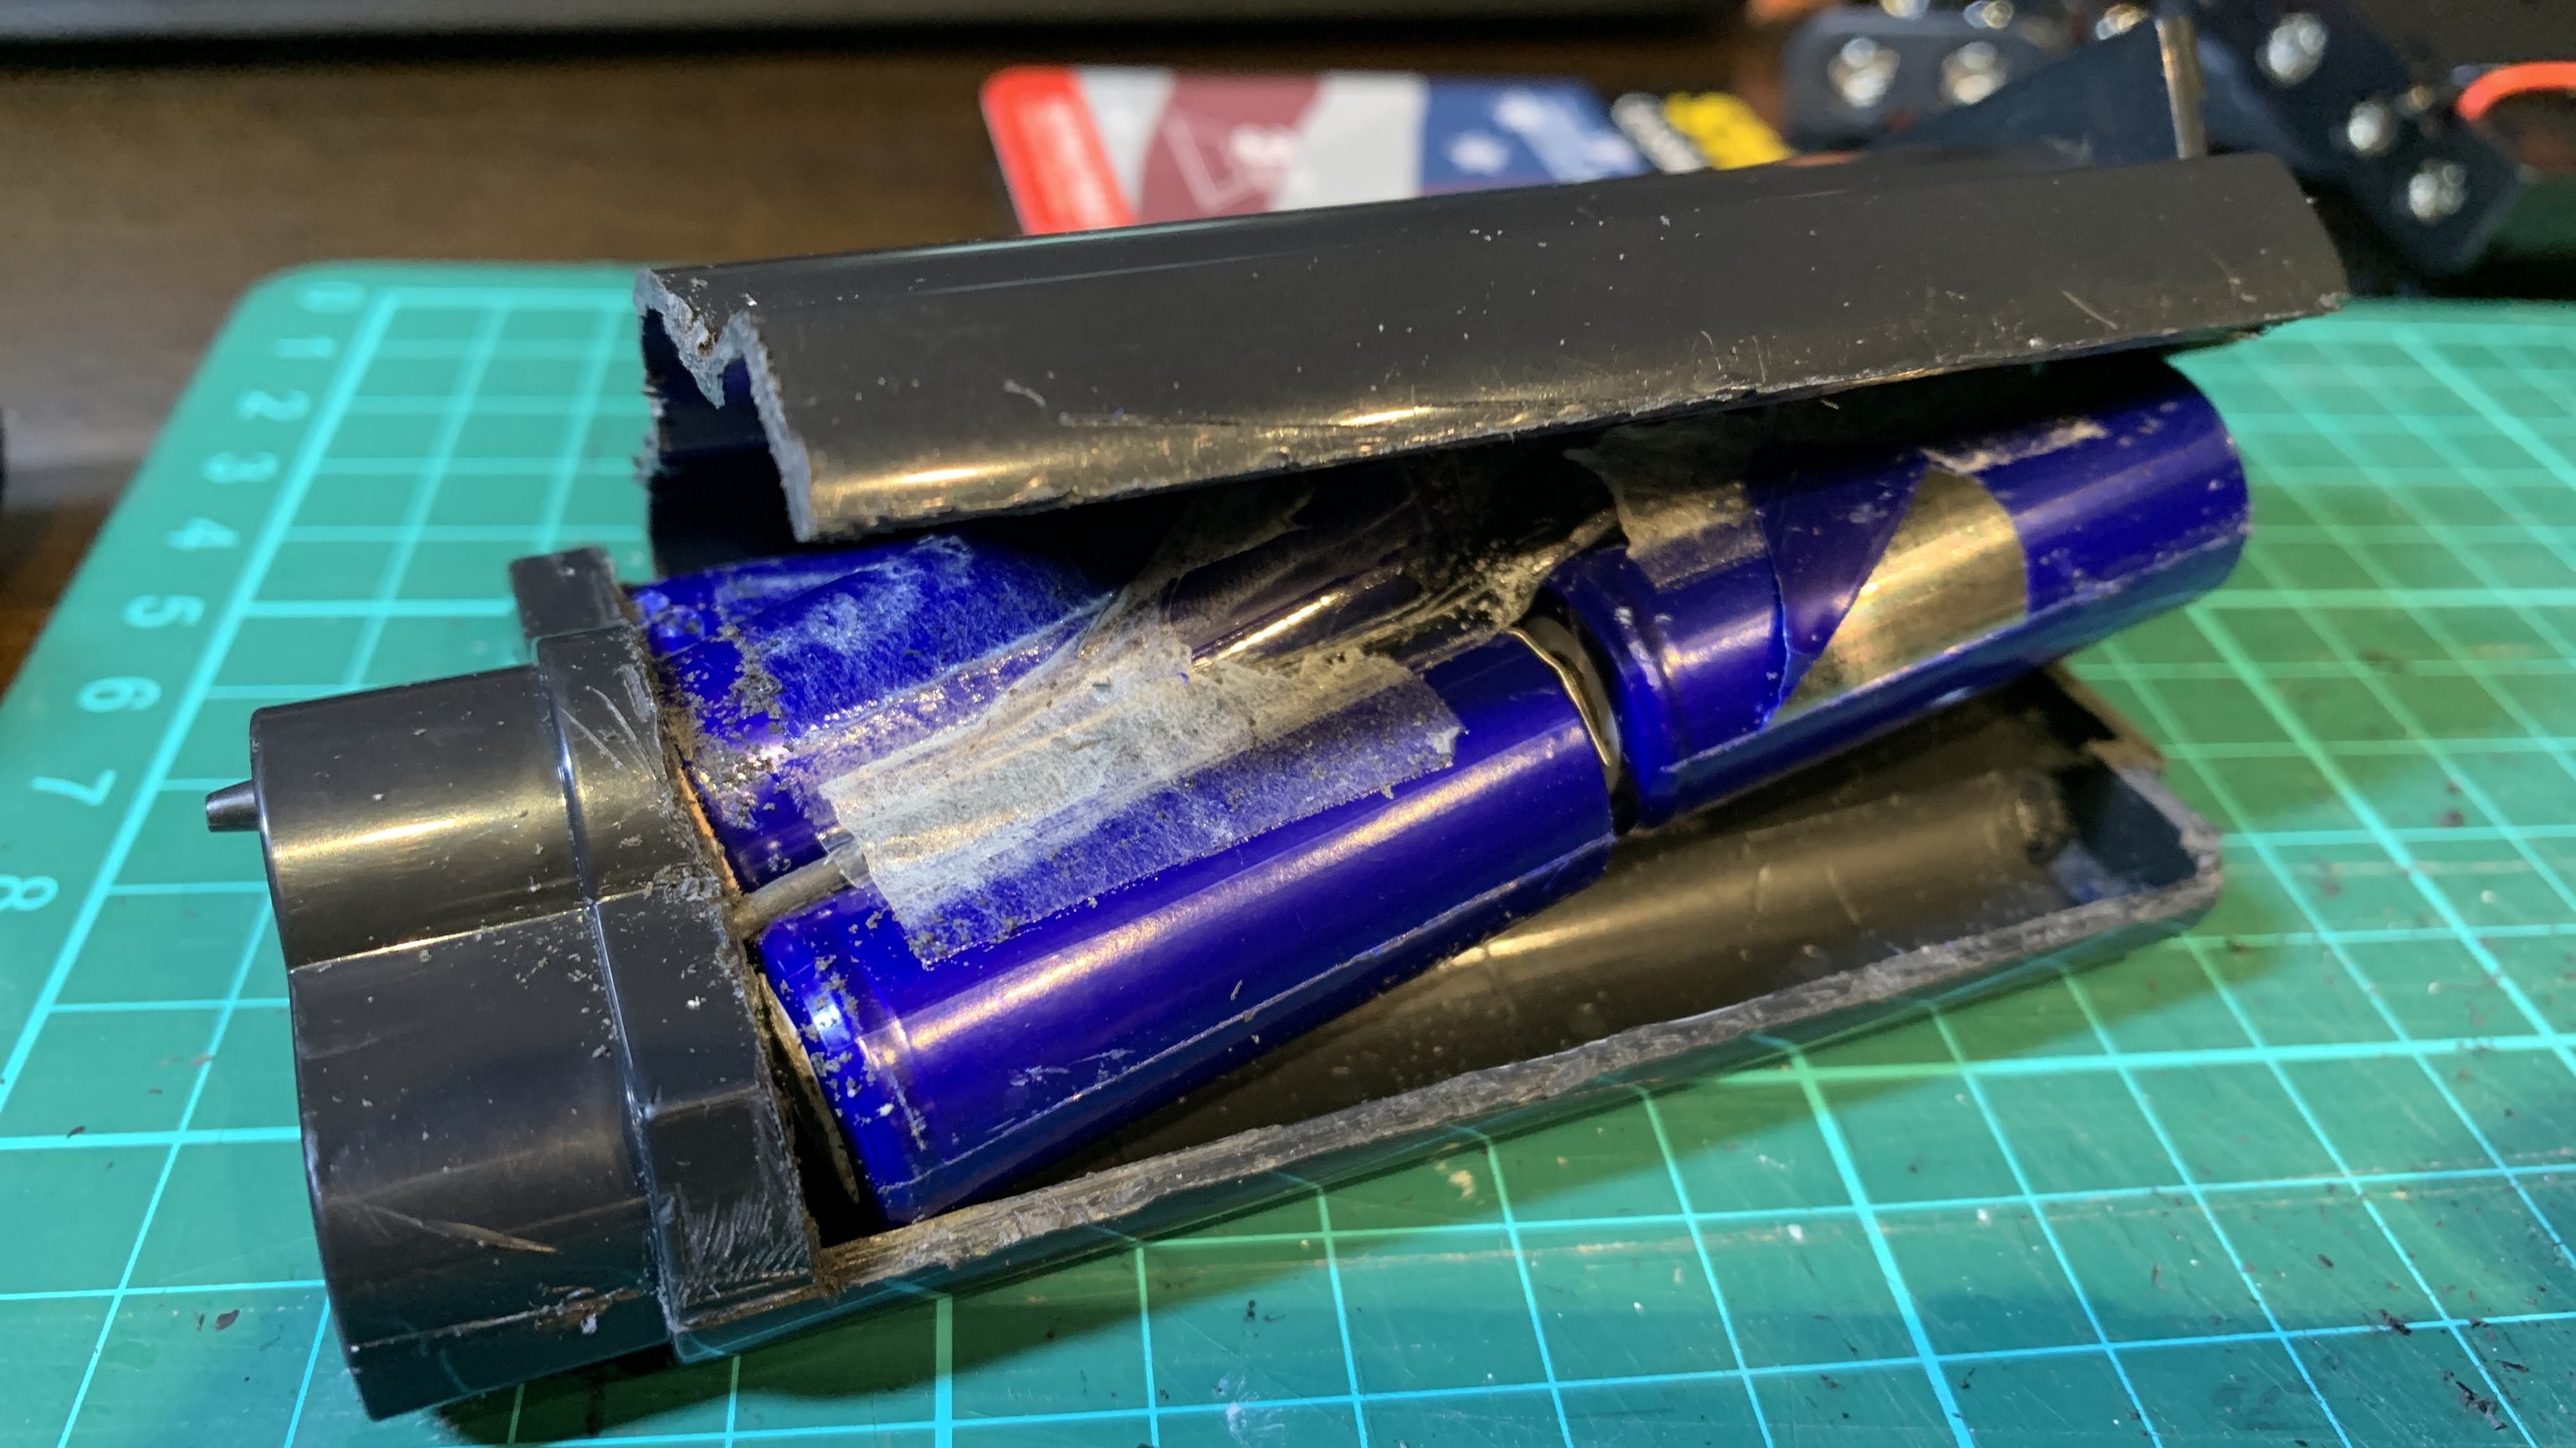
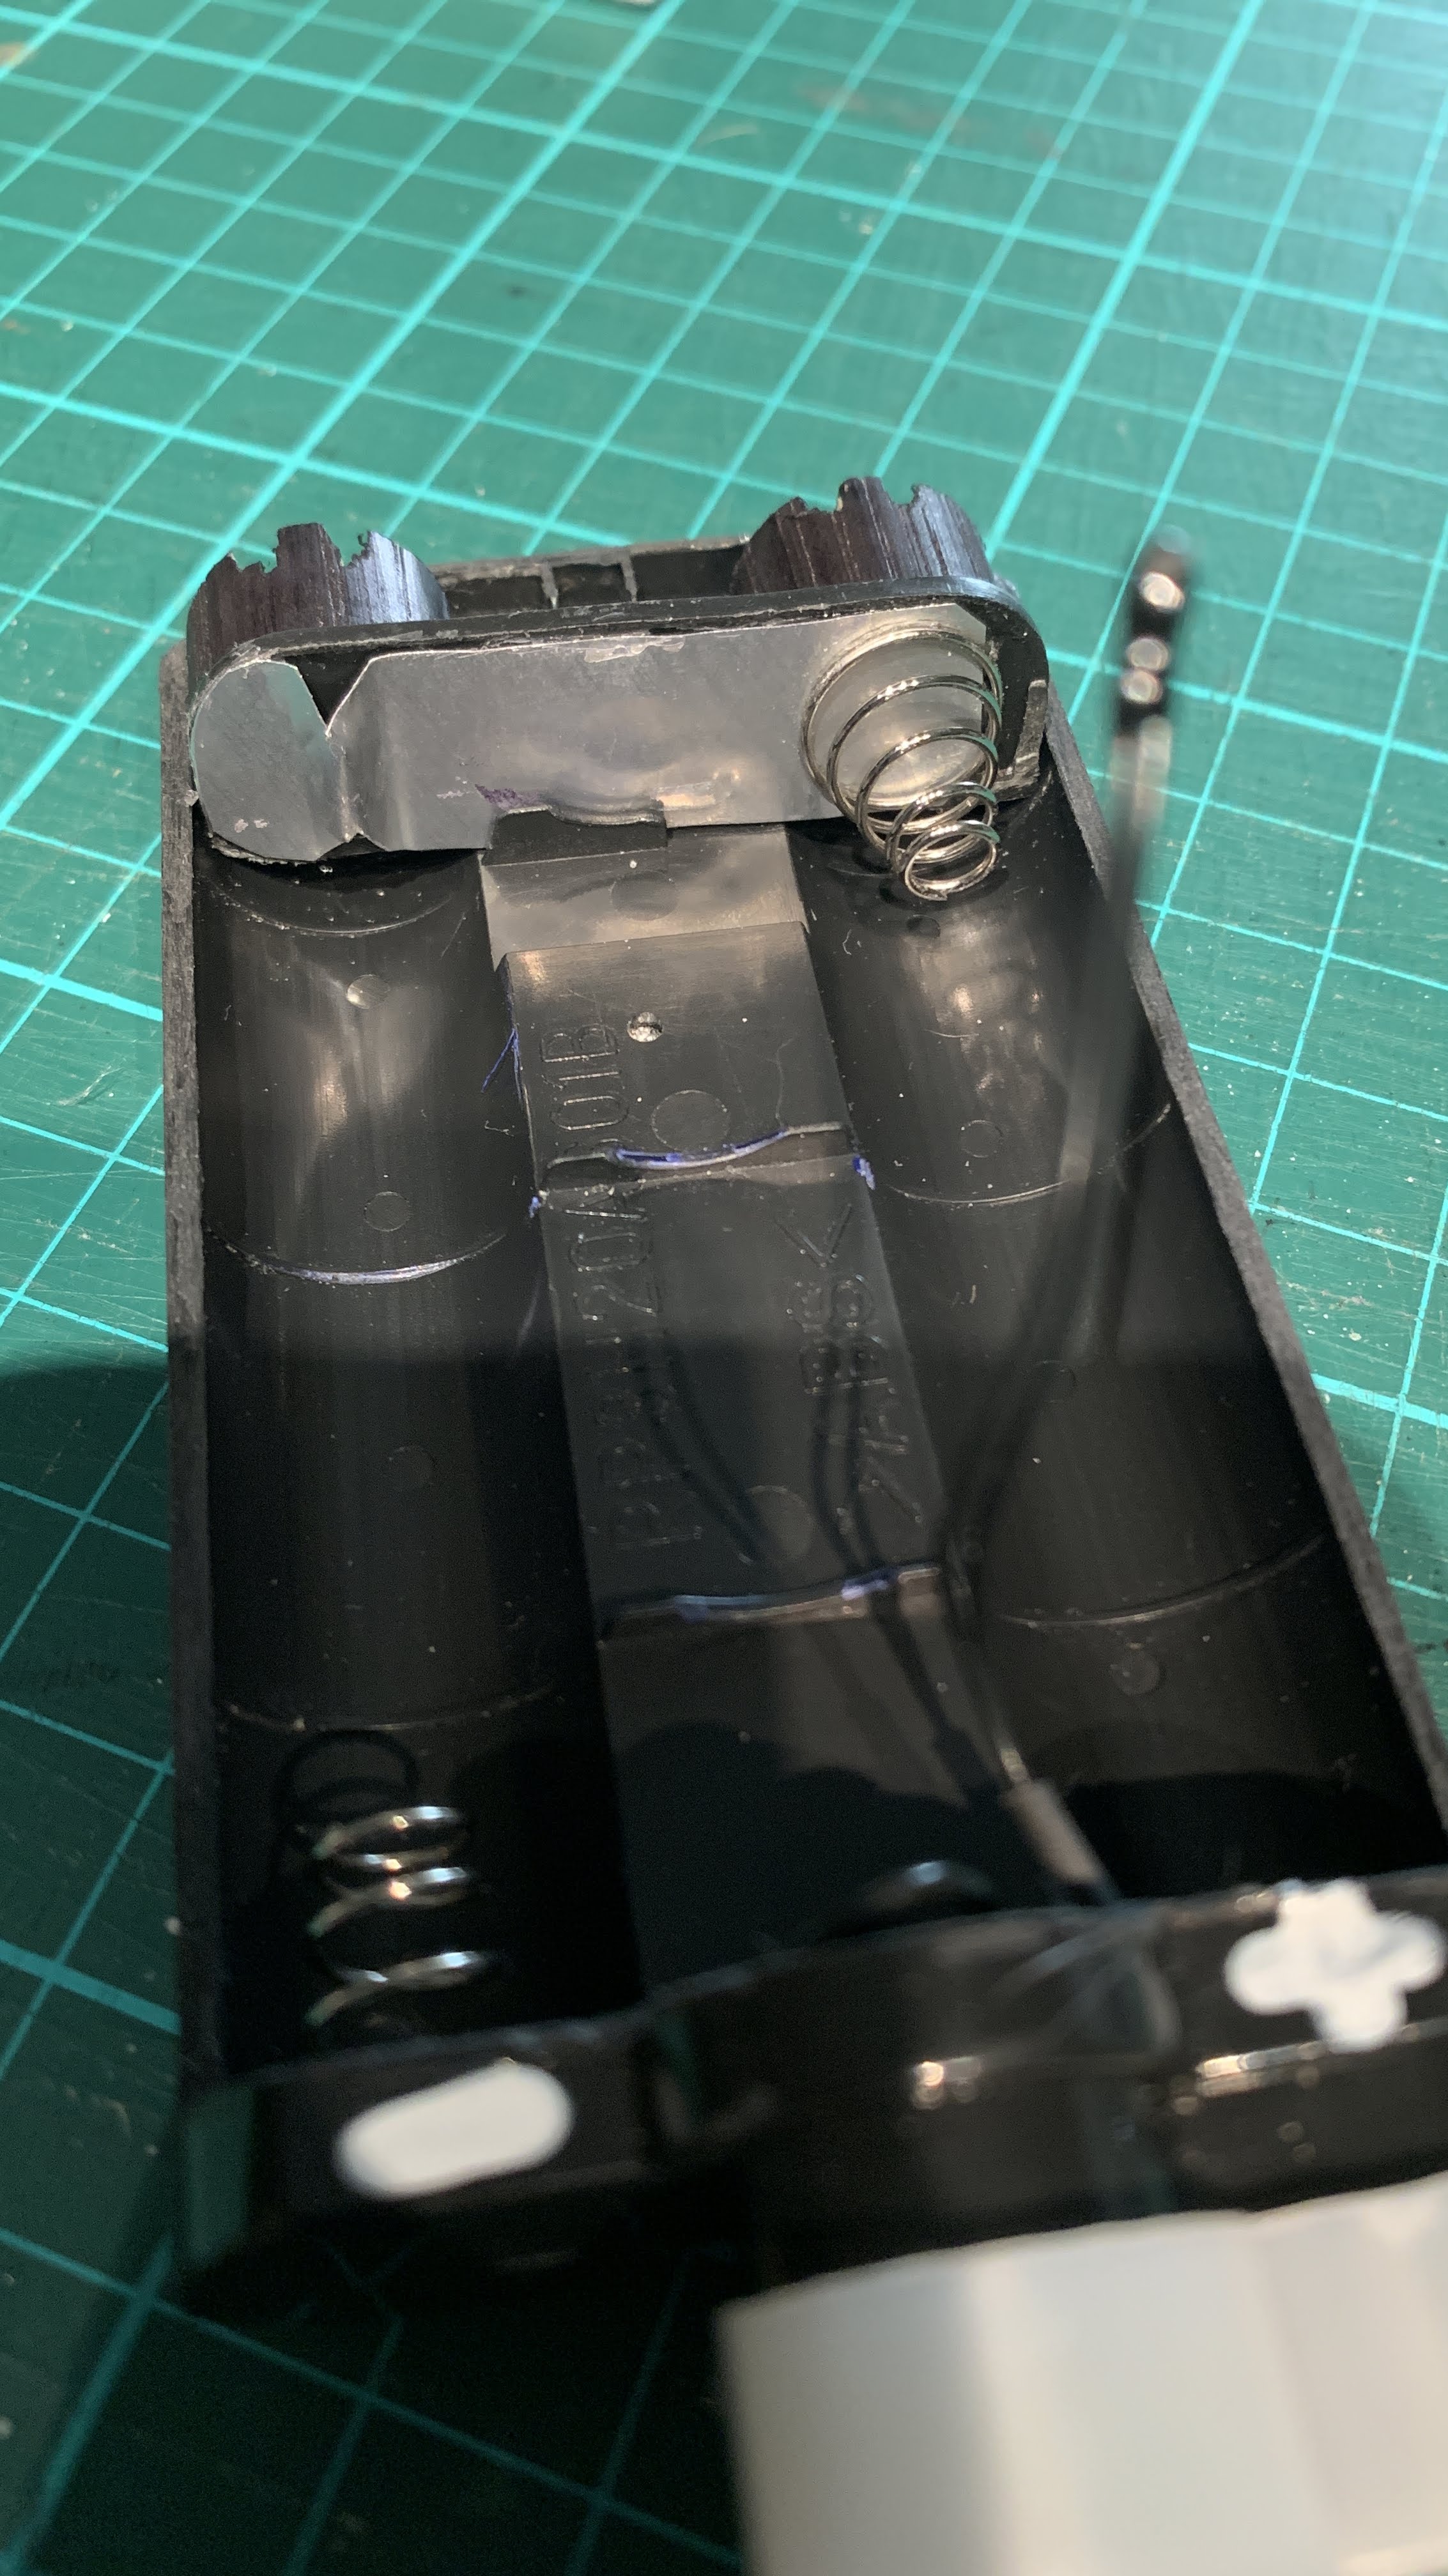
Finally able to open up the casing by cutting across the battery compartment, the NiMH cells were exposed. The NiMH cells (six of them) were stuck firmly to the casing with double sided tape. Needed to remove those slowly.
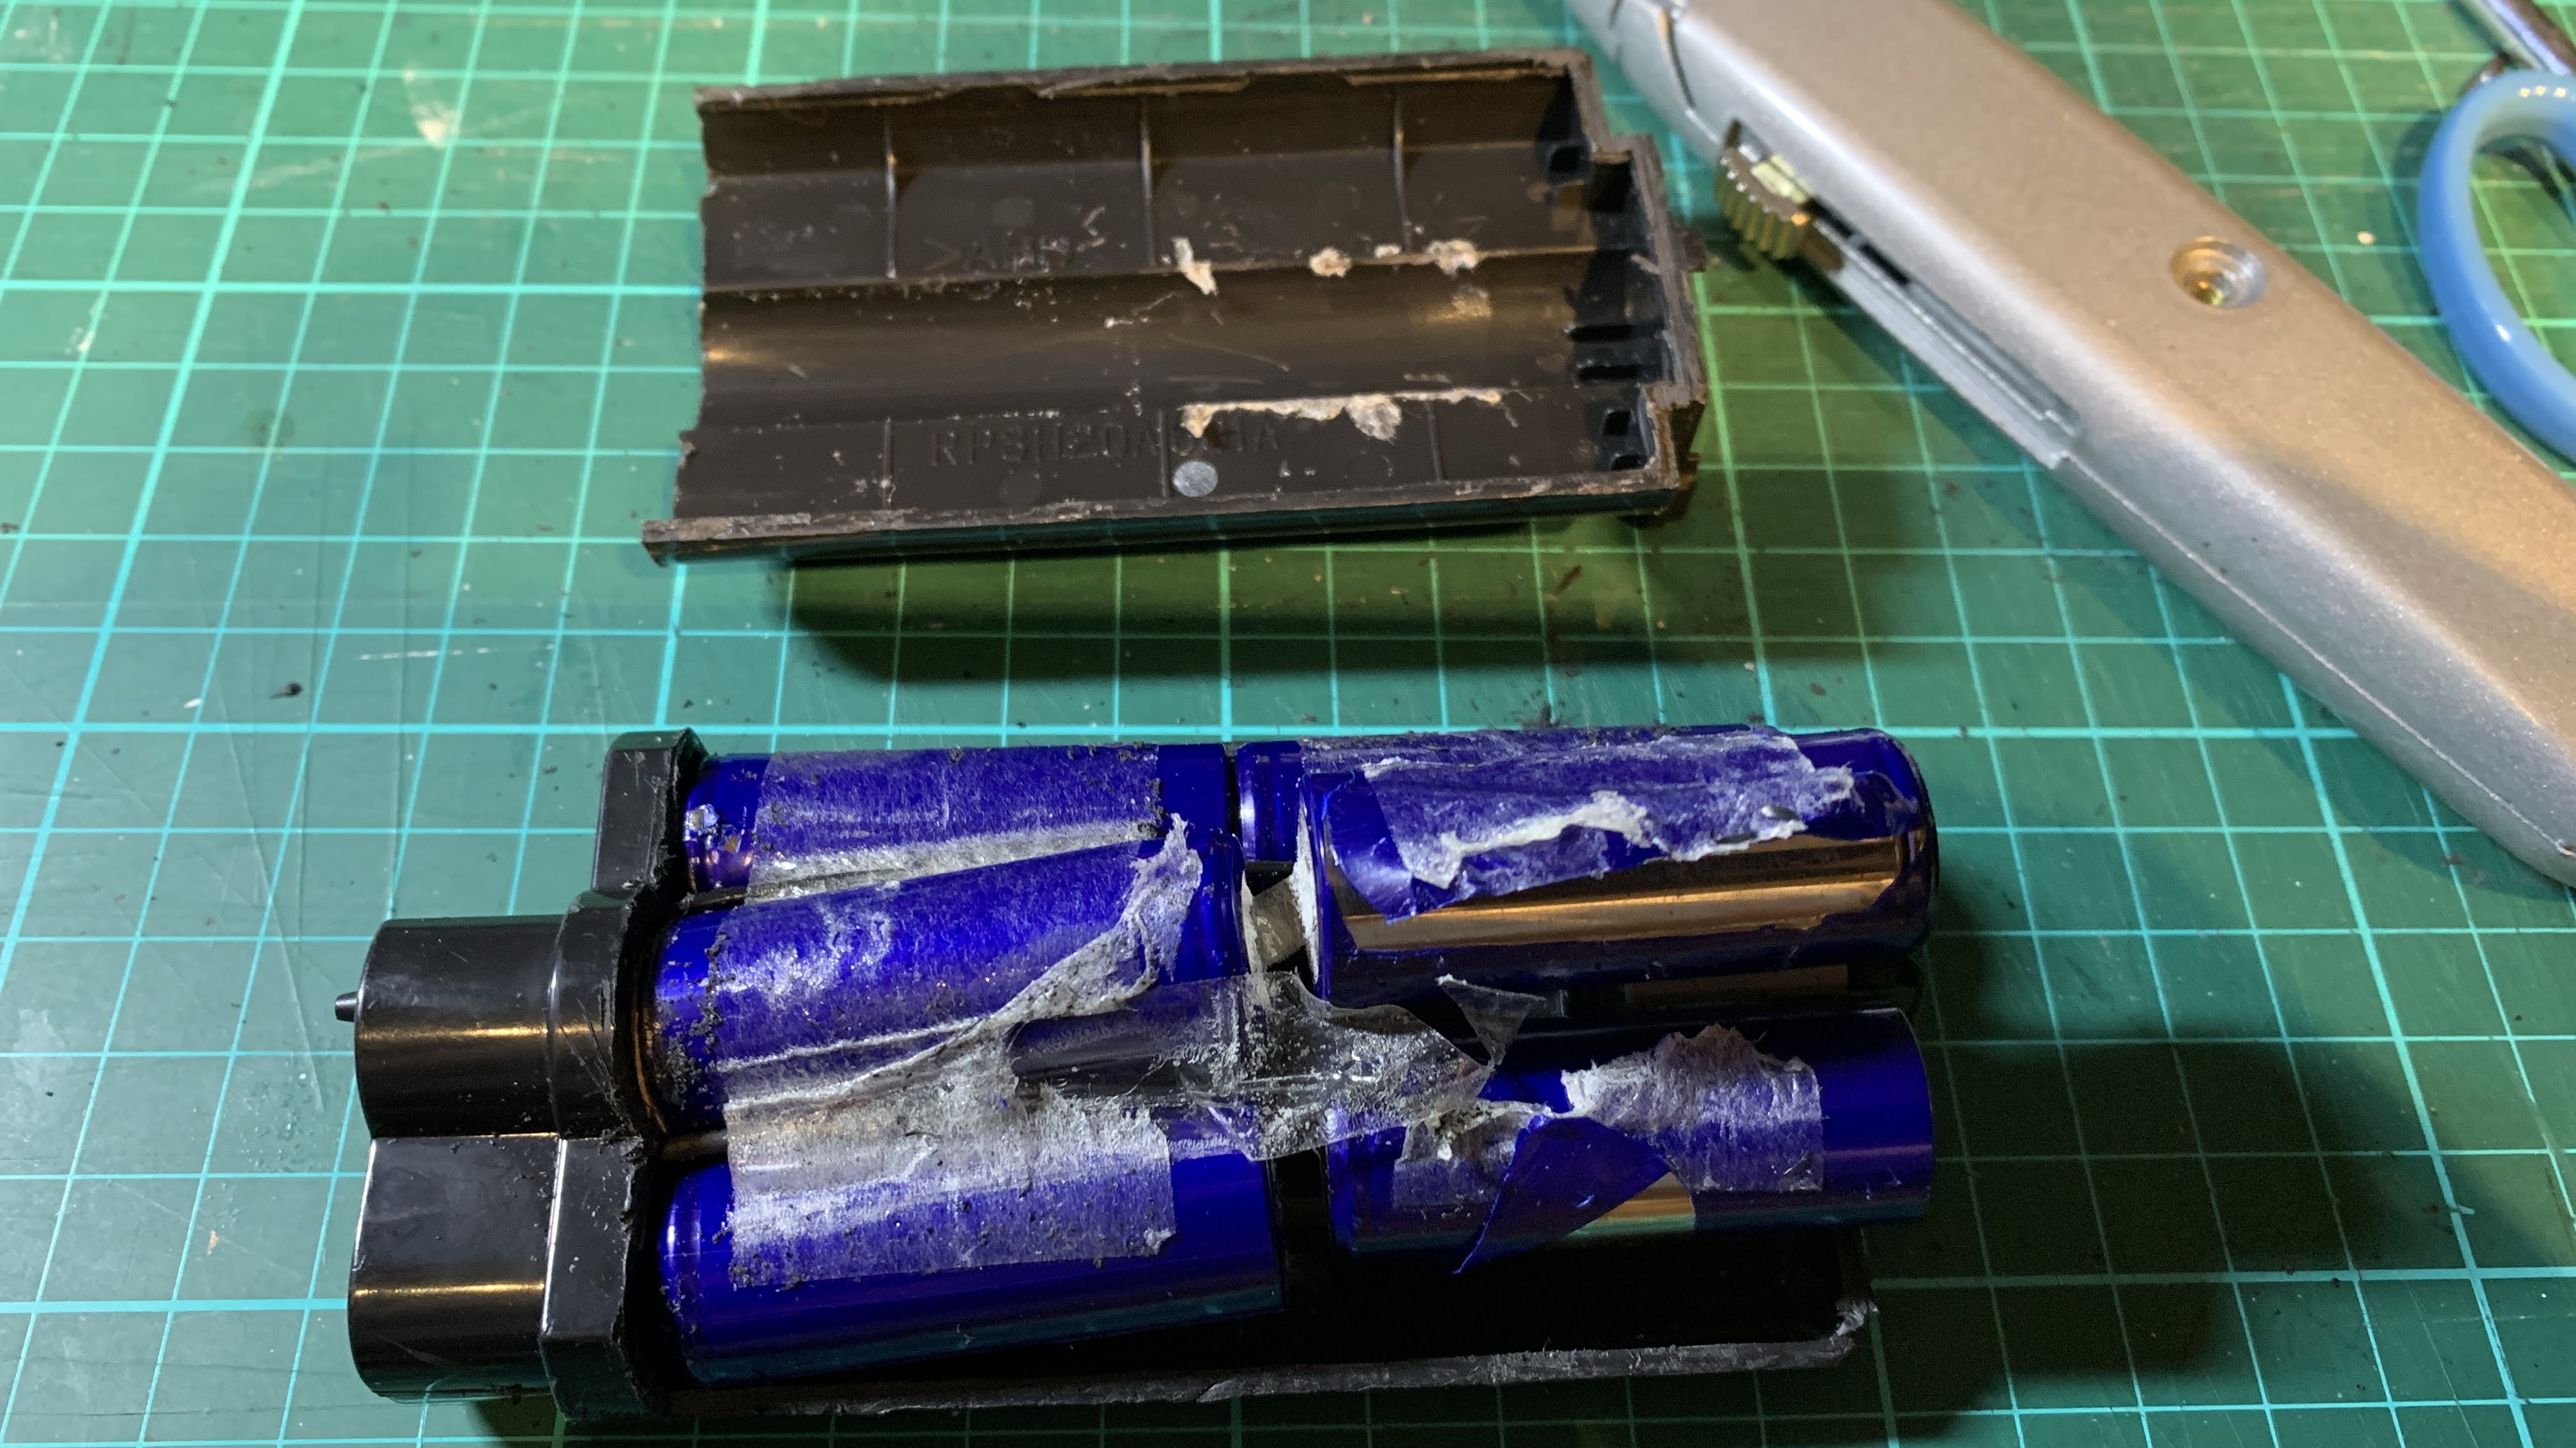
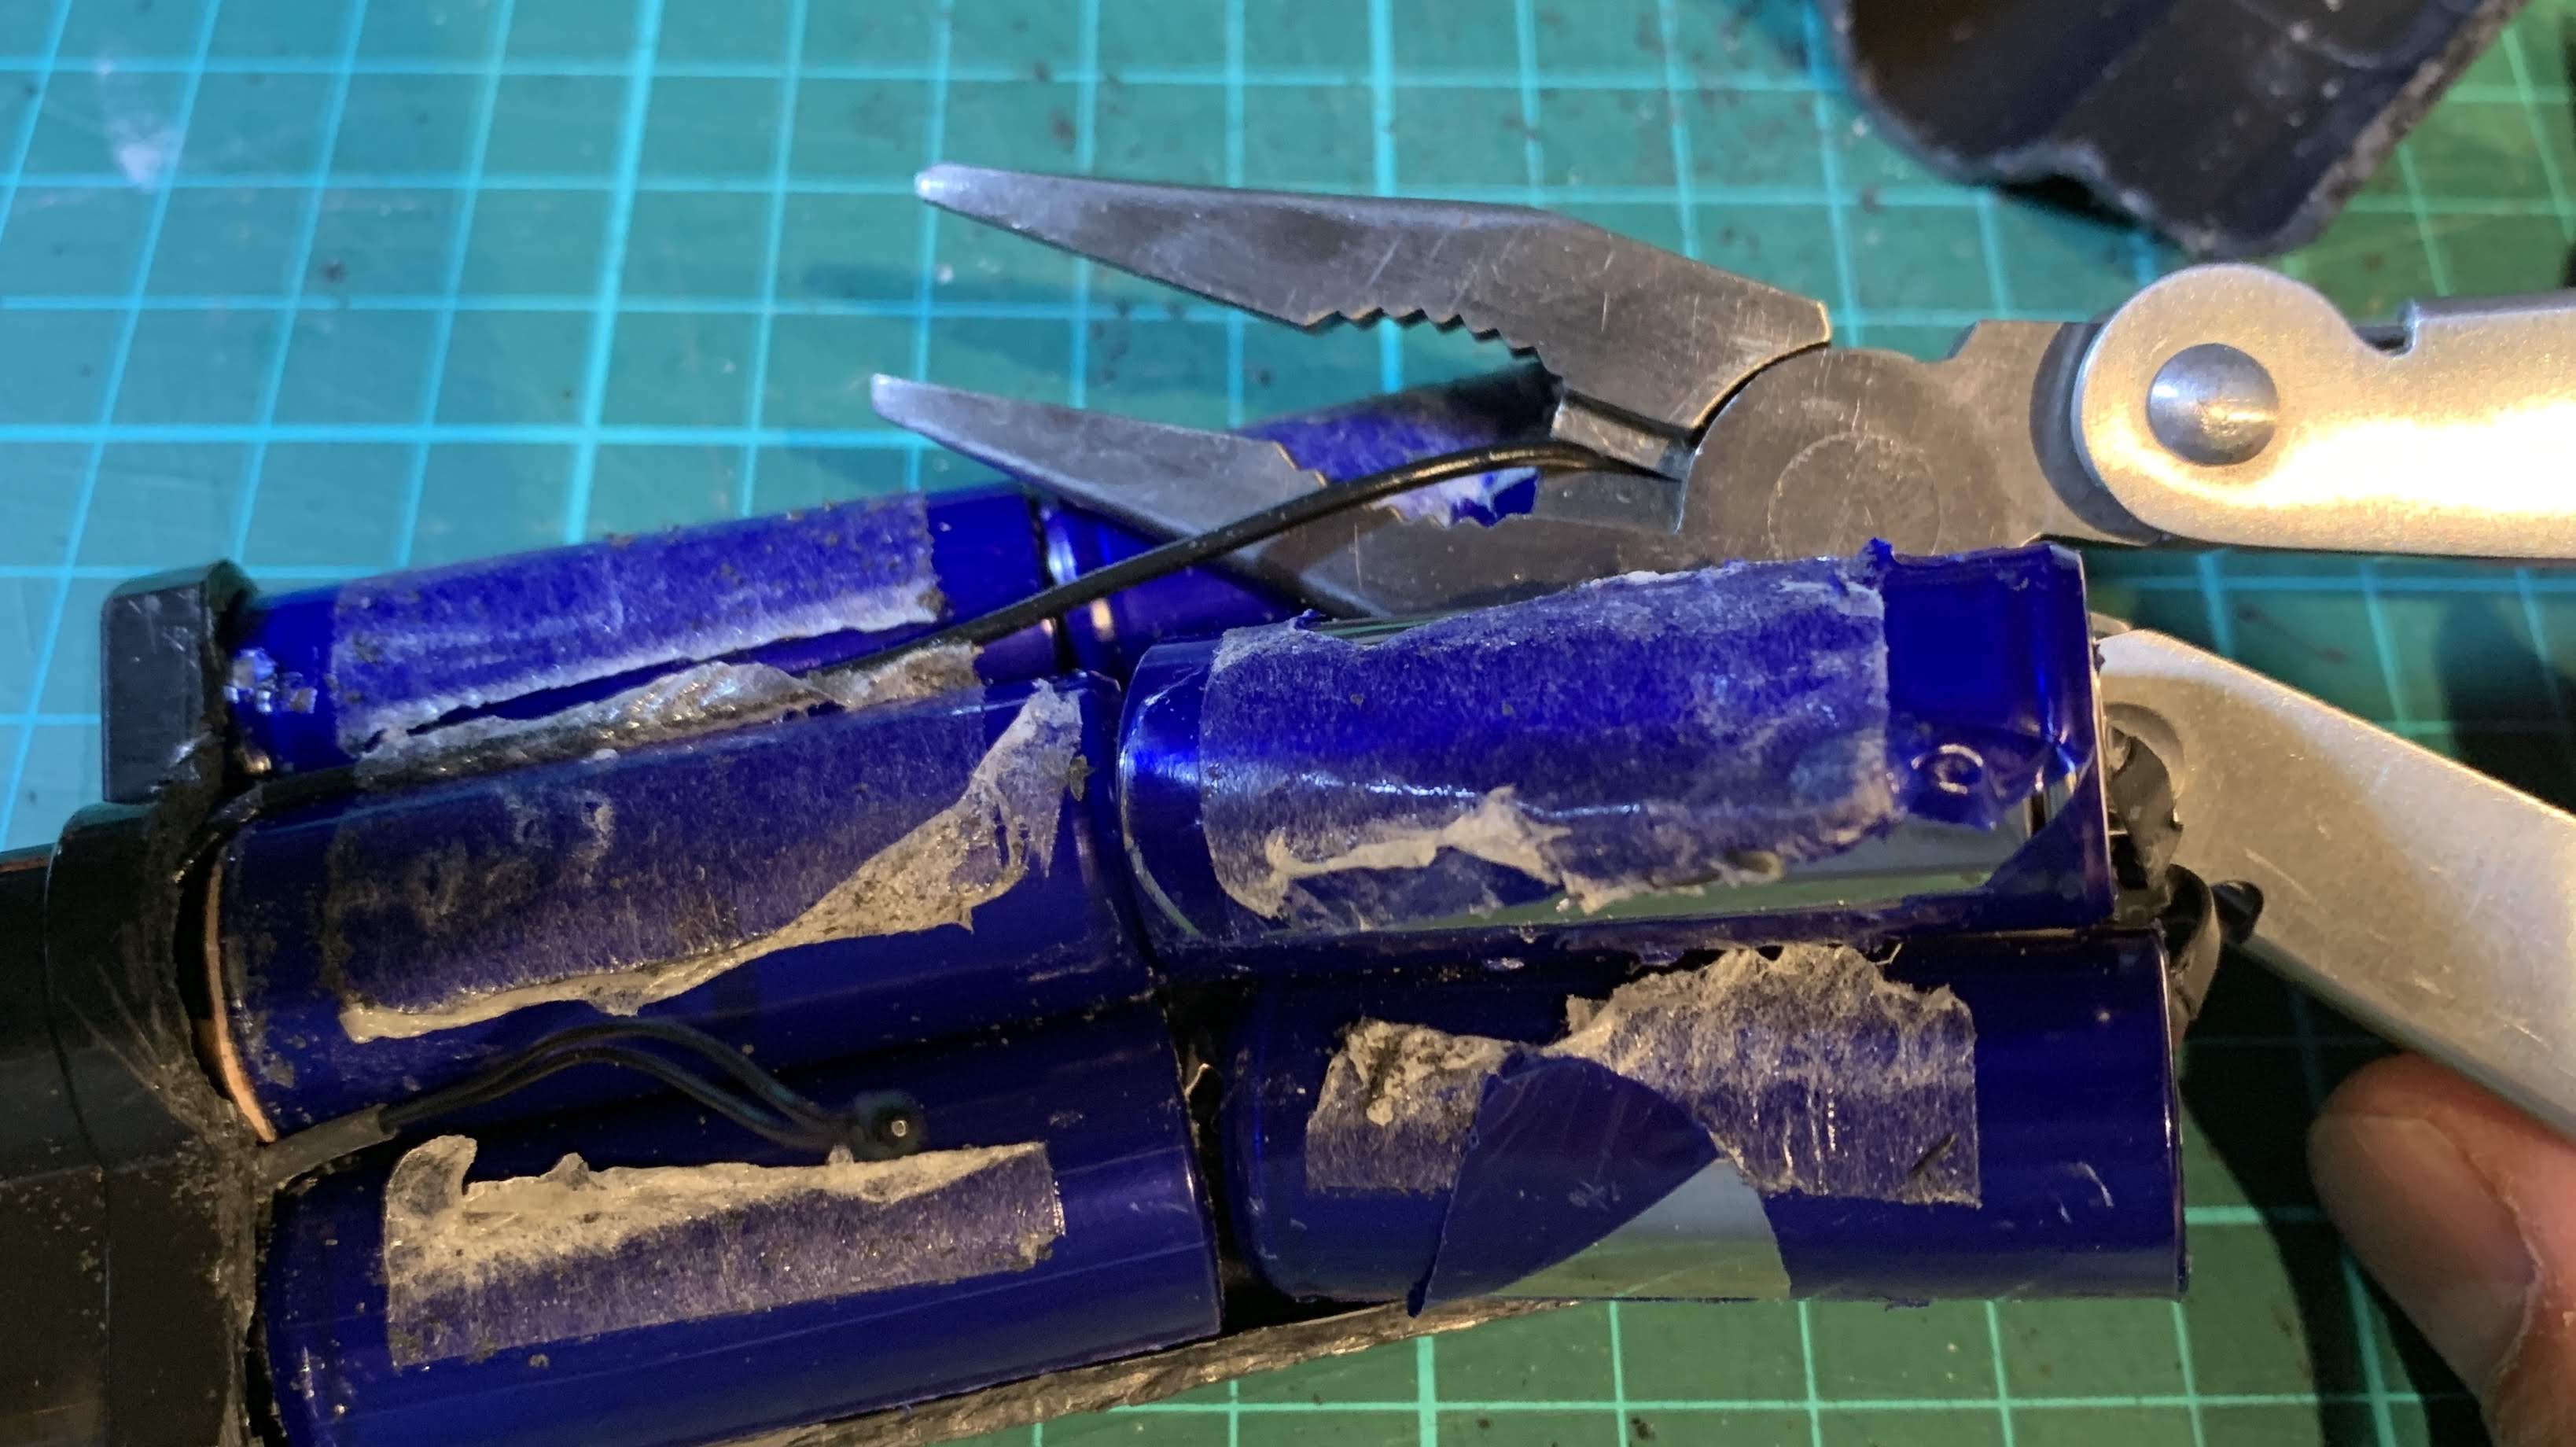
The six batteries are connected in series. To unravel the battery arrangement, I cut the black wire near where it is soldered to the last cell at the negative end of the series.
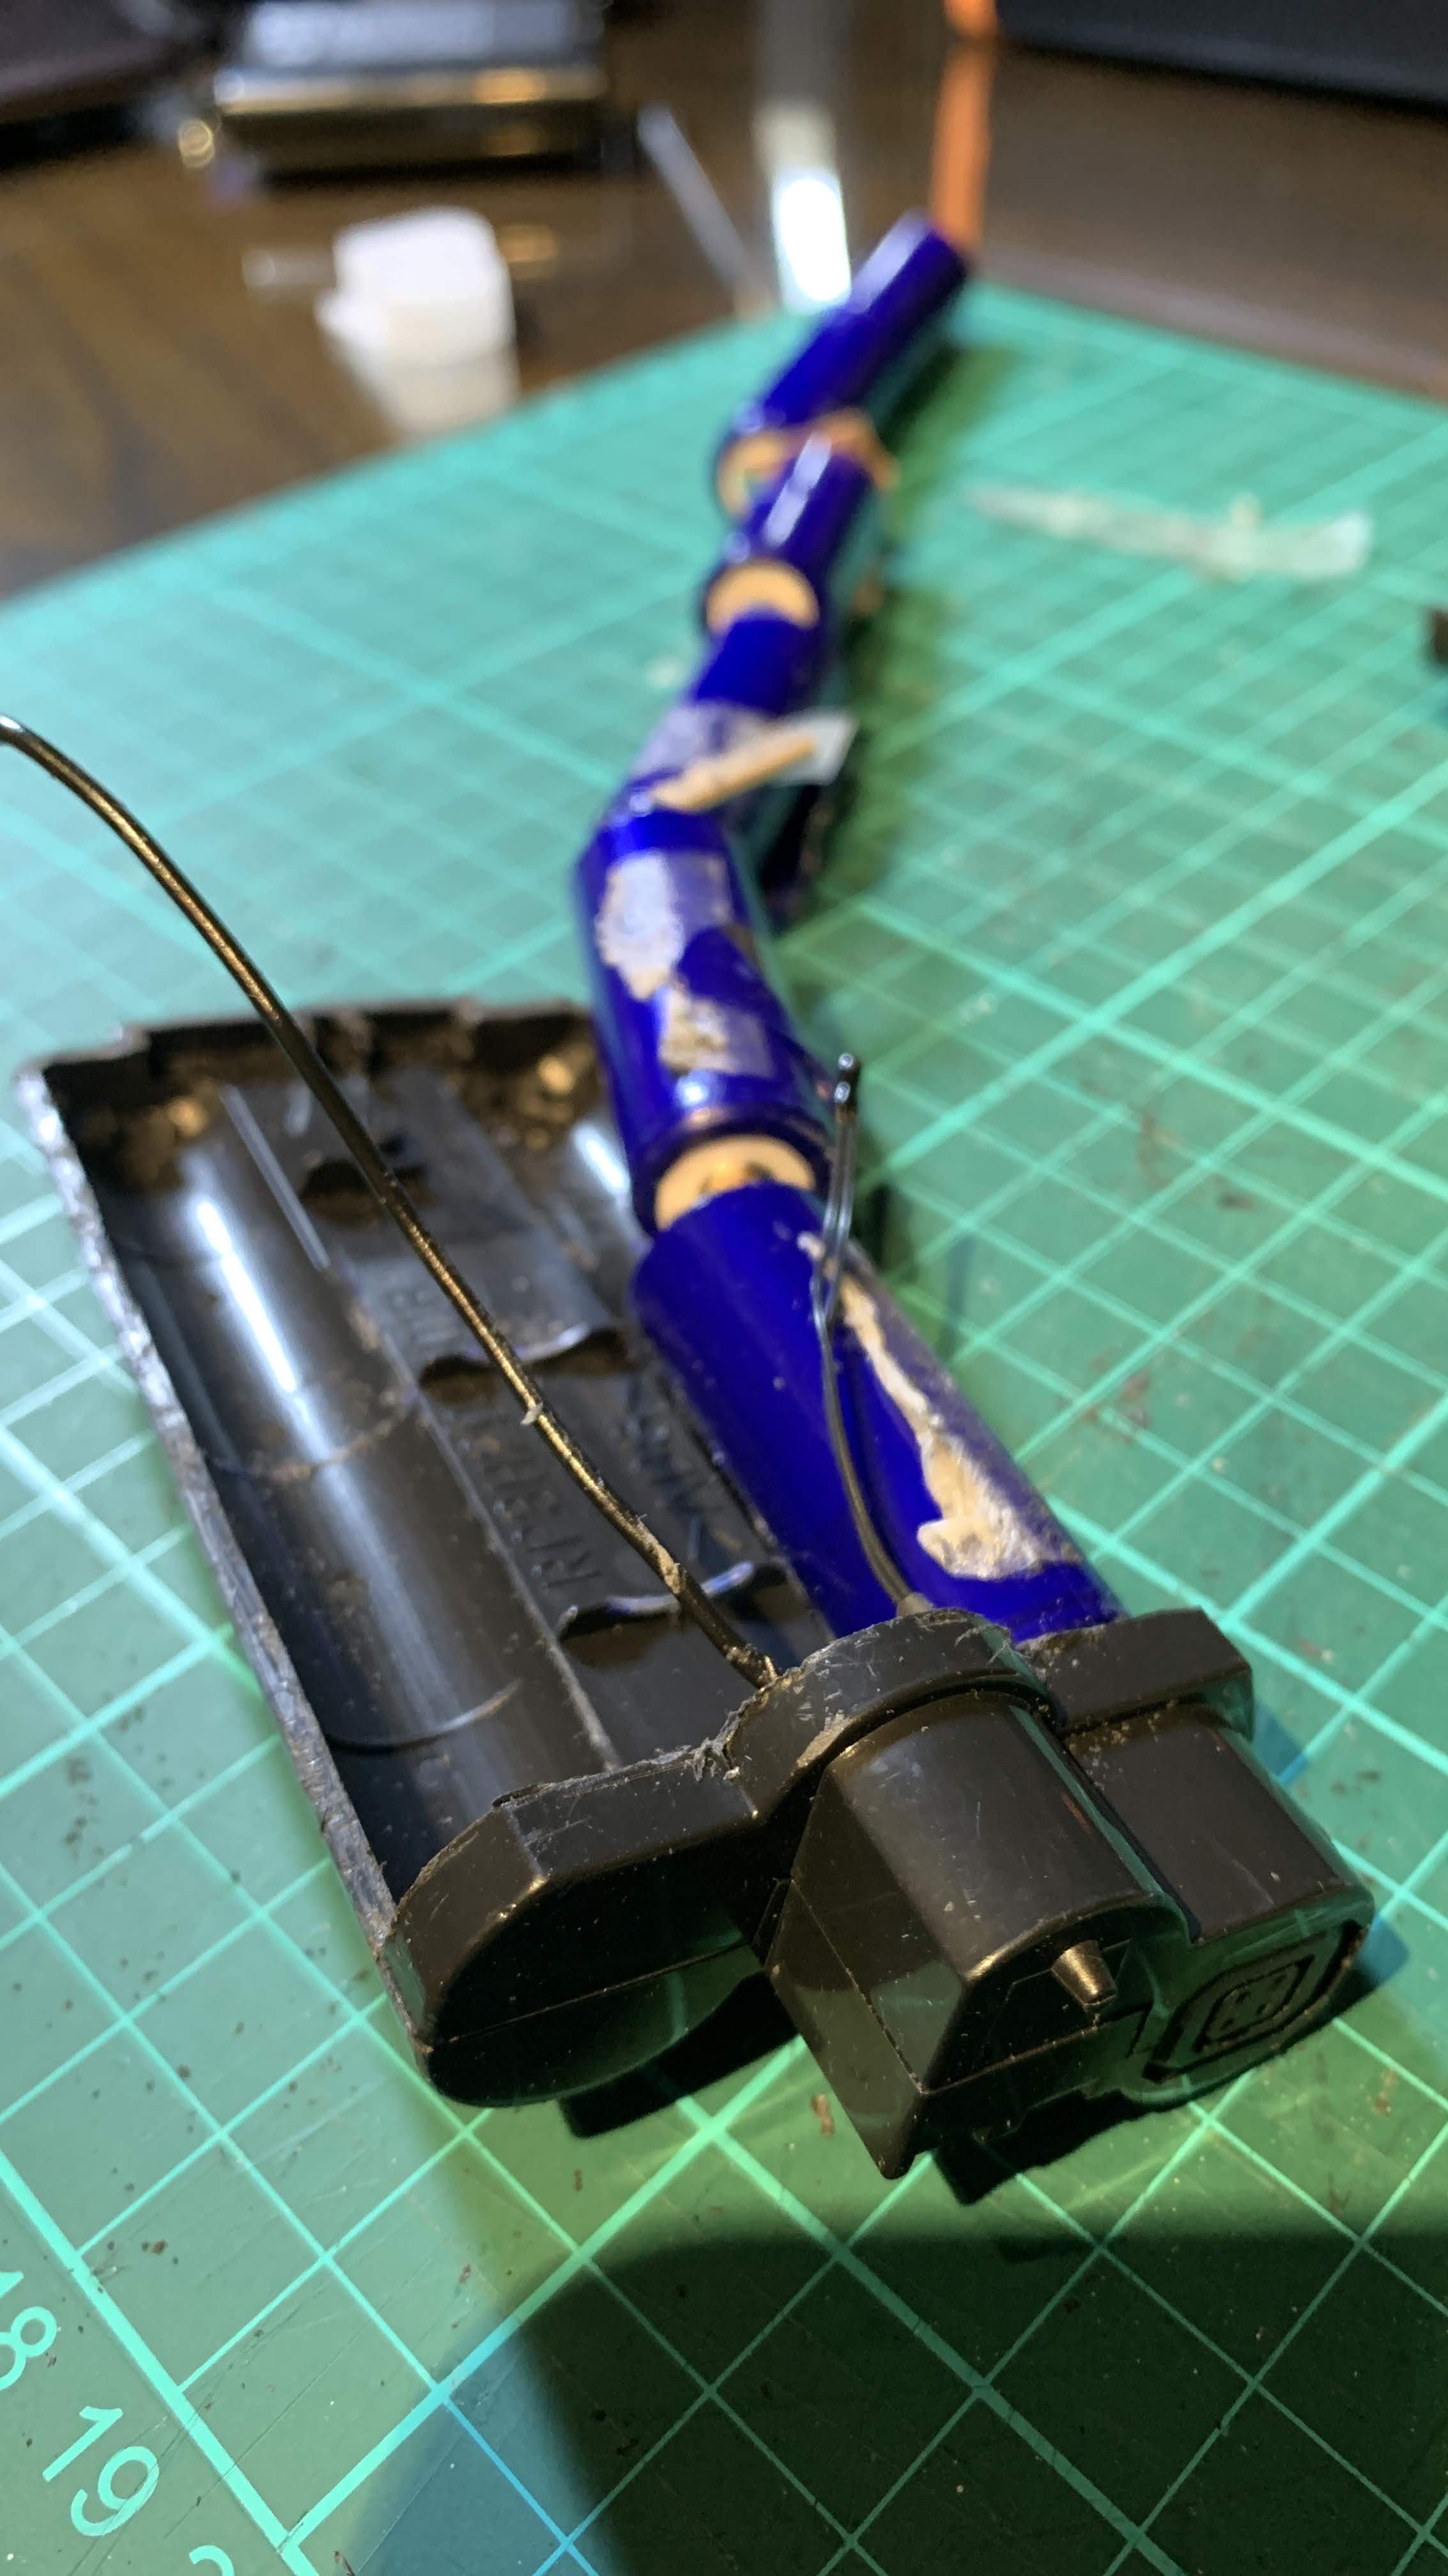
The six NiMH cells arranged in a line on their series connections. The cut black wire (on the left) is connected to the negative terminal of the EN-4 battery pack. The other wire is connected to the charging socket of the EN-4 battery pack. I left this alone.

Next I set out to disconnect the piece of metal strip soldered onto the positive end of the cell series. This was corroded (white corrosion) as seen above, rendering the EN-4 battery pack dead. Interestingly, despite this first cell being dead, the remaining five battery cells were each carrying an approximate 1.2V charge.
I slowly scraped off the corrosion and cut away the micro-solders of the metal strip from the cell. This metal strip will serve later as the positive terminal connection of the 18650 Li-Ion cells.
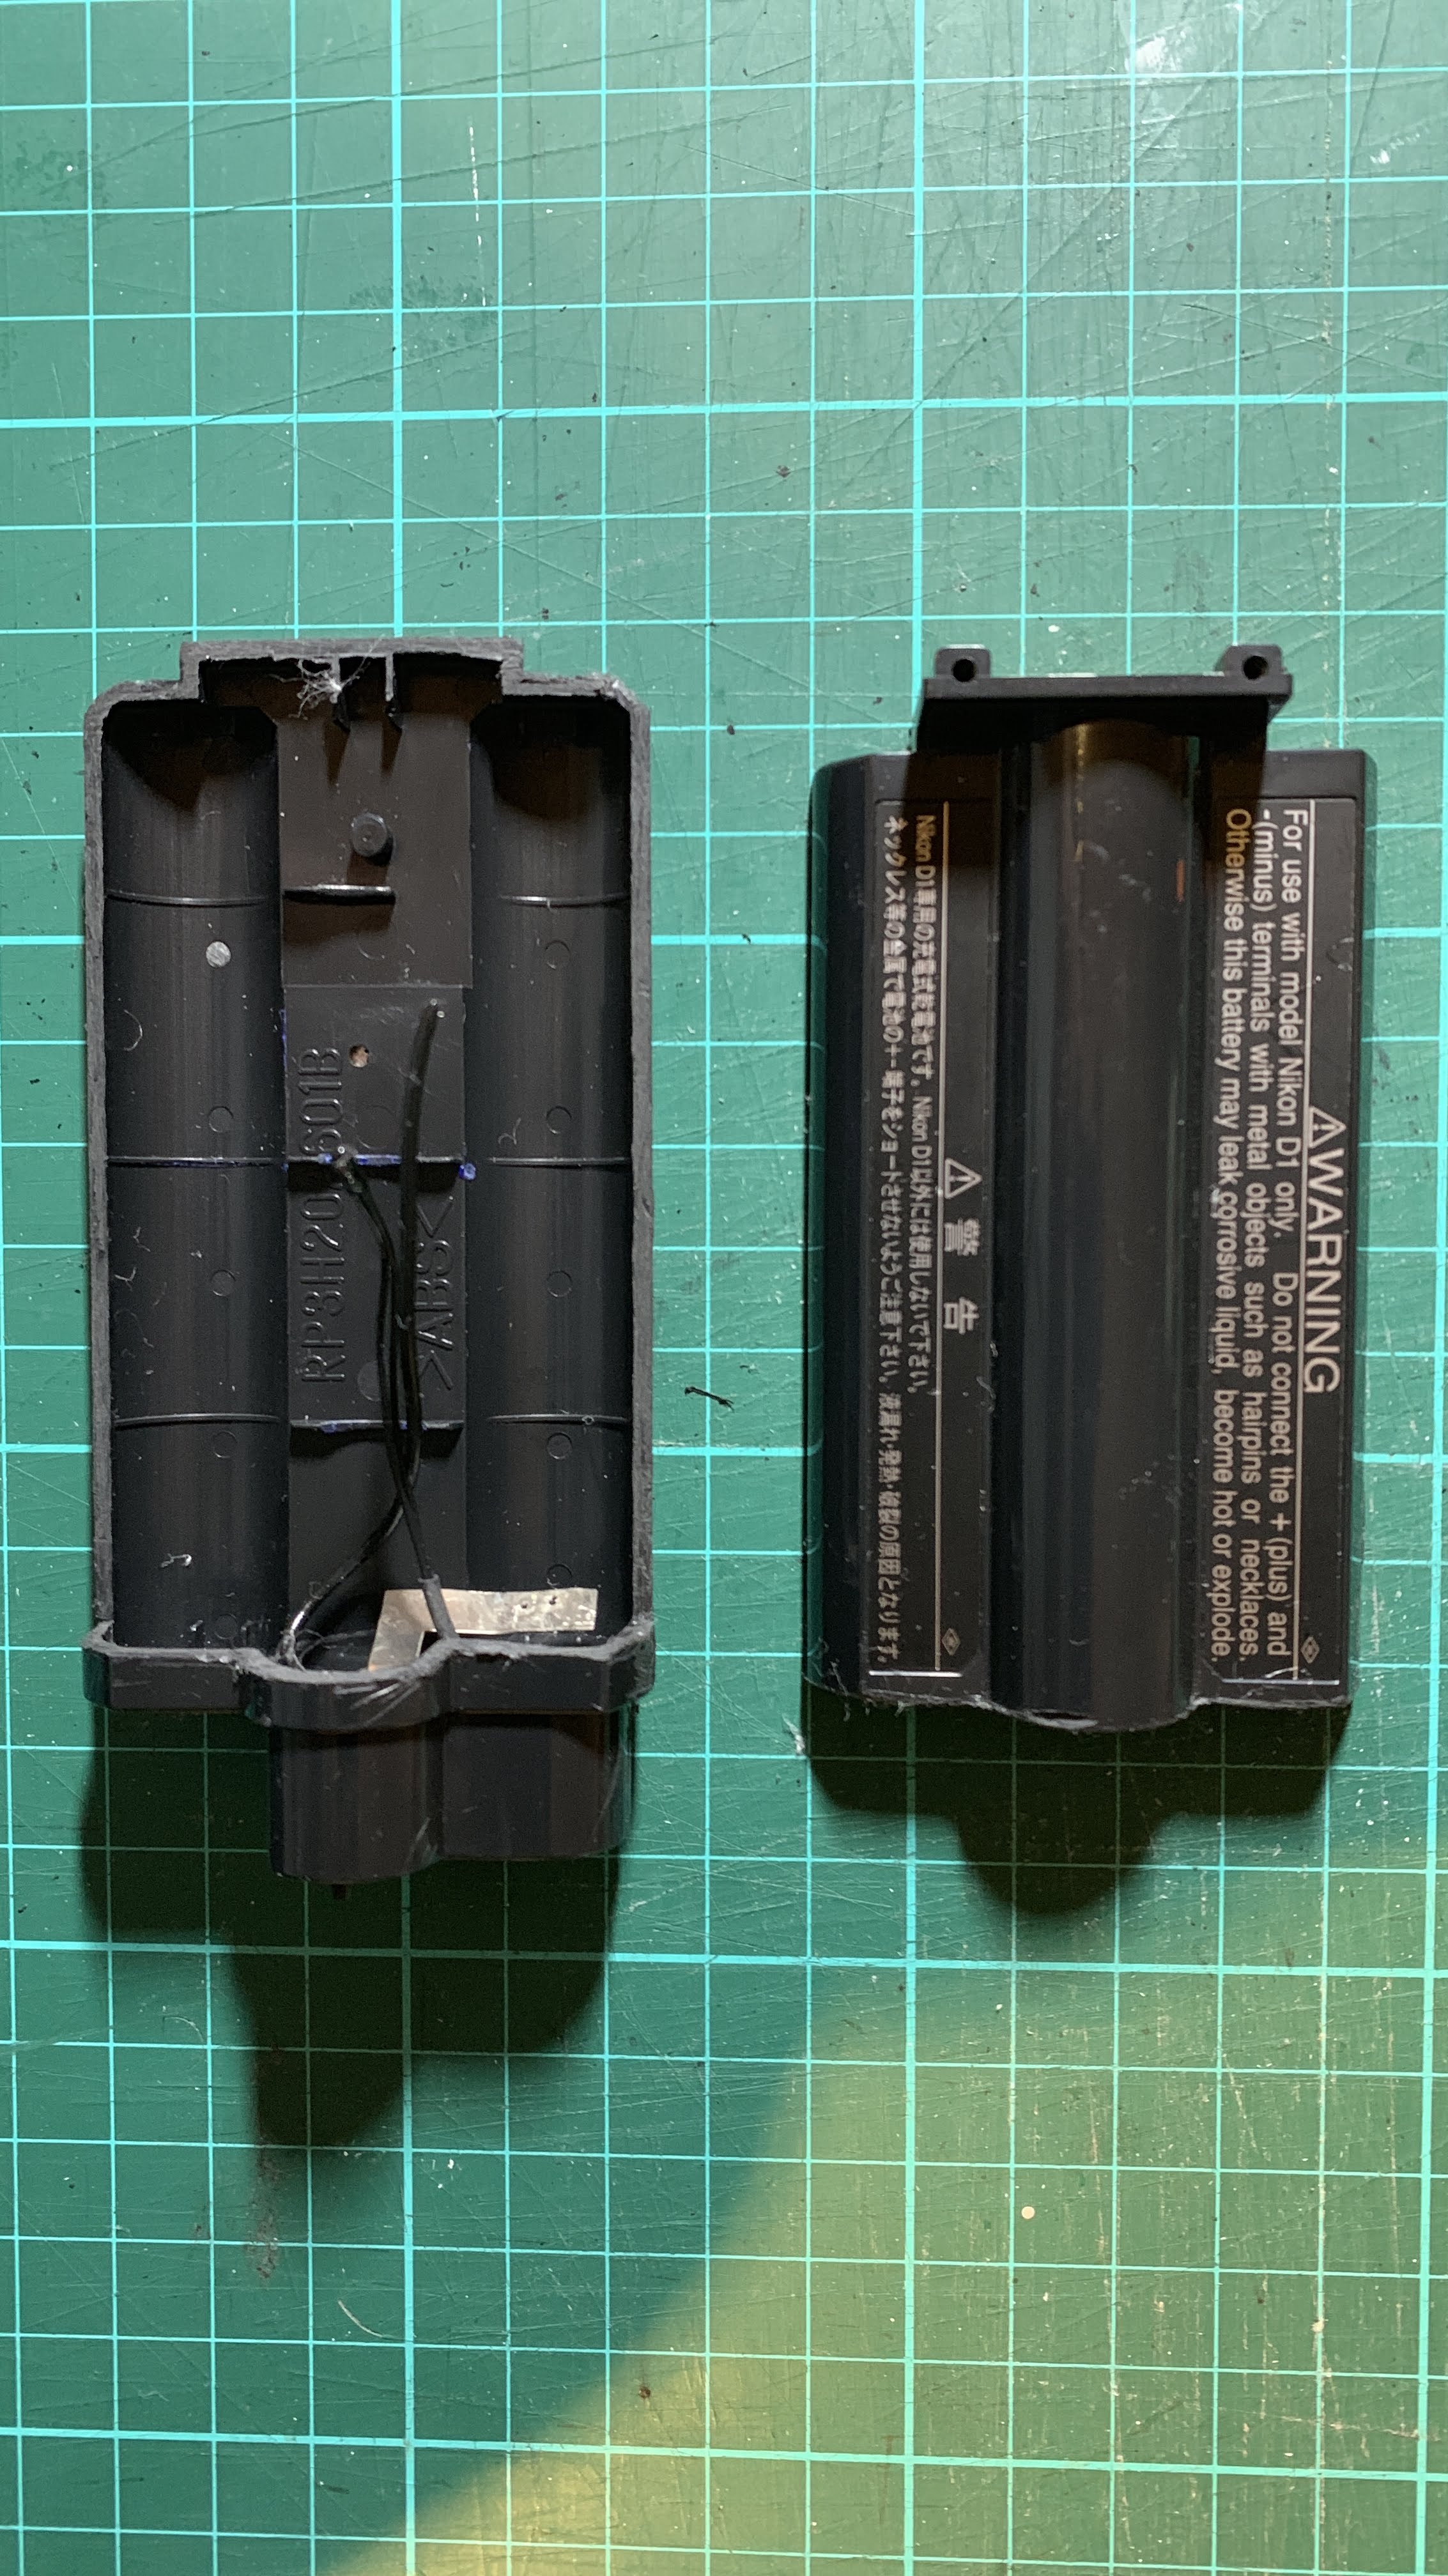
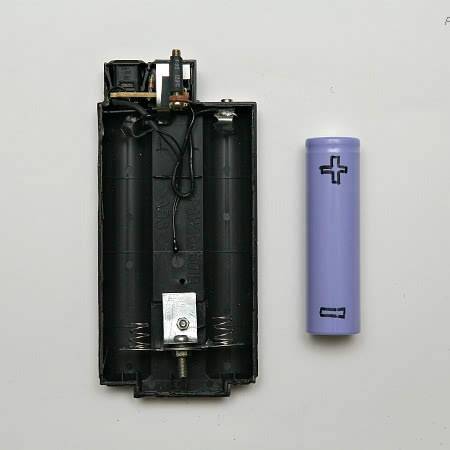
After cleaning up my work space, I am left with 2 halves of the EN-4 battery shell. This will form the “battery holder” for the two 18650 Li-Ion cells.
While waiting for the Samsung 18650 Li-Ion cells and charger to arrive in the post, I decided to disassemble a “dead” Nikon EN-EL4a Li-Ion battery pack that I had. The following day embarked on opening up the EN-EL4a.

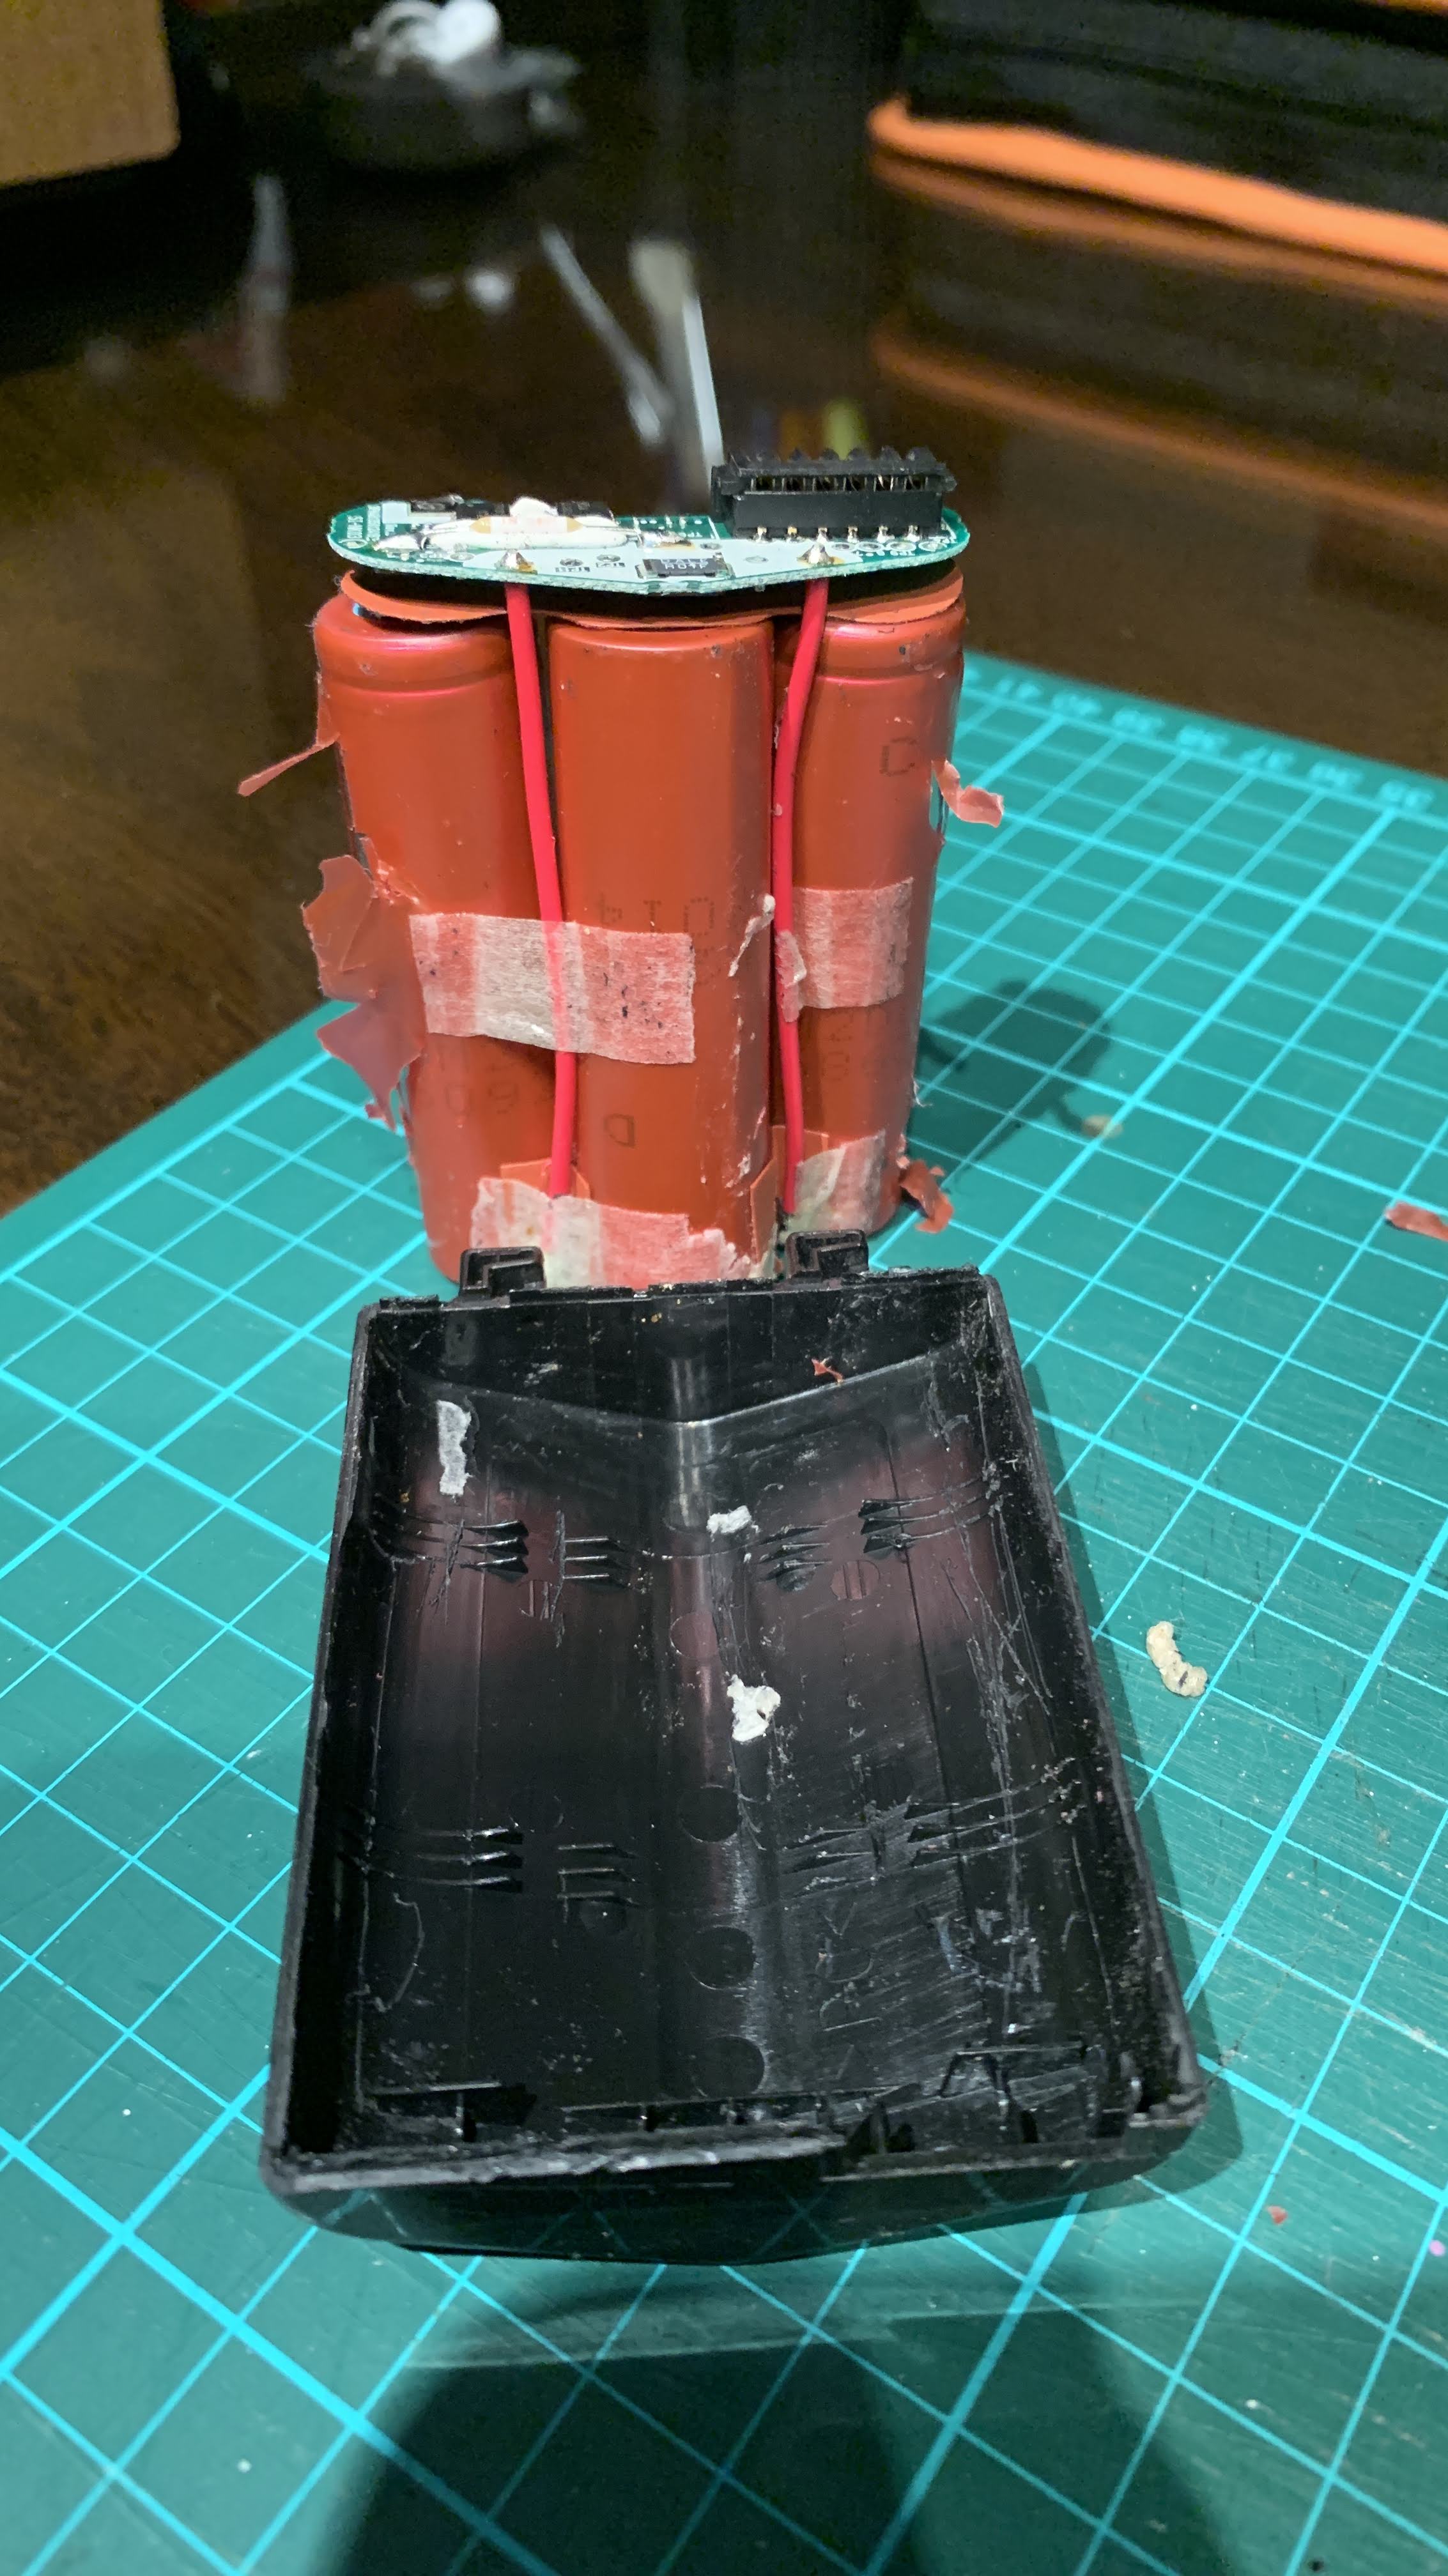
Removing the Li-Ion cells from the EN-EL4a casing was much more difficult because of the tight space within this compact battery pack. Lo and behold, there were three 18650 Li-Ion battery cells in a EN-EL4a pack giving it an 11.1V 2500mAh rating, as I suspected (3.7V x 3).
Like the EN-4 battery that I disassembled, one of the three Li-Ion batteries was dead while the other 2 still carried a charge. By this time, the 18650 battery charger had arrived but the Samsung batteries were still a couple of days behind. I charged the 2 that still carried a charge and fully charged they carried about 4V each.
With the 2 Nikon 18650 cells at hand, I started on completing the project.
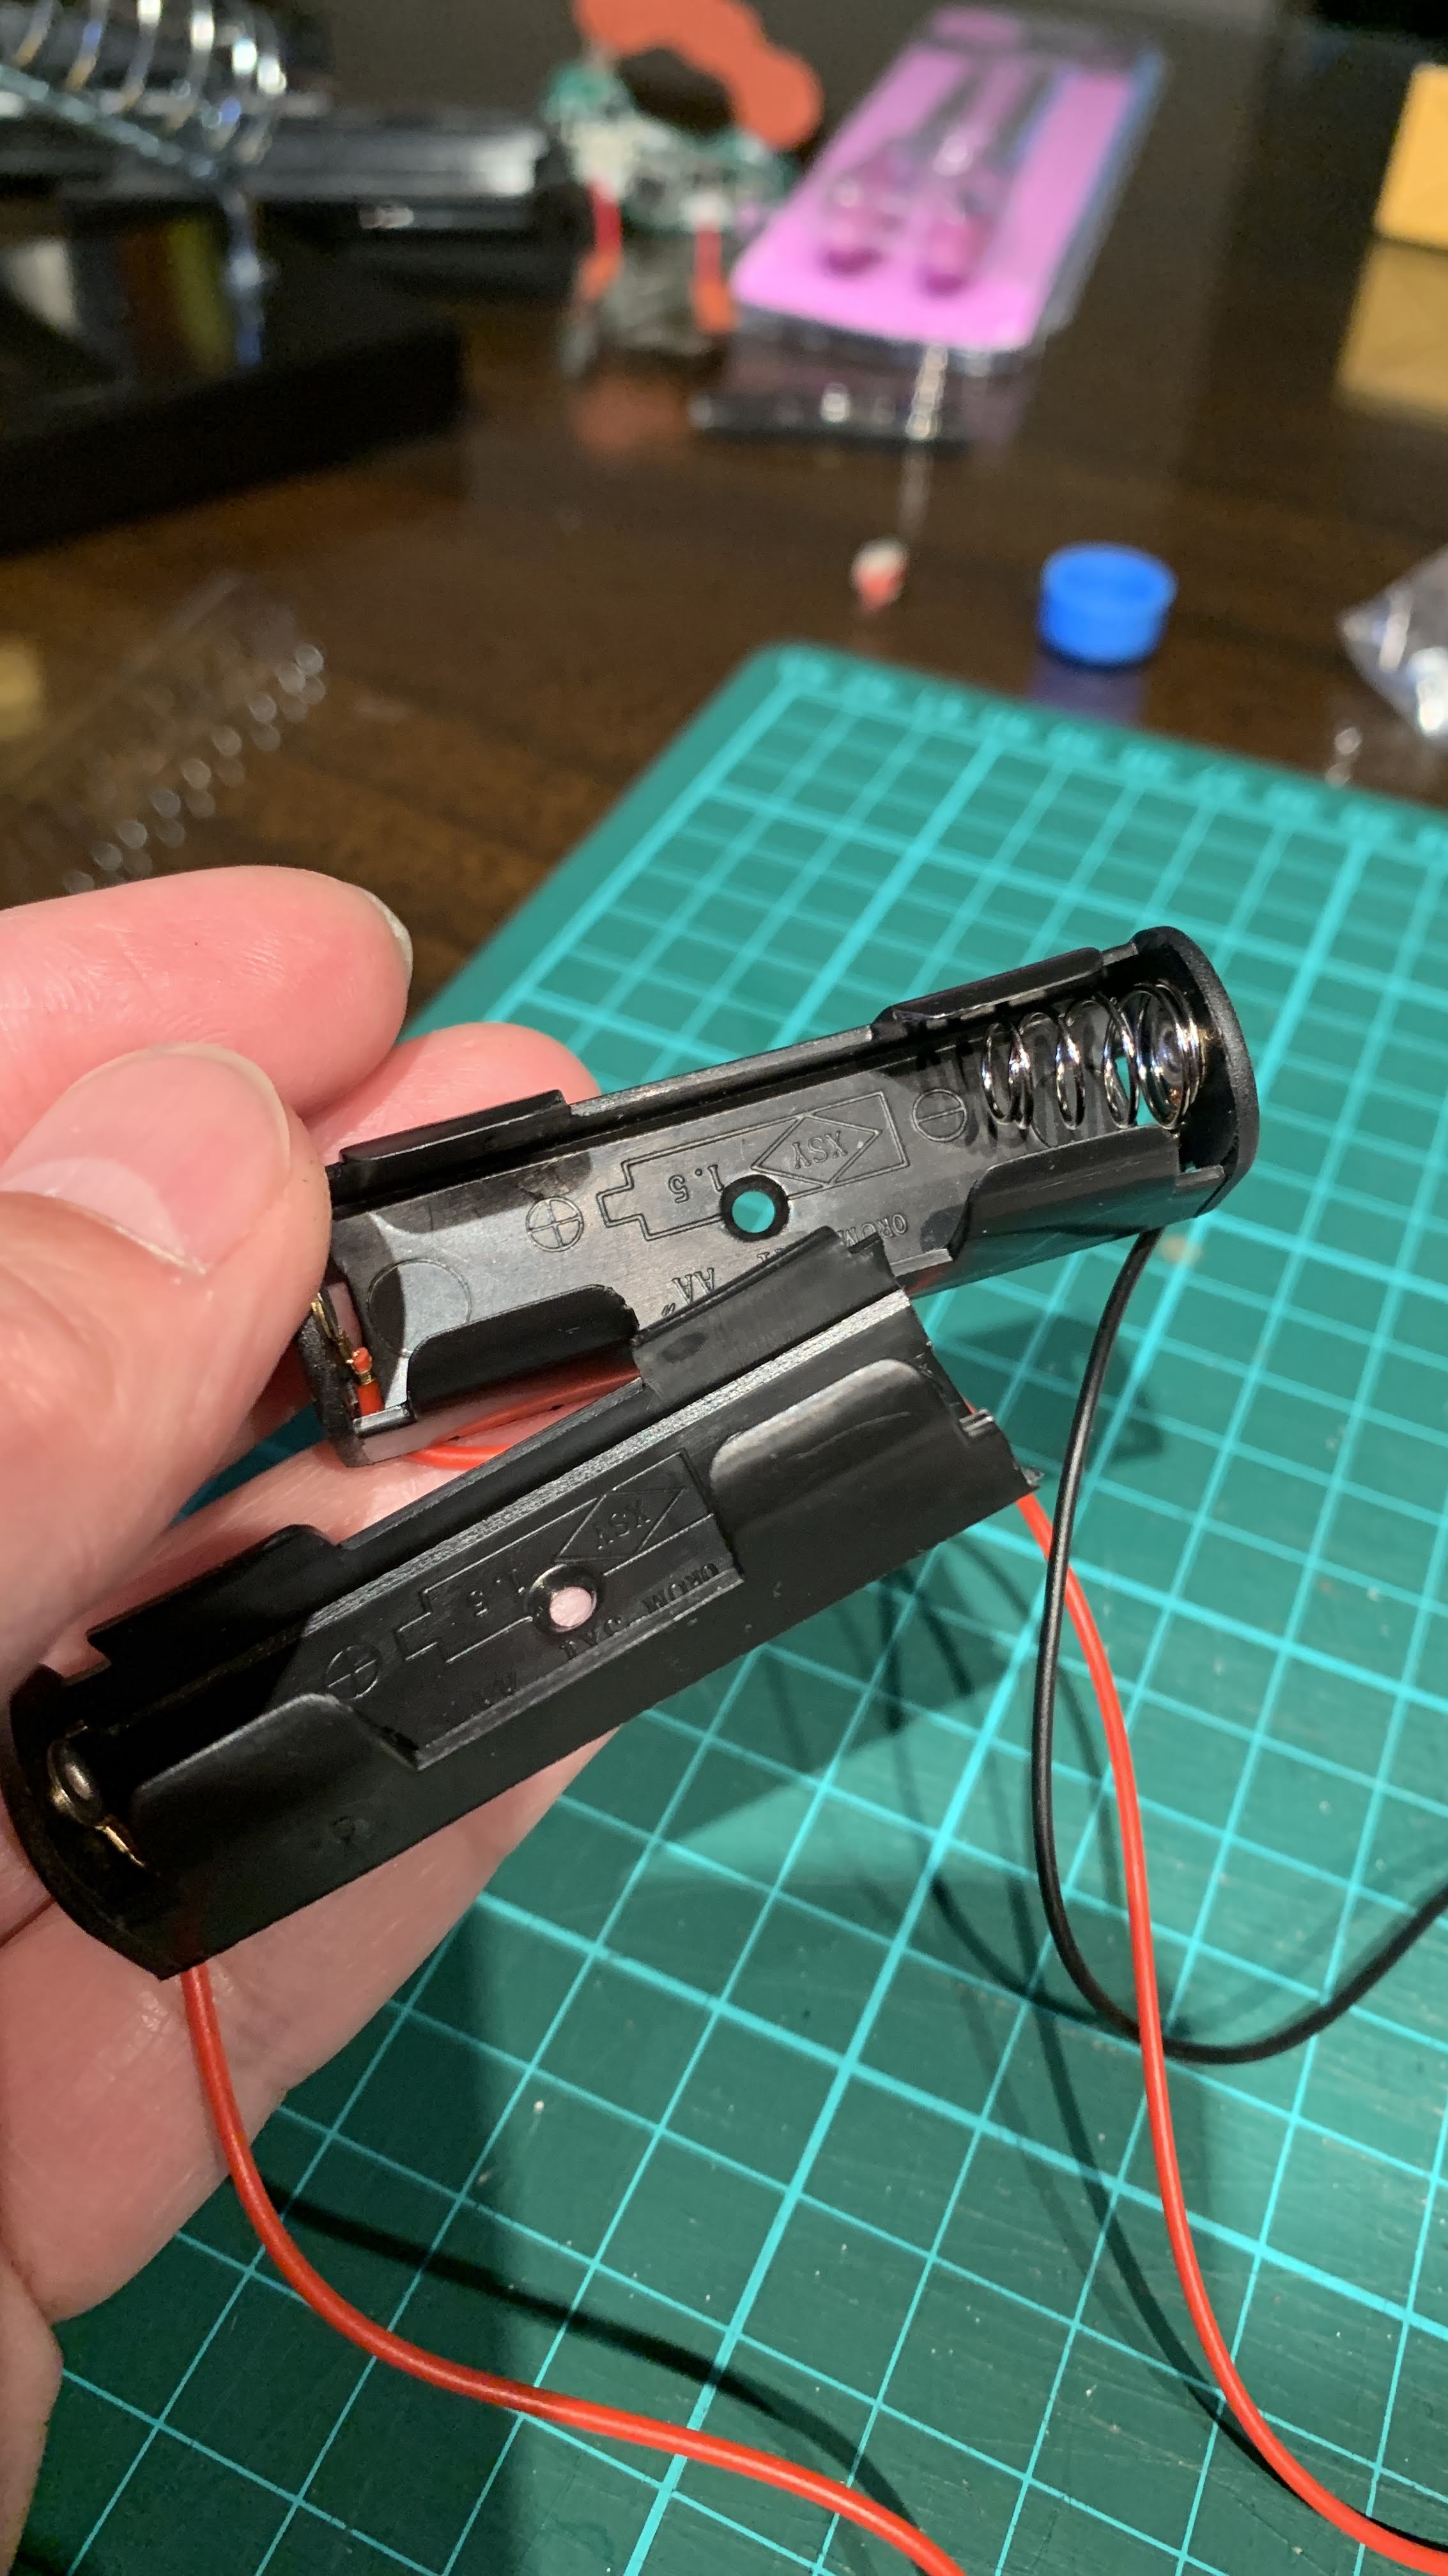
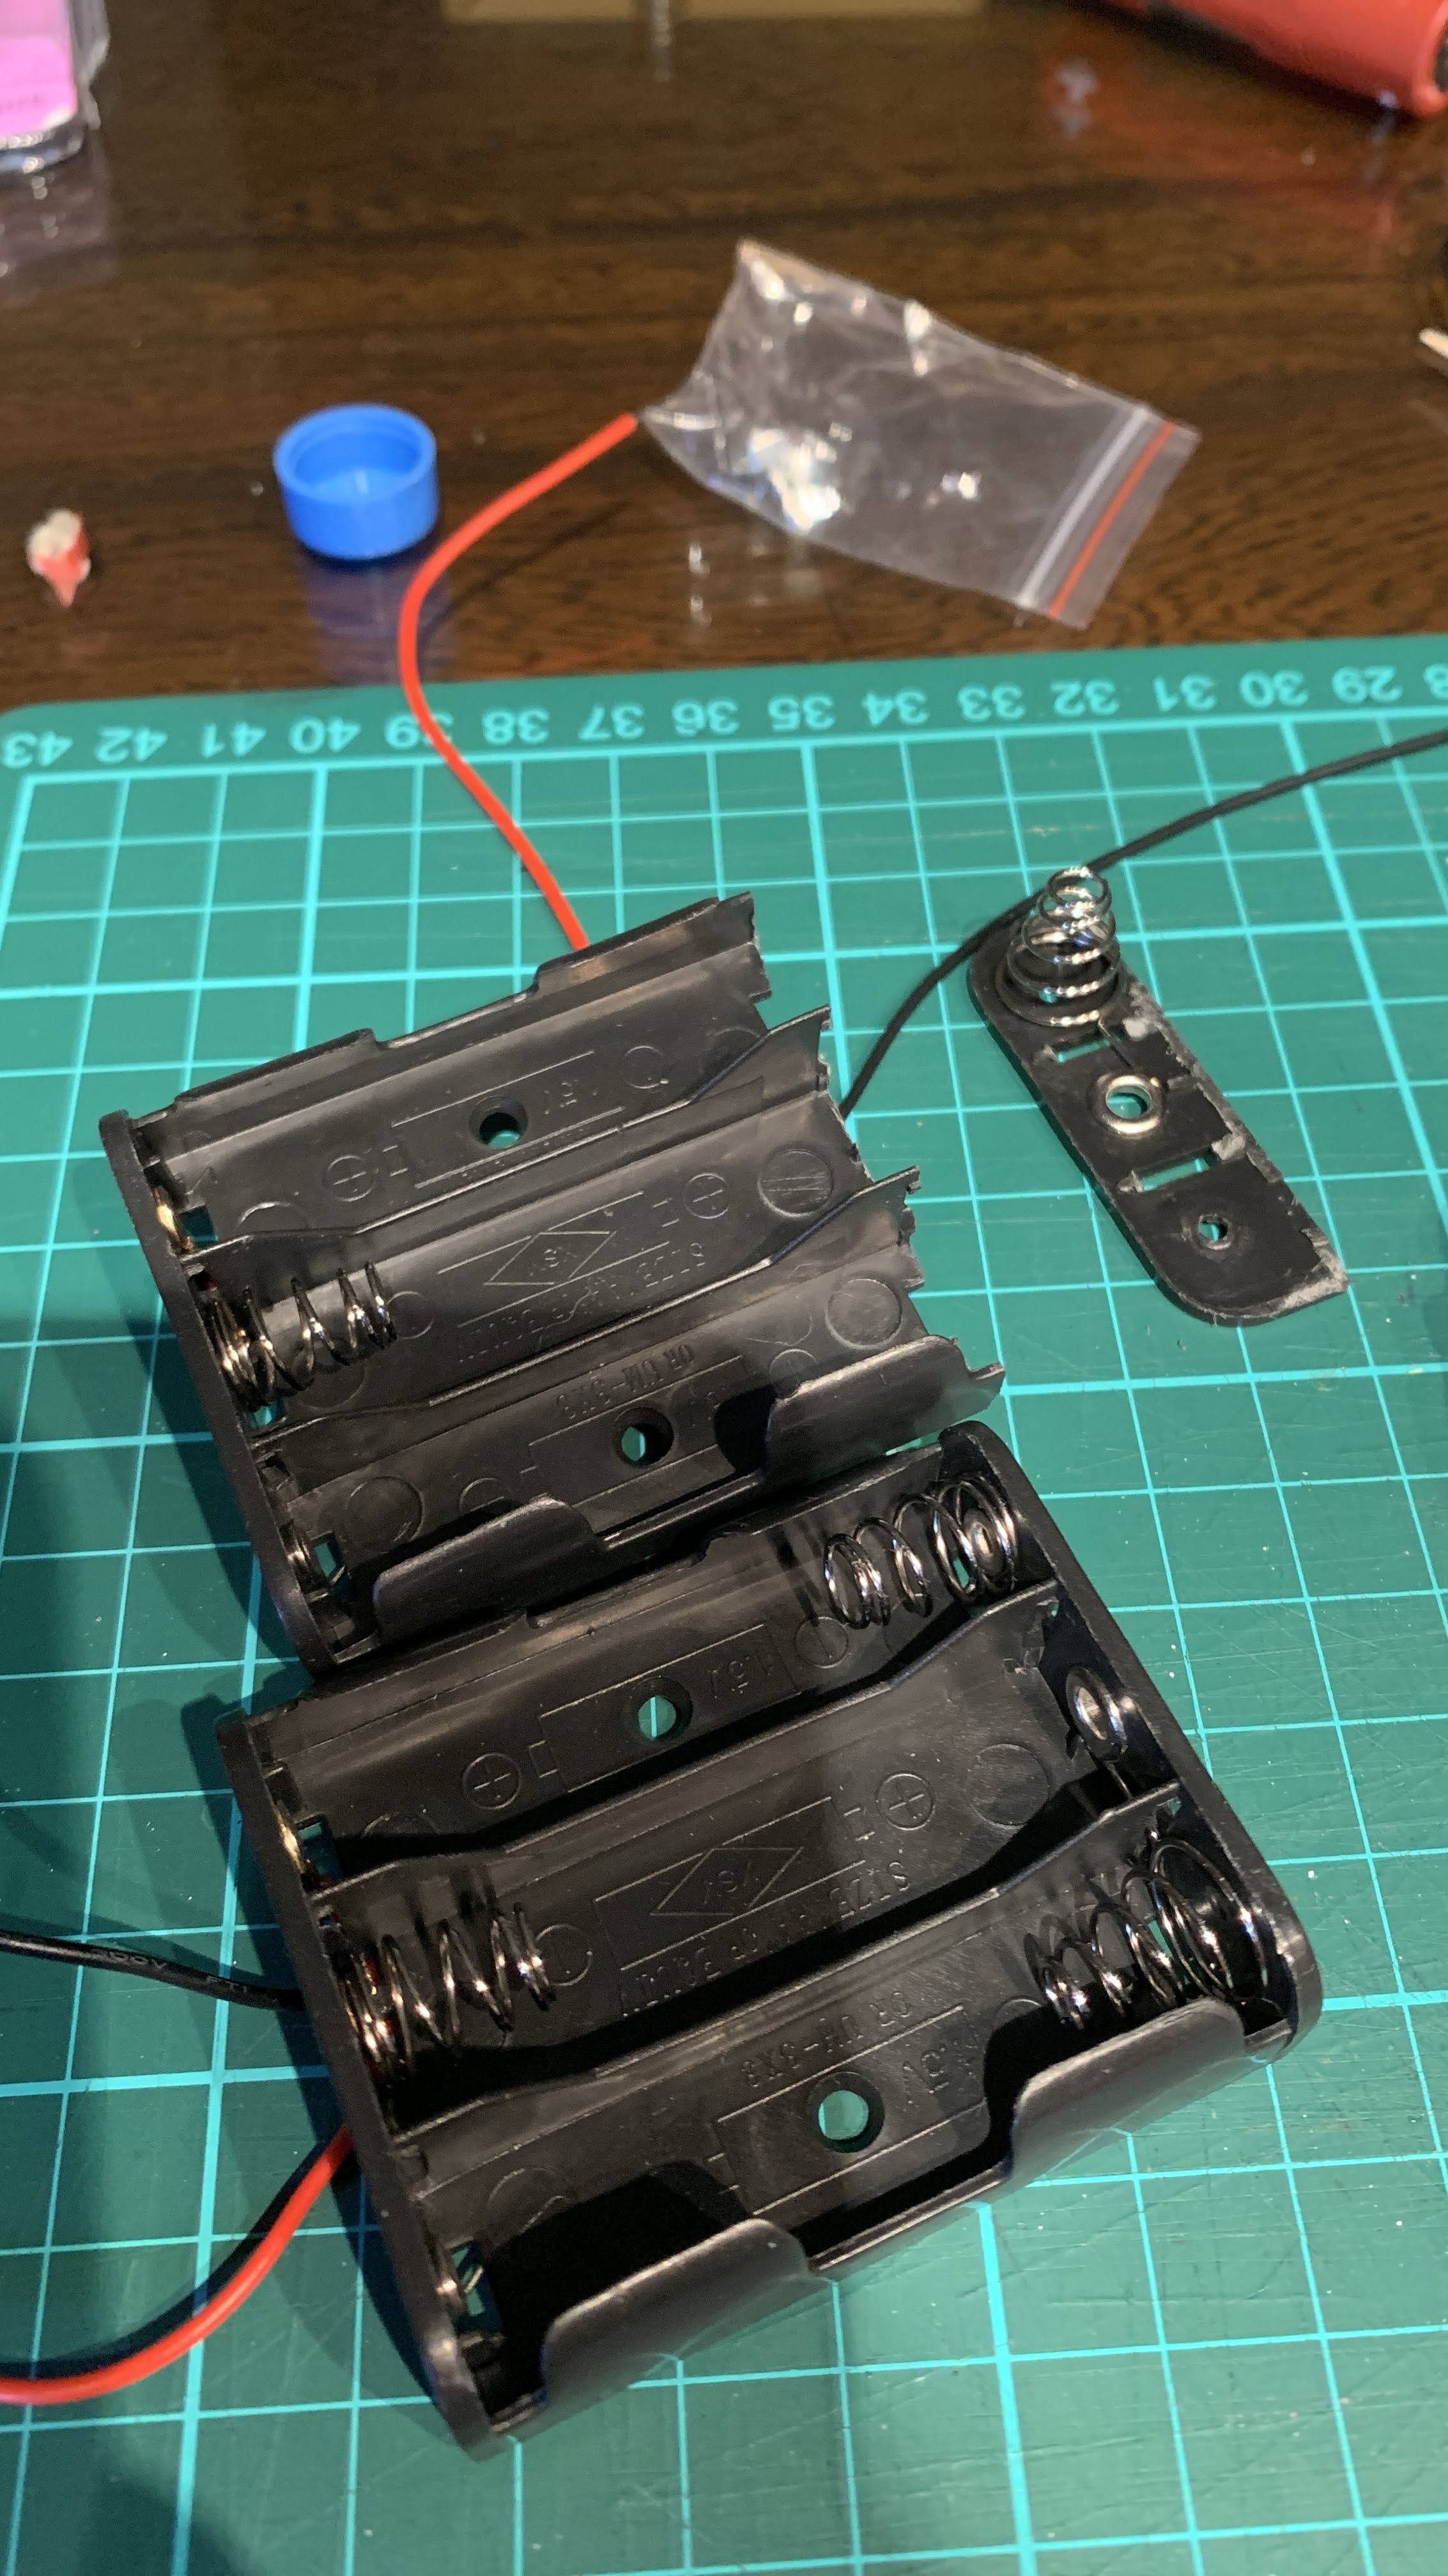
First I removed the springs and backing from a couple of AA cell holders. These will serve as the connectors for the 18650 cells in the EN-4 casing.
Soldered the previously cut black “negative” terminal wire from the original NiMH cells to an AA spring and its backing (cut to fit in the EN-4 casing). This wire is connected to the circuit board of the EN-4 battery pack which I did not disassemble.
This backing with its spring is then glued to the EN-4 casing forming the negative terminal. The metal strip that was disconnected from the “corroded” positive terminal of the NiMH cell series forms the positive terminal. This metal strip is also connected to the circuit board.
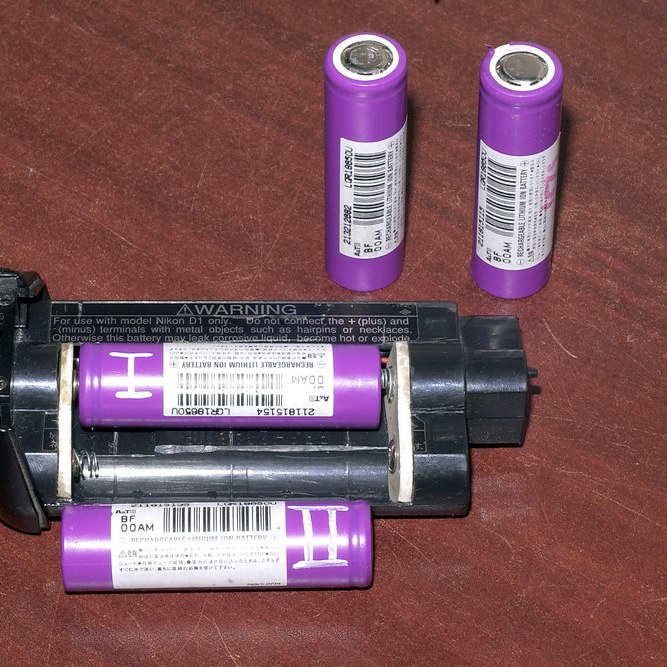
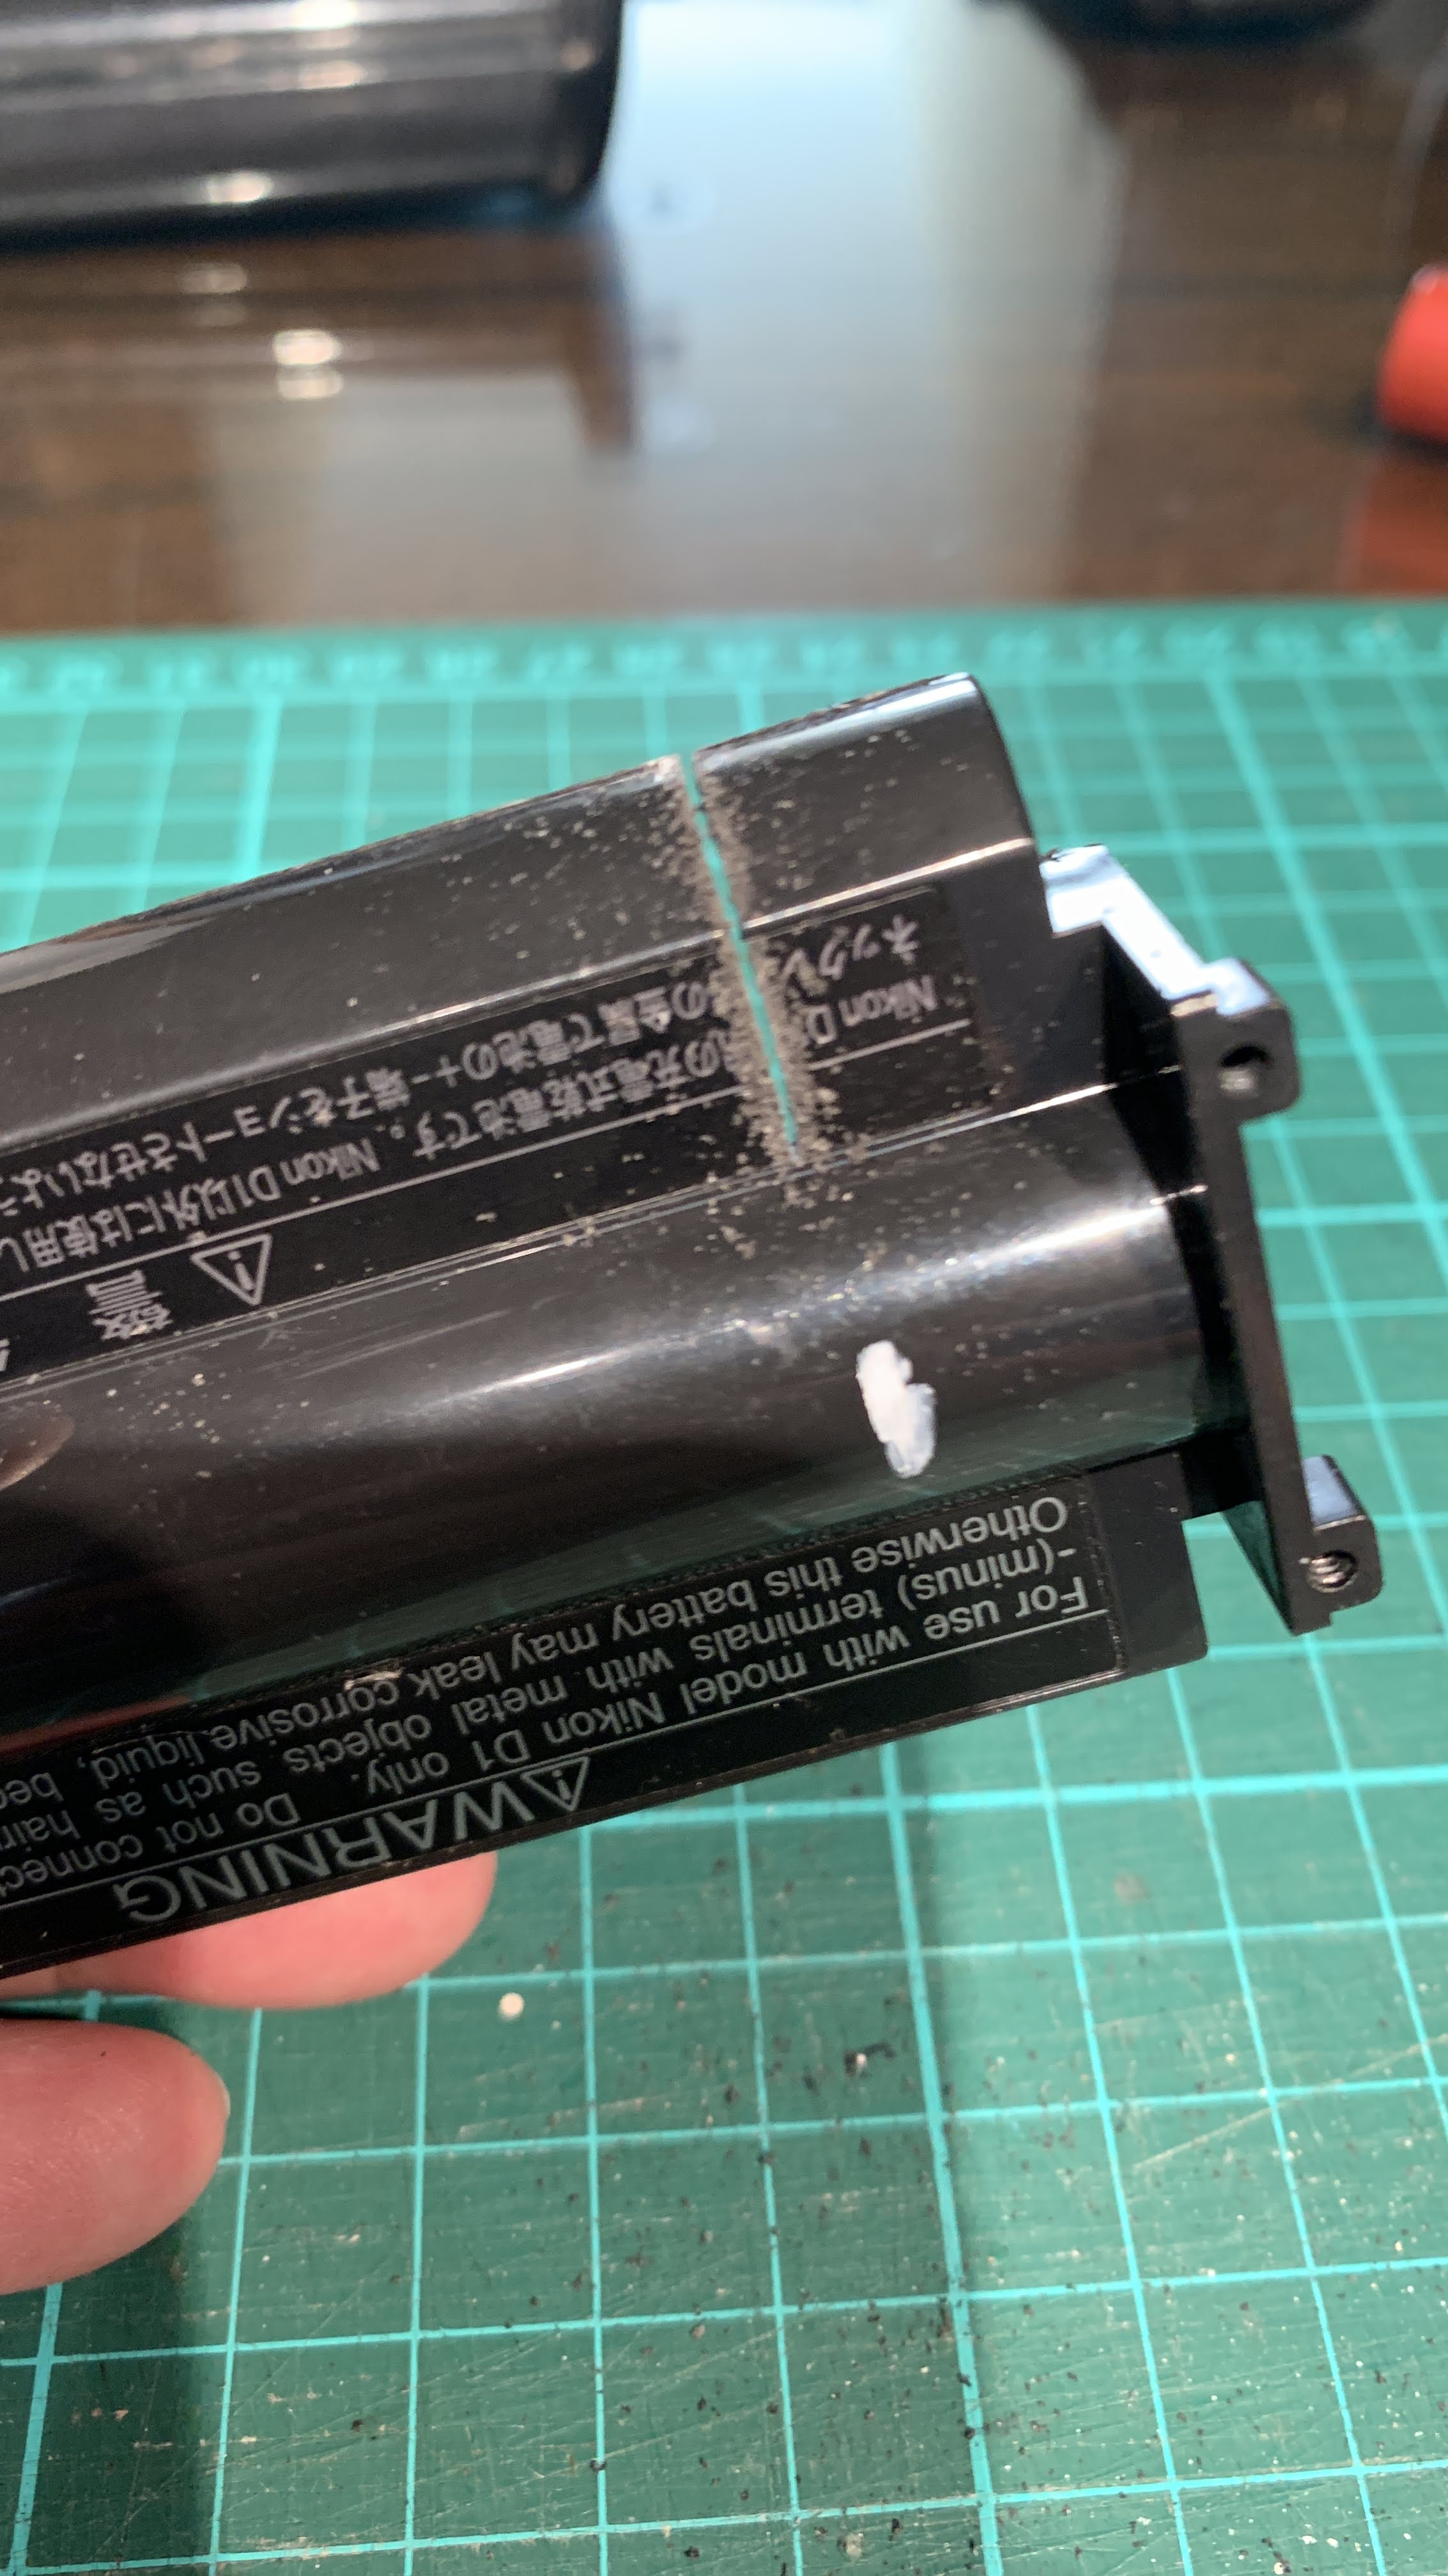
Throughout the project, I kept on the white terminal plastic cover of the EN-4 casing as much as possible to protect the small protrusion at the end of the casing from breaking accidentally. This small protrusion deactivates a switch in the camera battery chamber. If this is broken, the switch is not deactivated and the battery pack will not work.
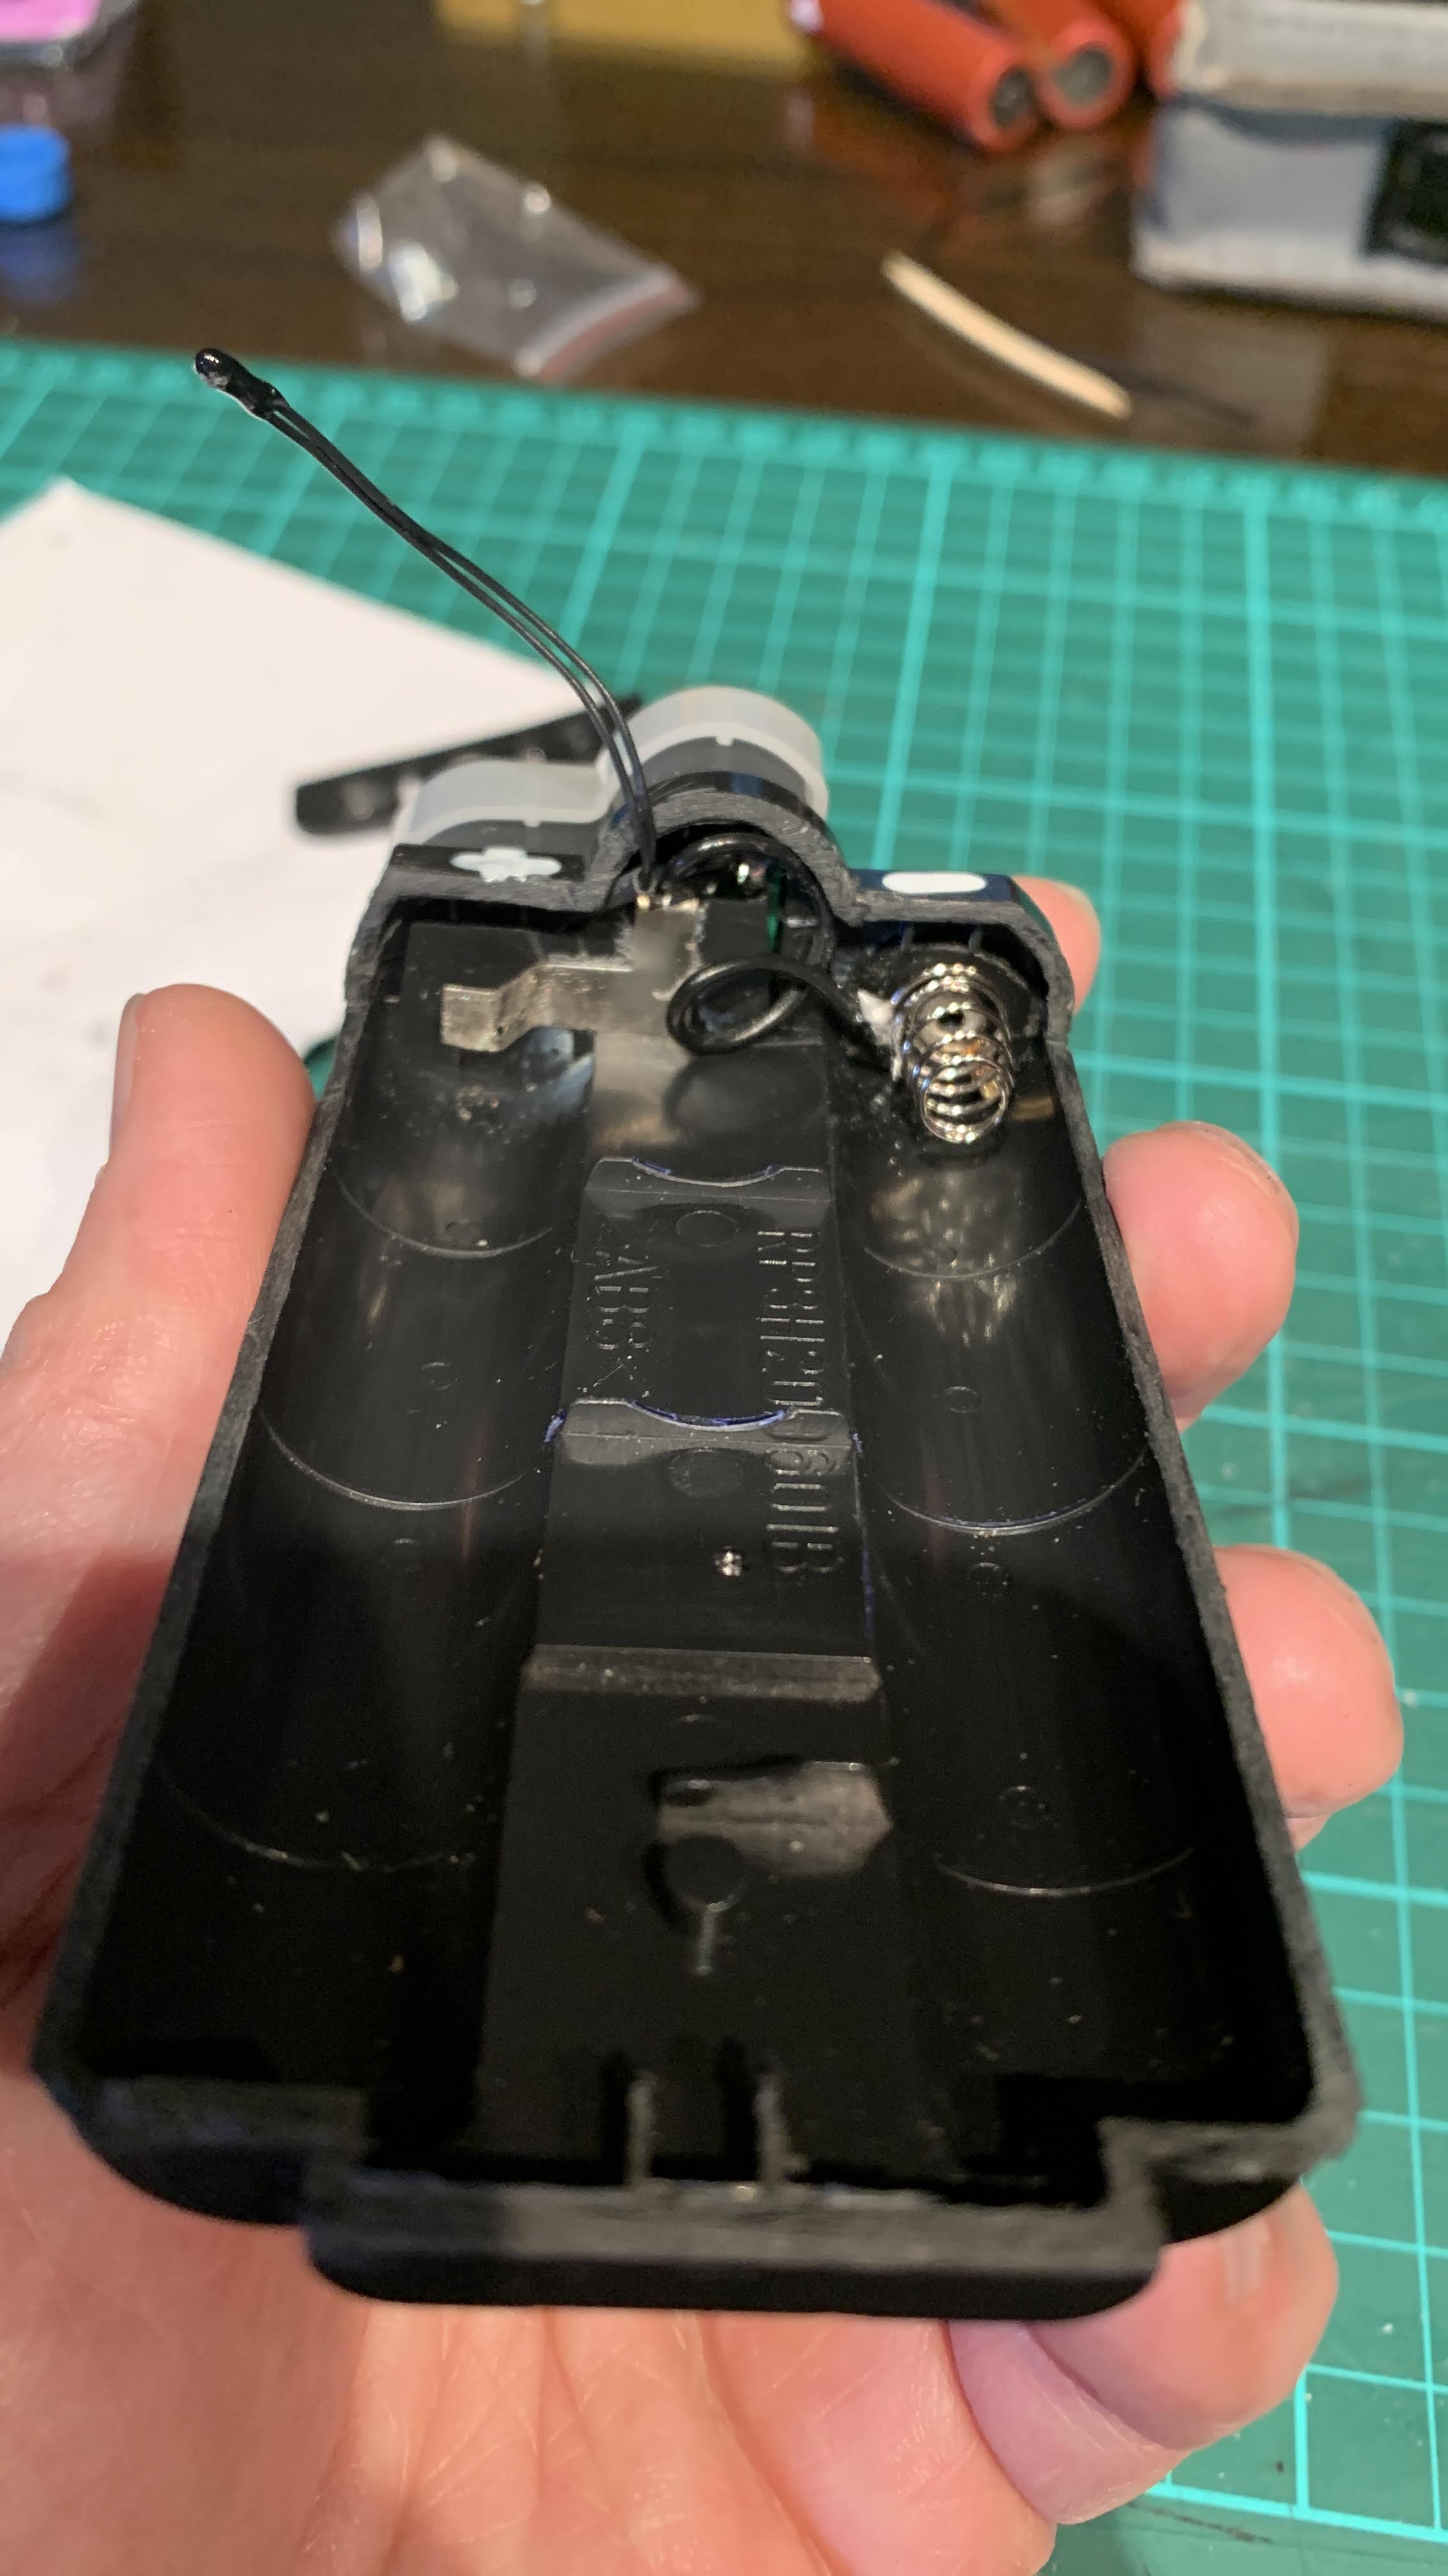
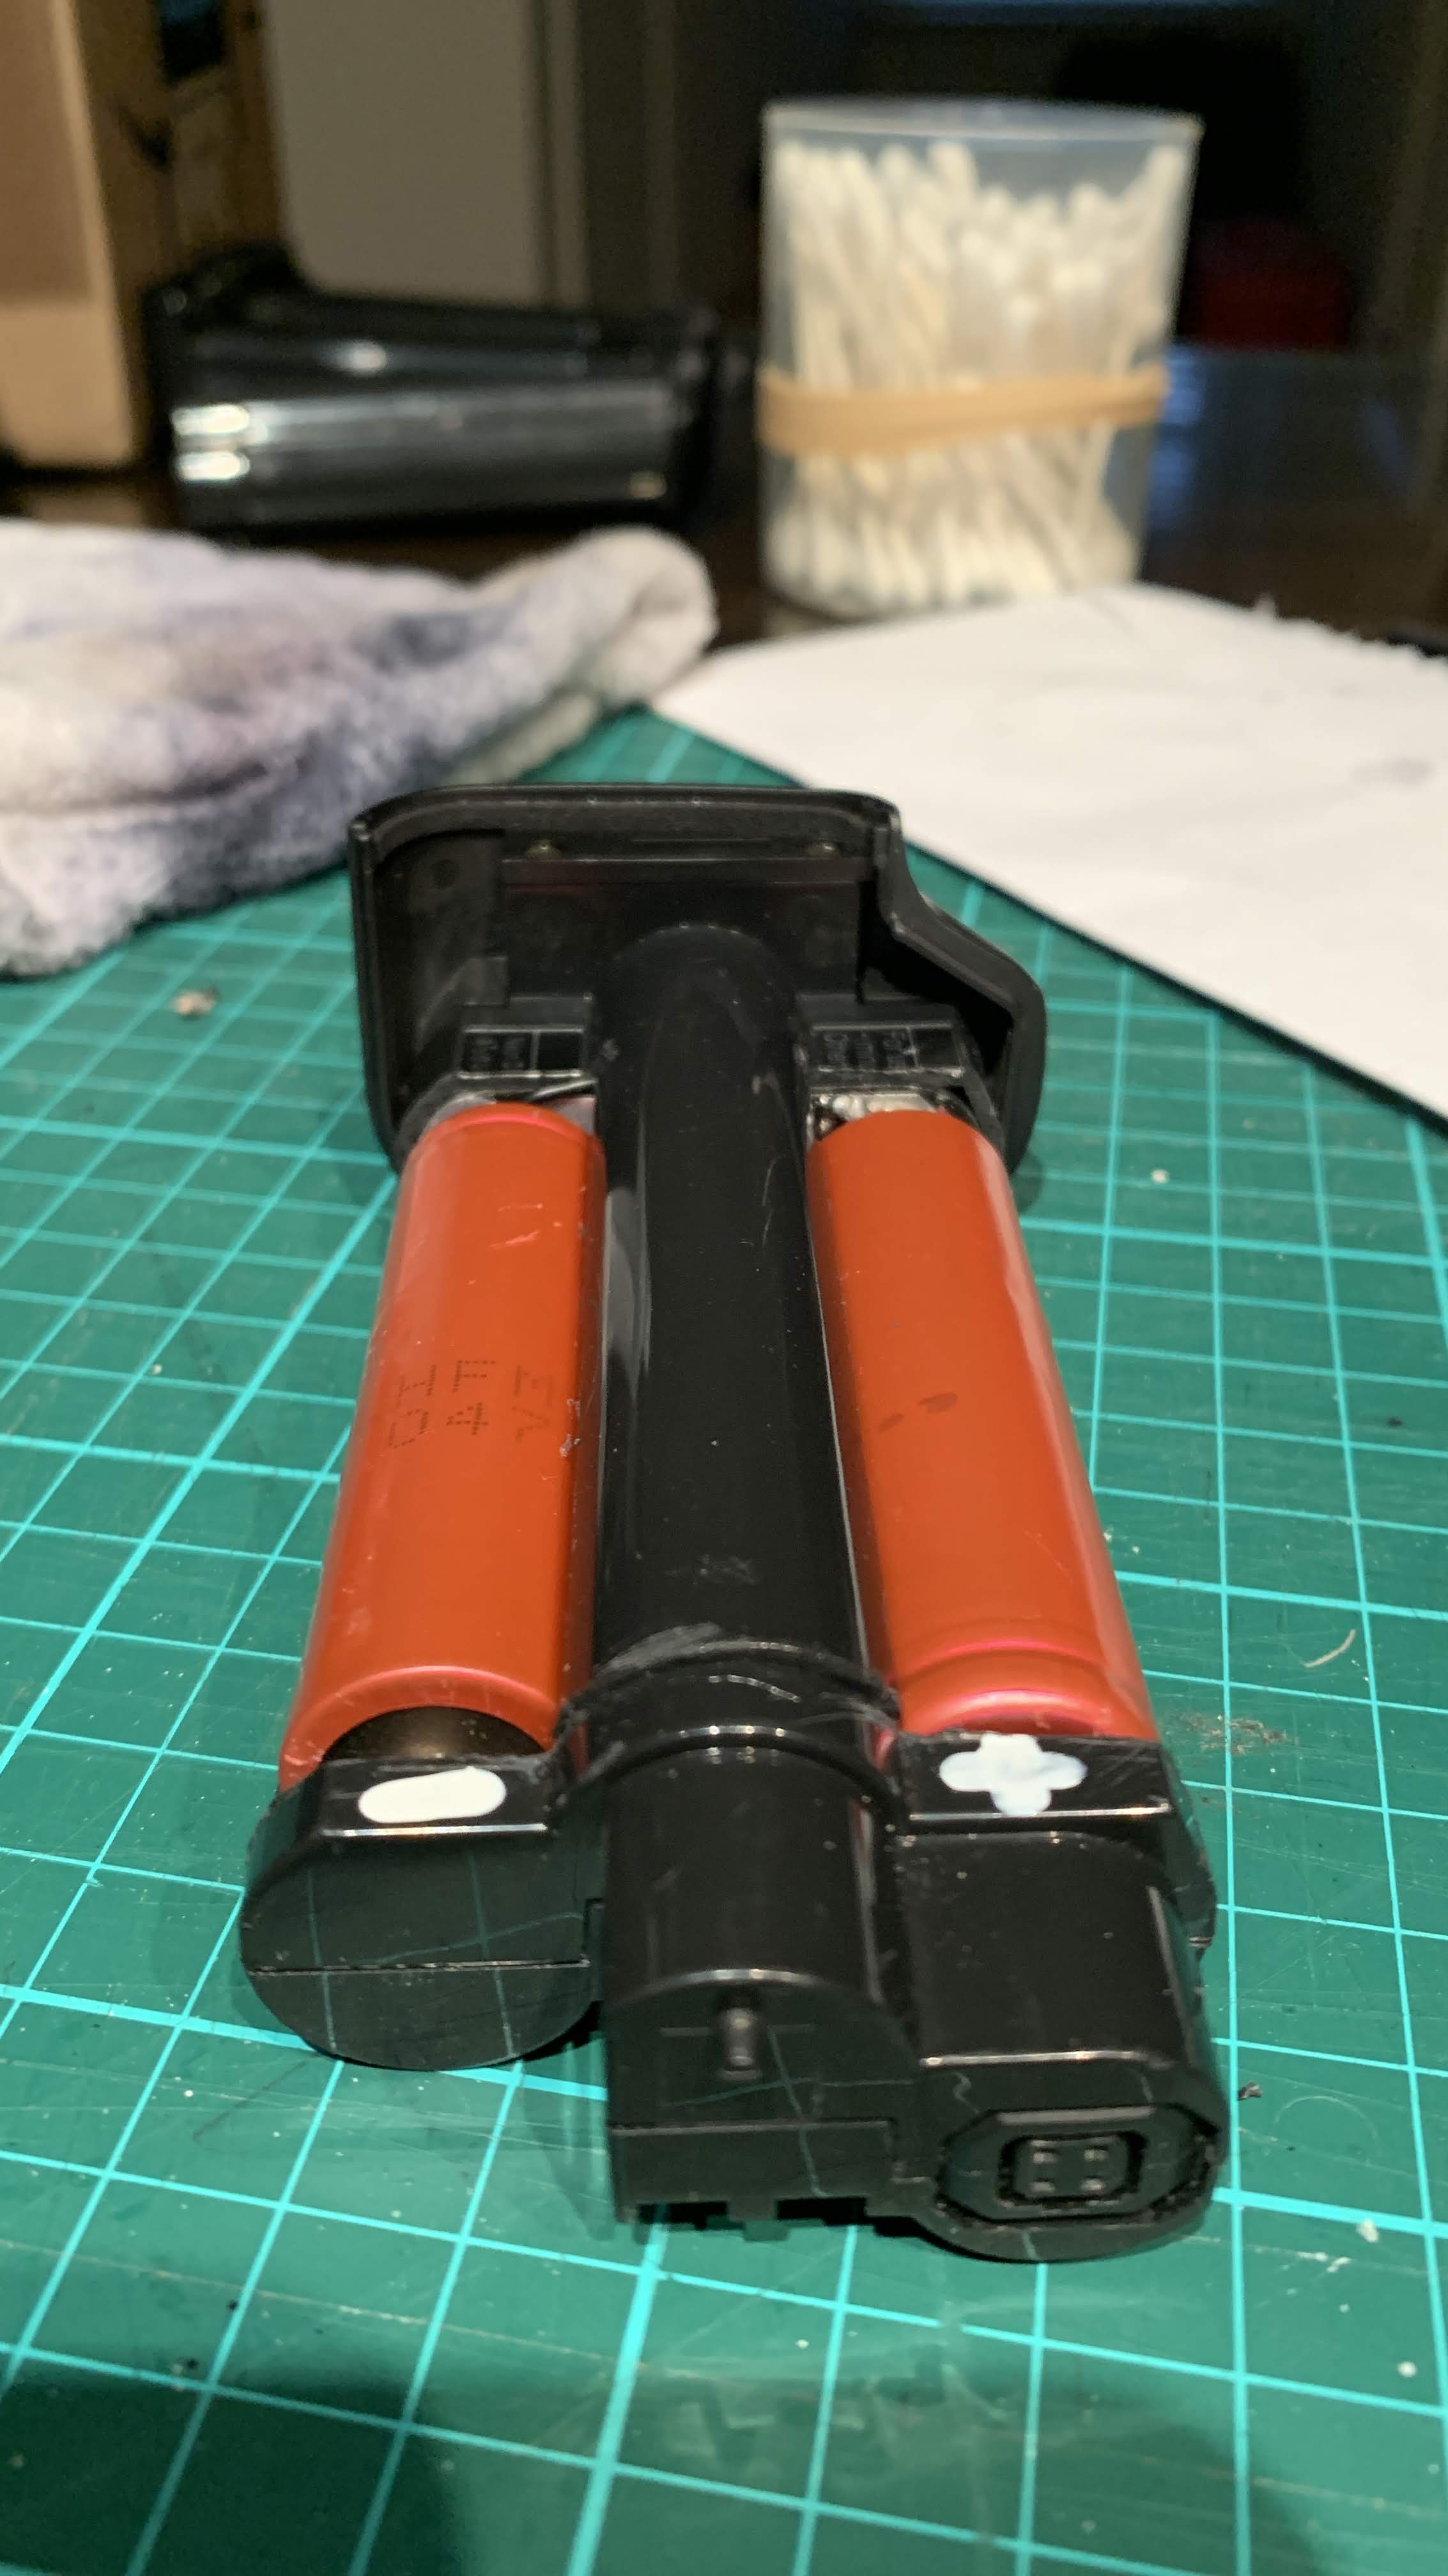
The Nikon Li-Ion 18650 battery cells are placed in the EN-4 casing to check the position for the connecting board on the other end.
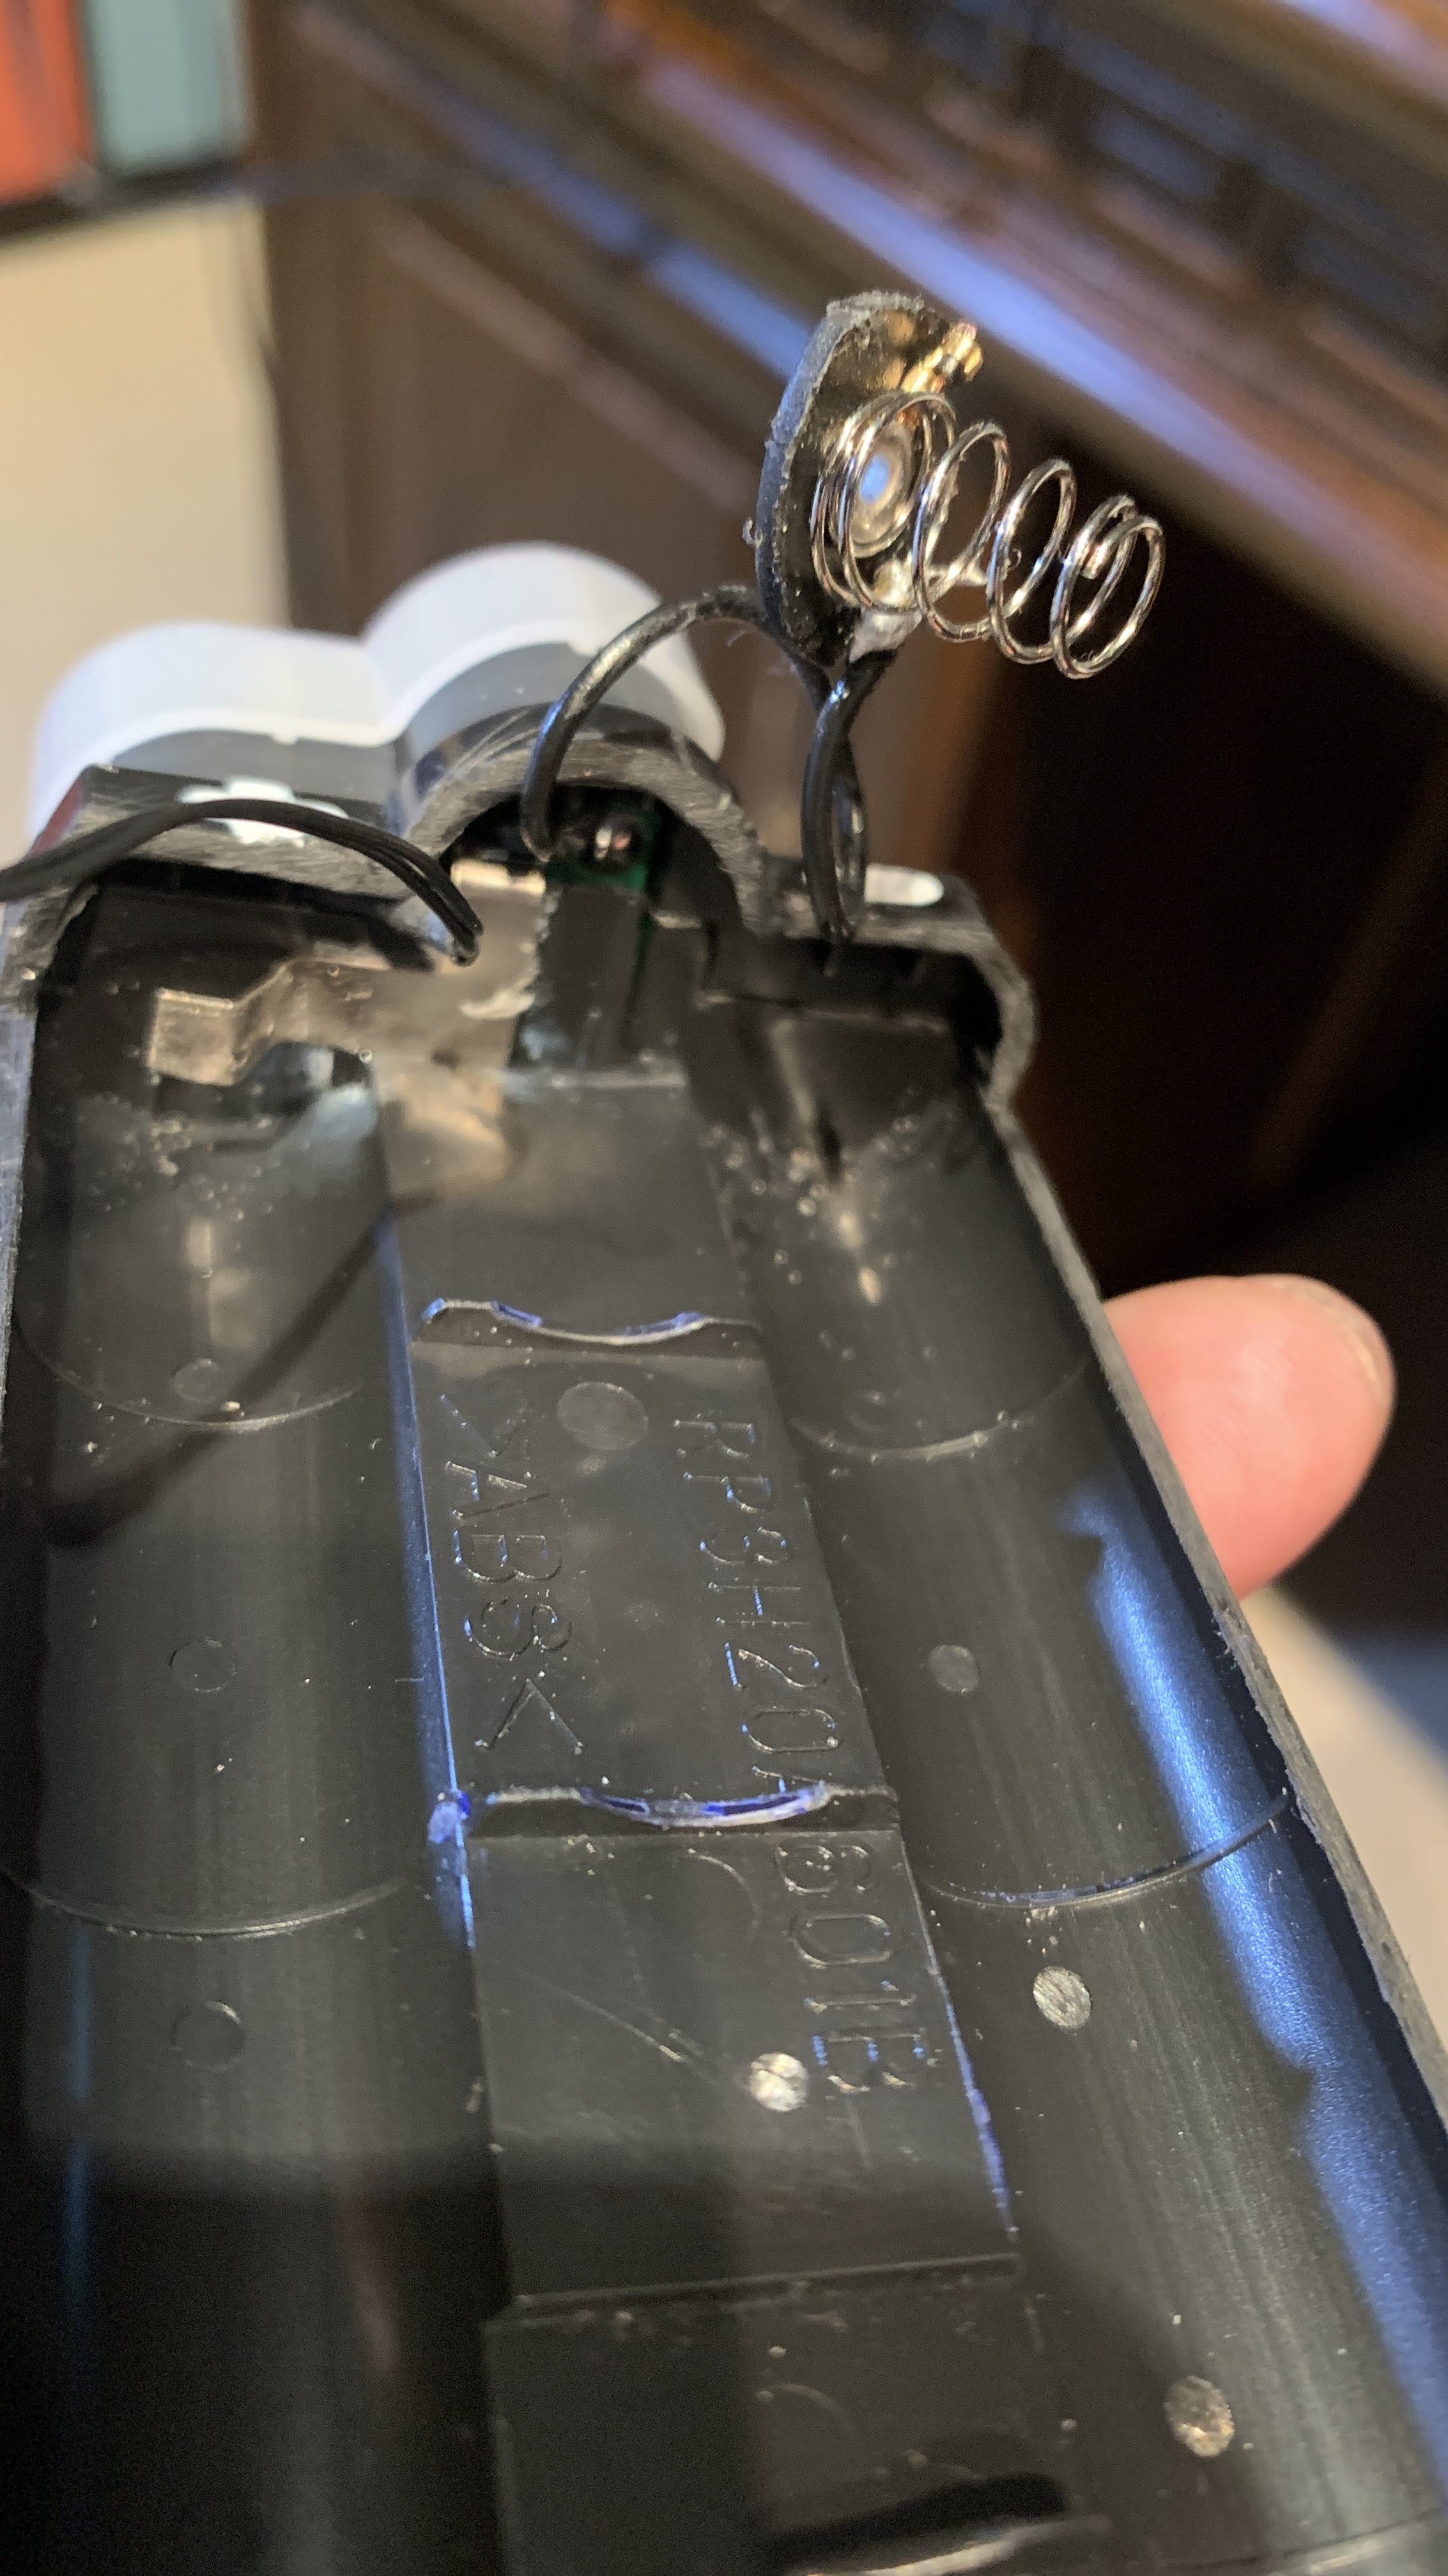
I cut two 16mm diameter wood dowels to form the base support for the cell connecting board. The board is made up of the plastic backing from the 3-cell AA holder with one spring for the negative end connector and an aluminium metal strip constructed from a Diet Coke can to form the positive end connector.
Each dowel has 2 grooves cut into the base to accommodate plastic protrusions on the inside of the casing. The connecting board fits perfectly between the plastic protrusion (to fit the bottom screw of the EN-4 cover plate) and the adjacent plastic divider in the casing.

This cell arrangement provided 7.86V, higher than the NiMH EN-4 rating of 7.2V. However, this apparently is still safe for the camera circuits from my research on the internet.
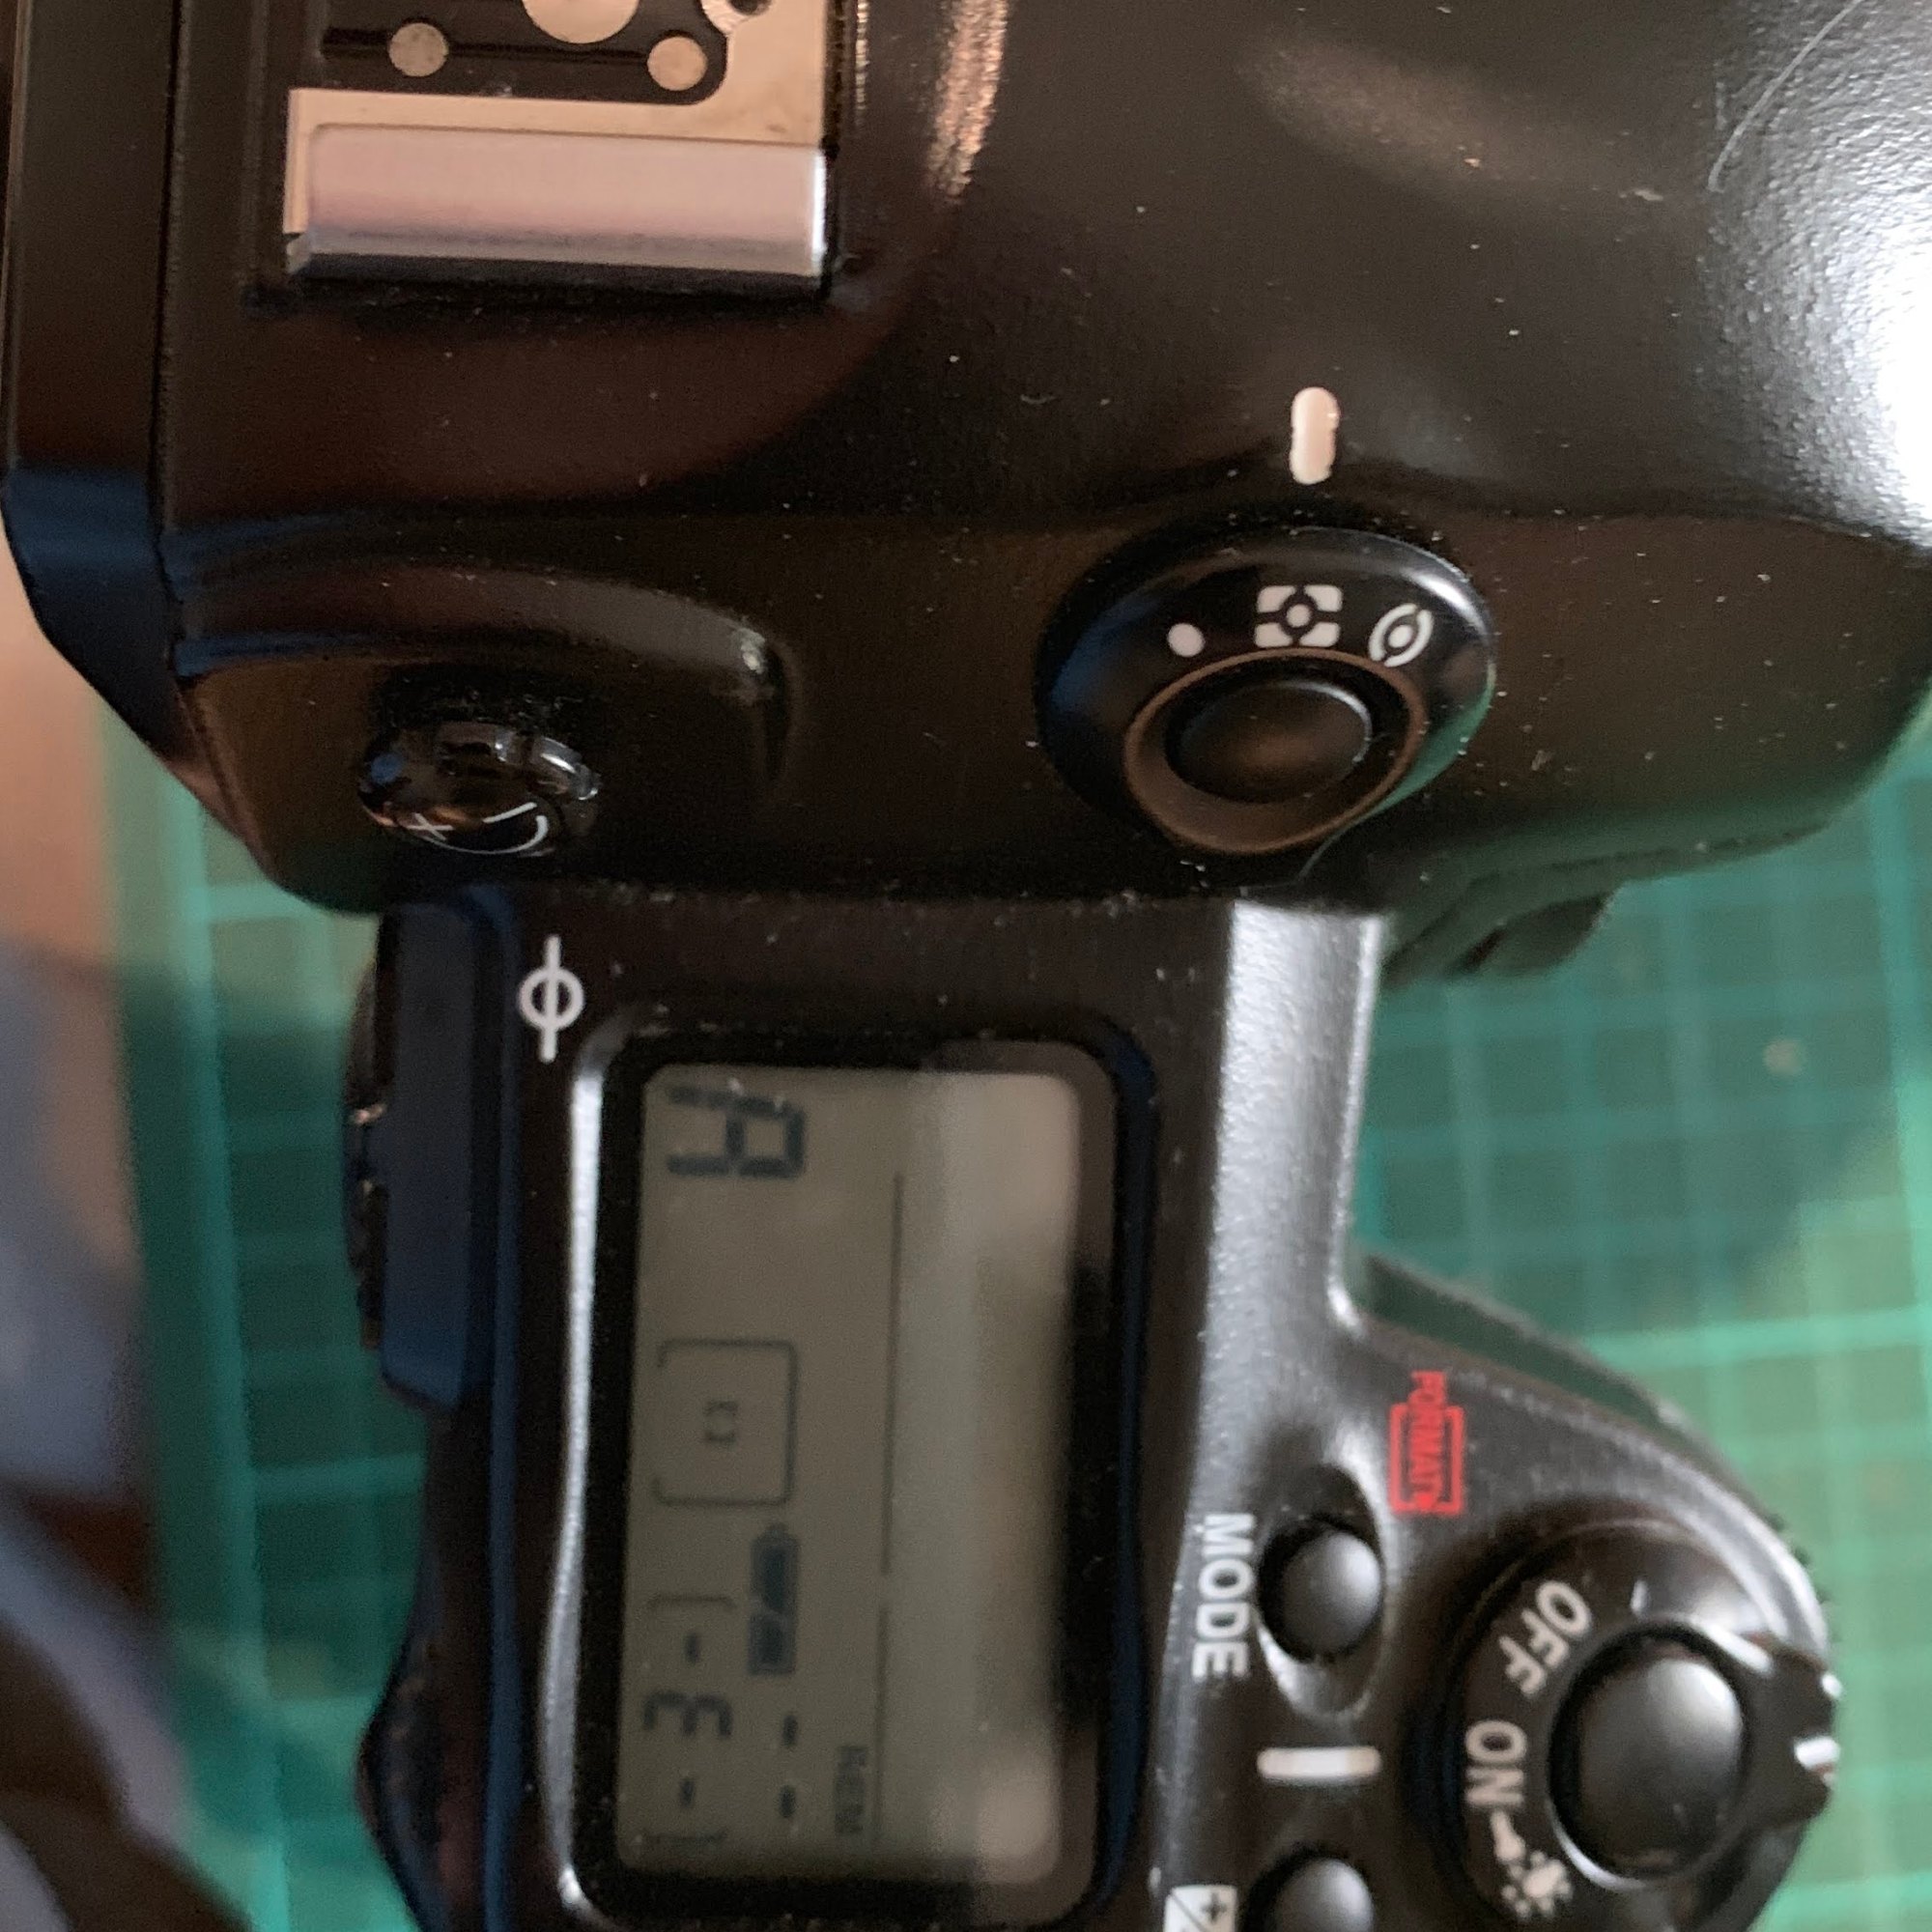
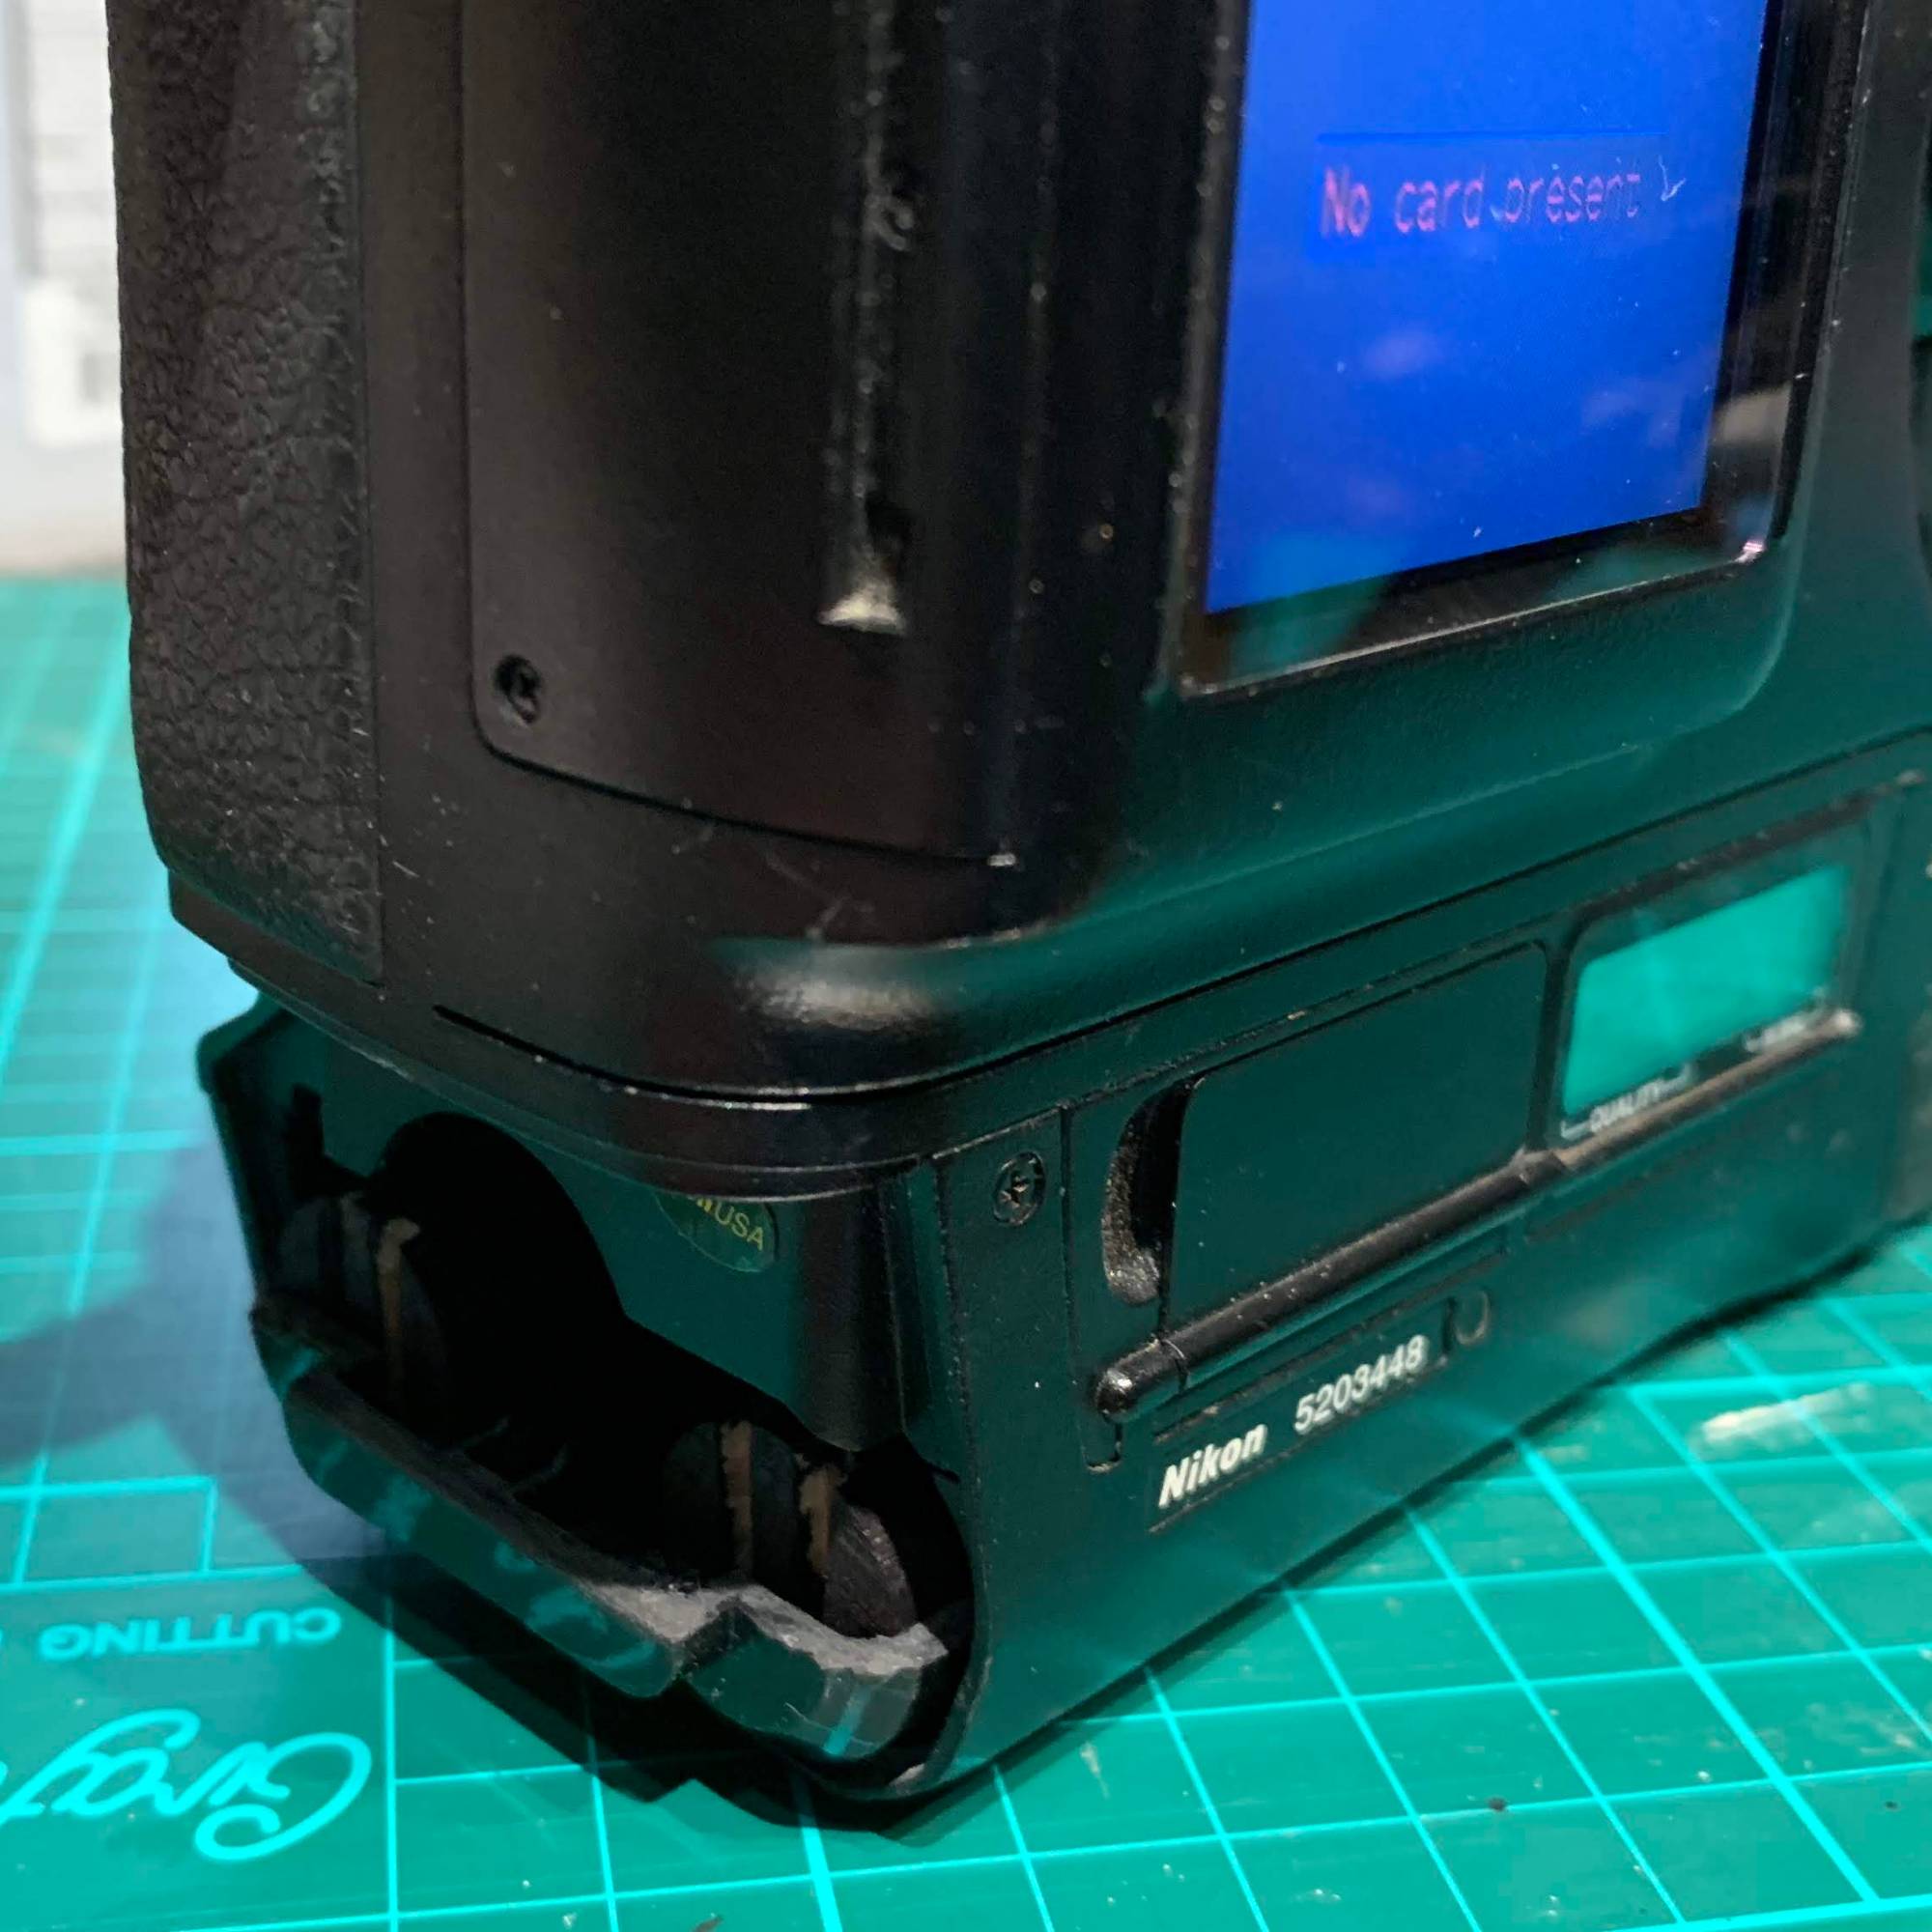
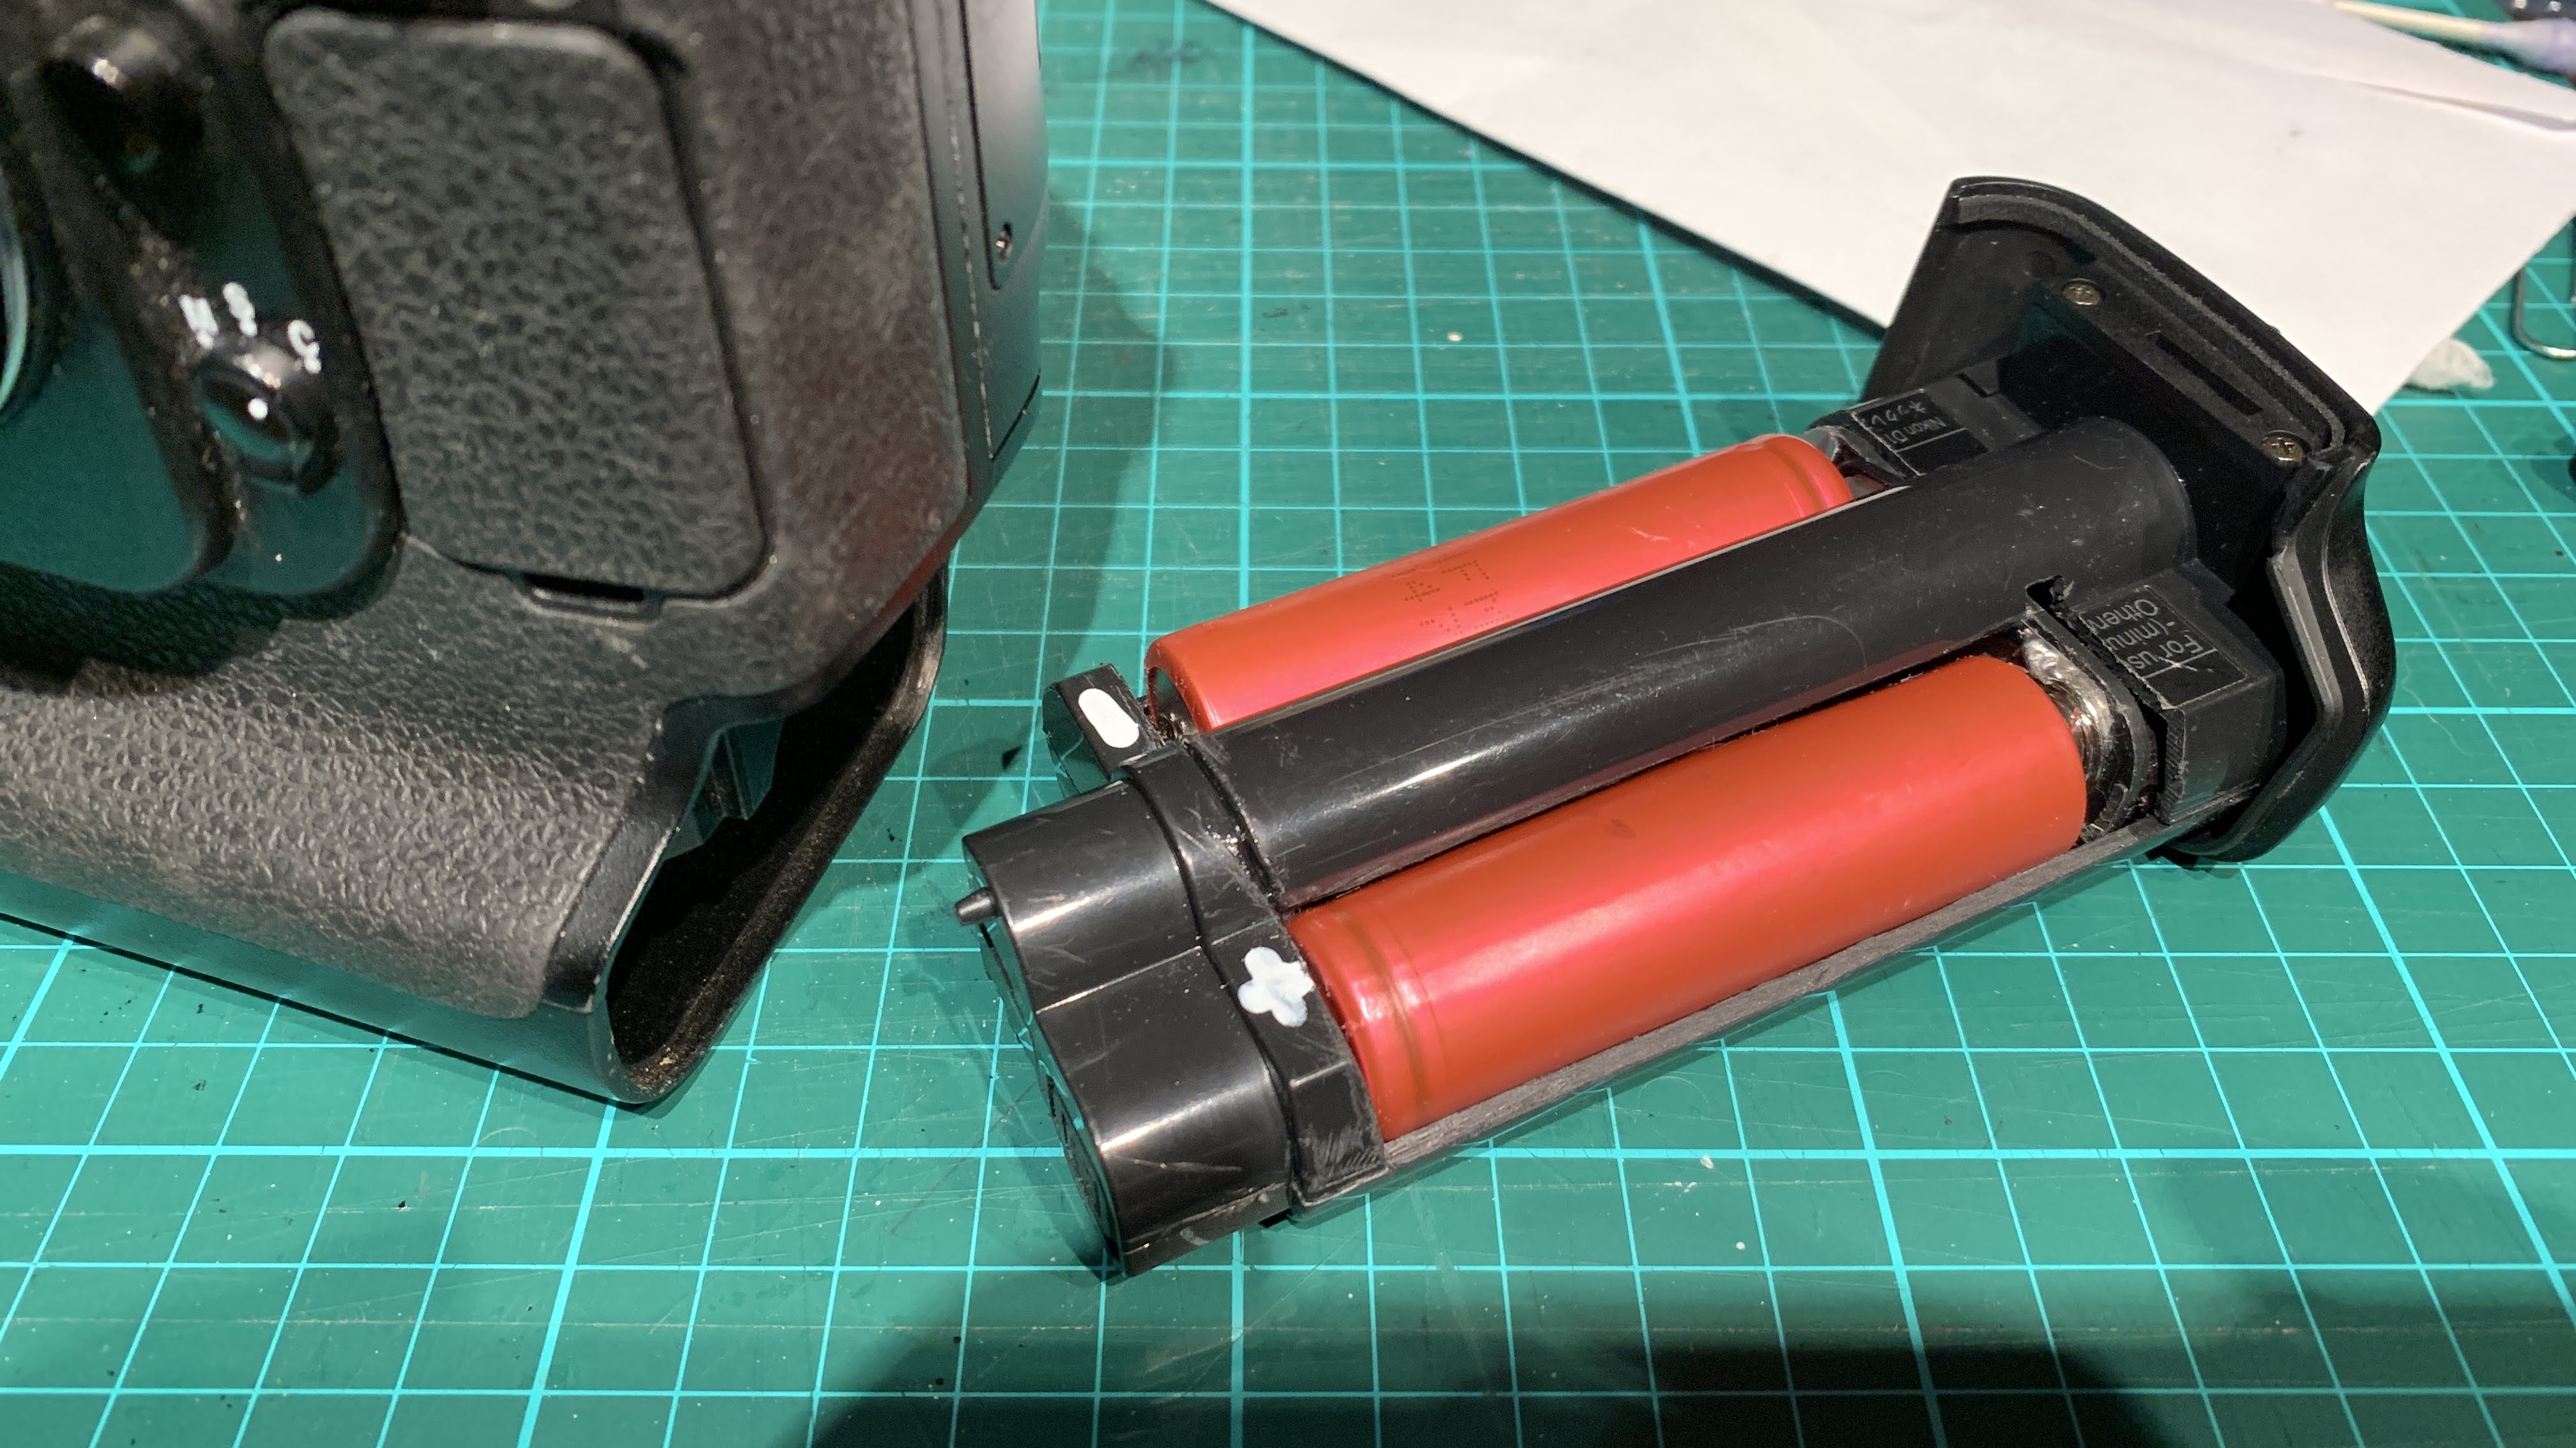
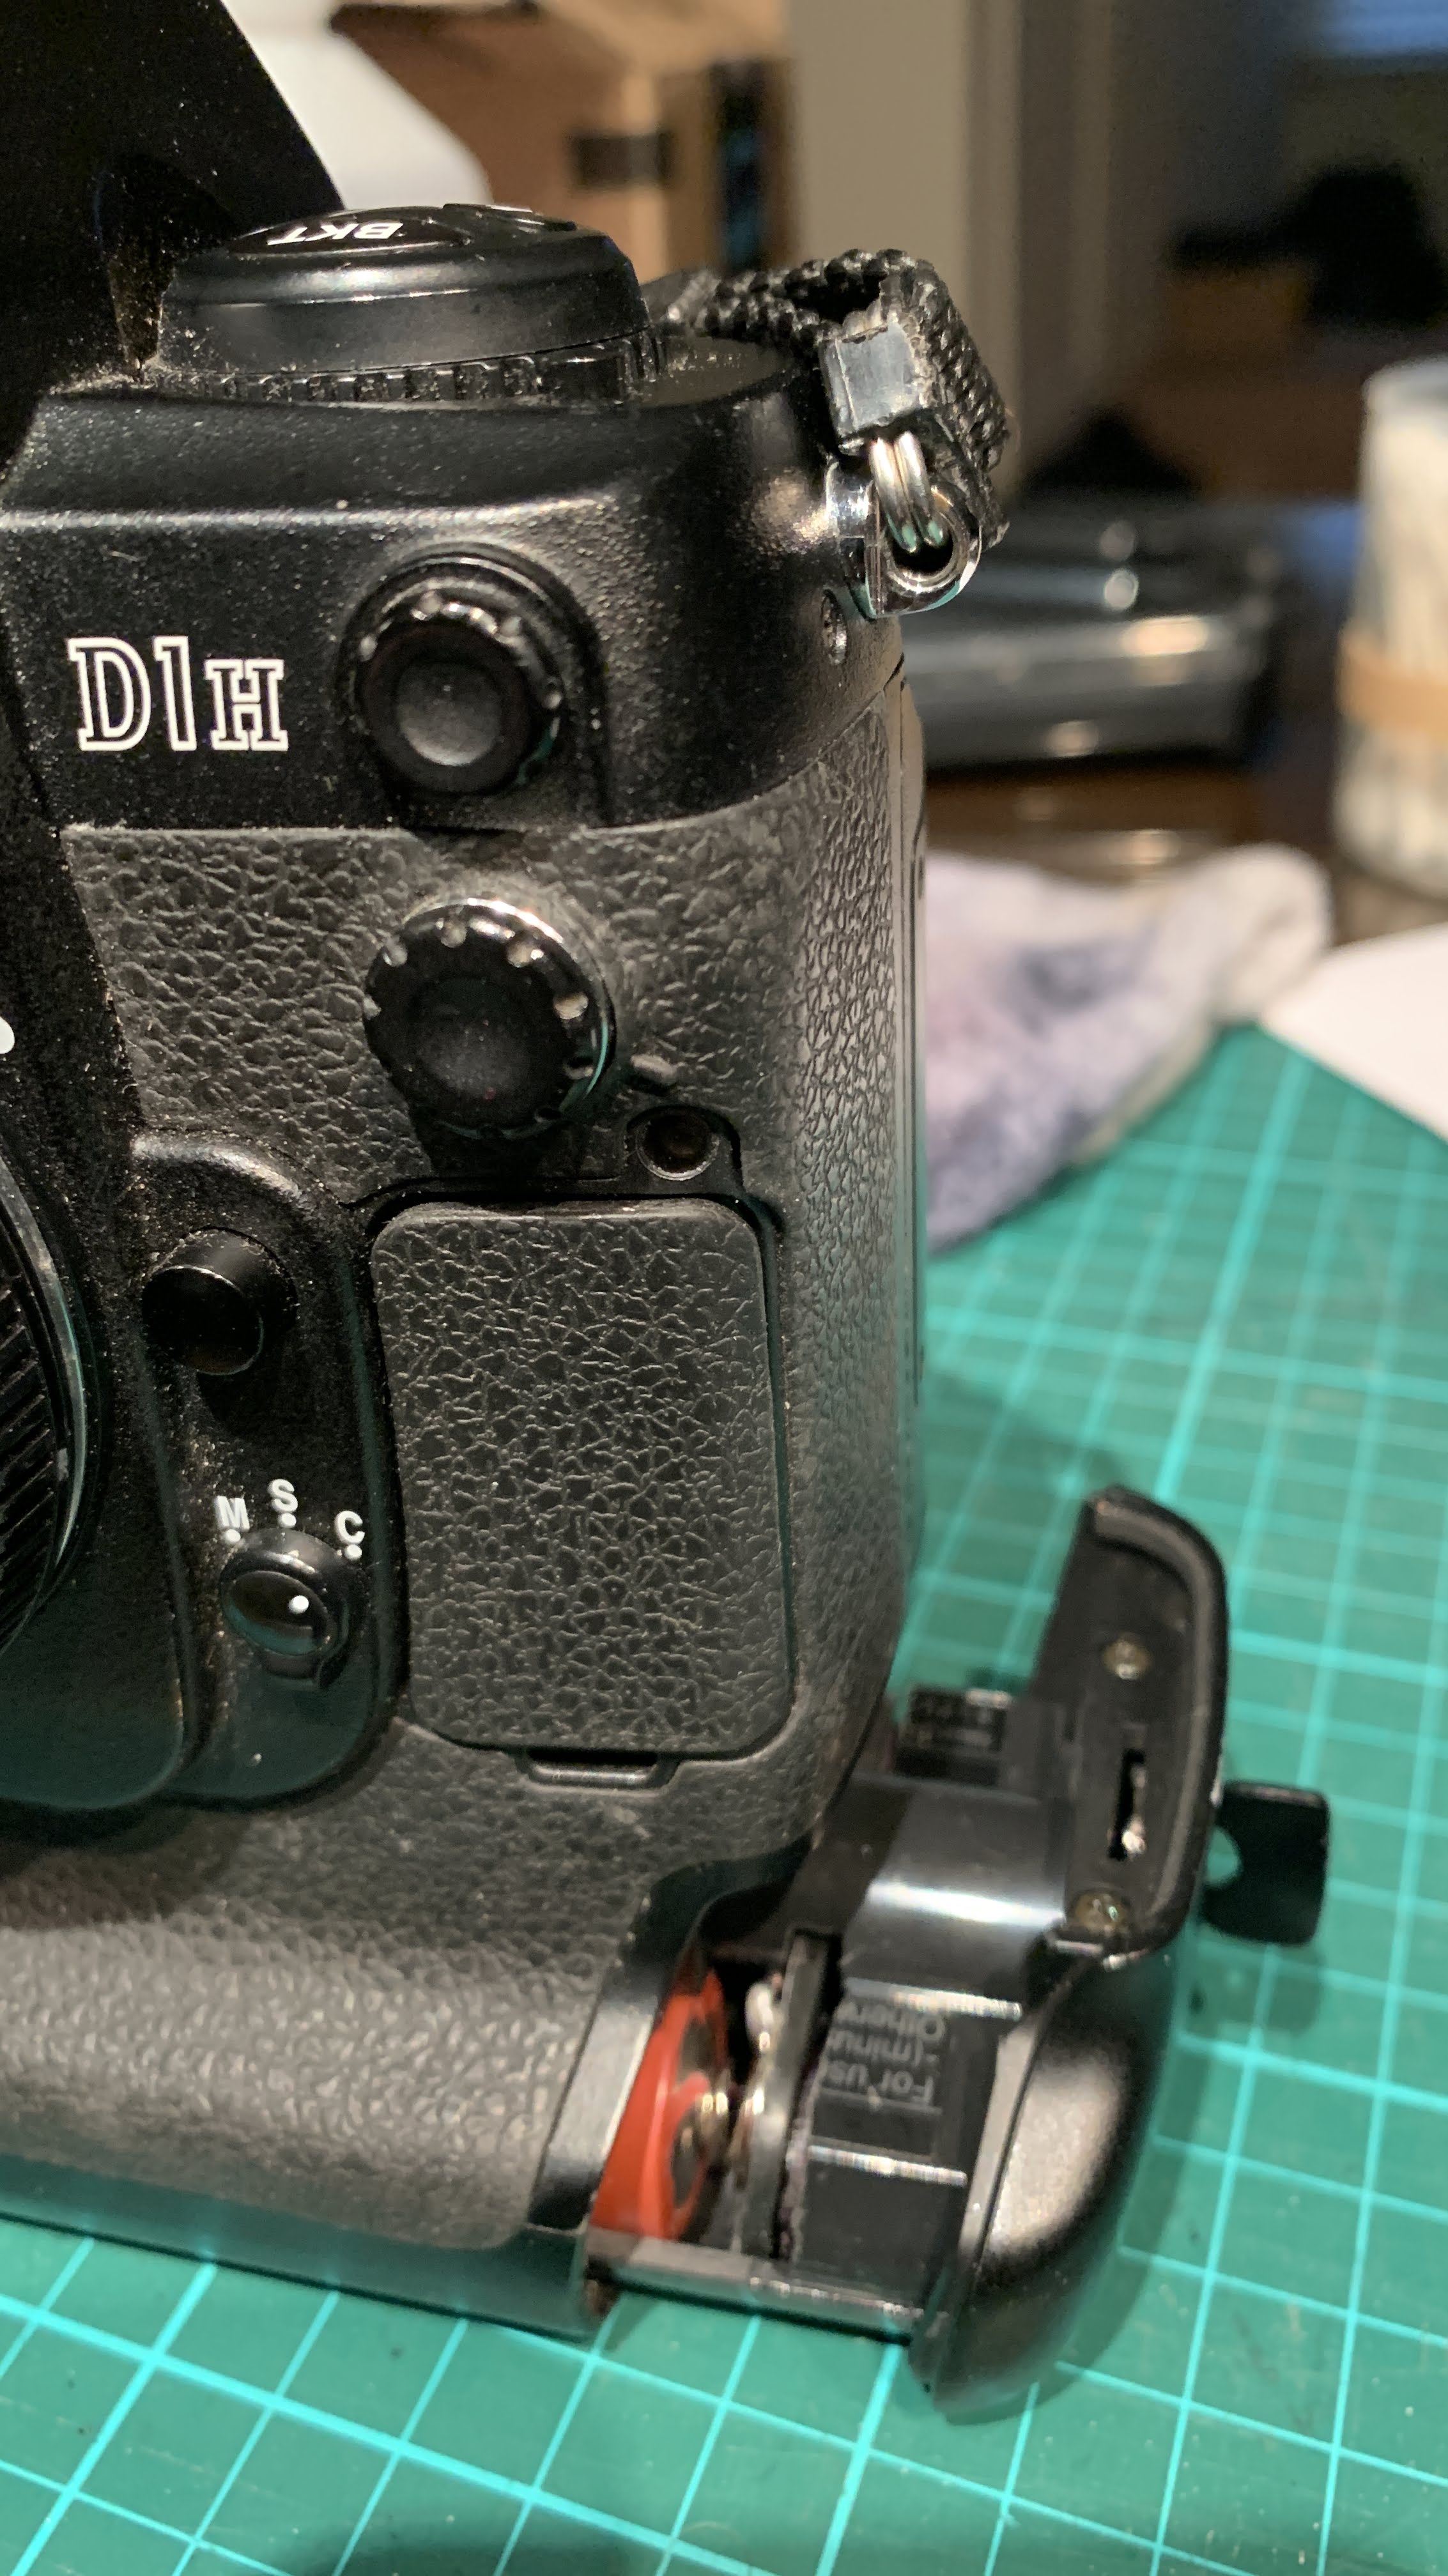
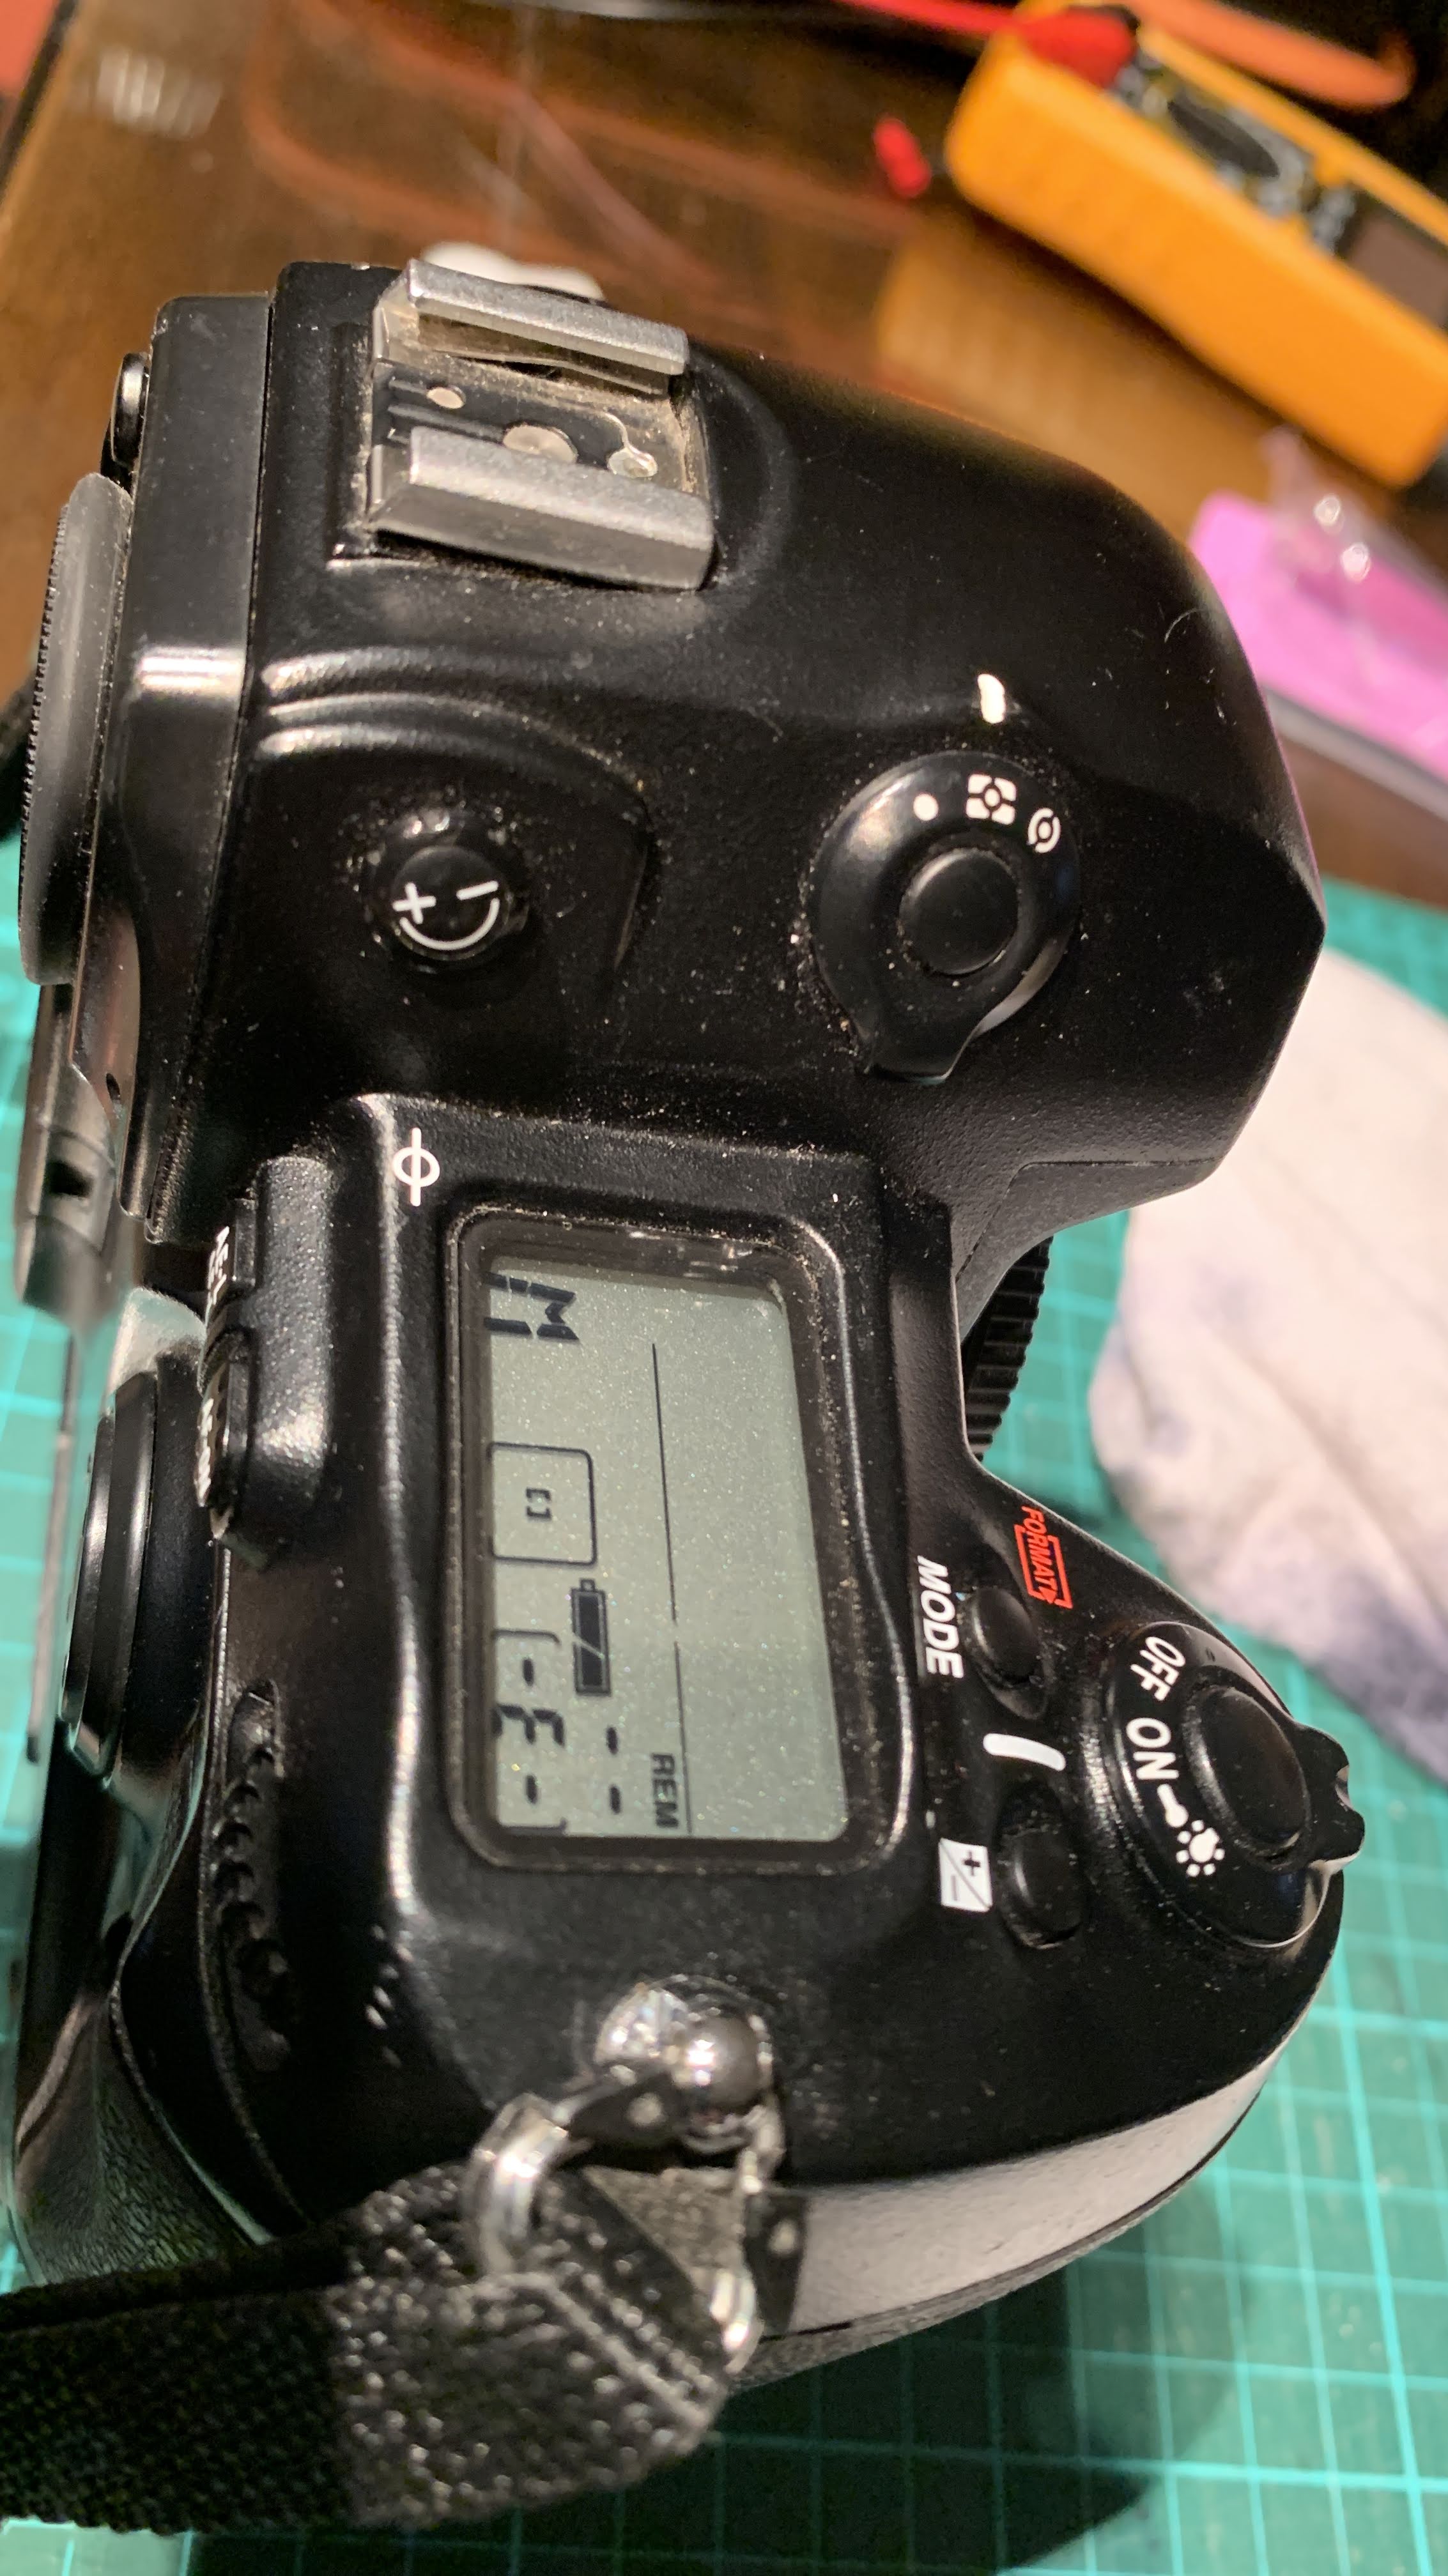
Before glueing the pieces together, I tested this battery pack in the D1H. Carefully inserting it into the battery chamber of the camera and turning it on, both top plate and back LCDs show their customary readings and the monitor reads as normal. More importantly, the shutter fires! Hooray!
Taking the pack out from the camera, the dowels and backing are then glued into position with super-glue.
The electrical connection on the board is formed by connecting the aluminium strip to the spring. This worked fine before glueing the strip to the board but once I glued the strip, the connection no longer worked. I surmised this was due to super-glue creeping up between the metal strip and the spring by capillary action and forming a thin “insulating” barrier when it hardened. To restore the electrical connection, I later had to solder in a connecting wire. In future, I would use a small round head screw, screwed to the dowel through the board as the positive connector and connect this to the spring by wire. No glue.
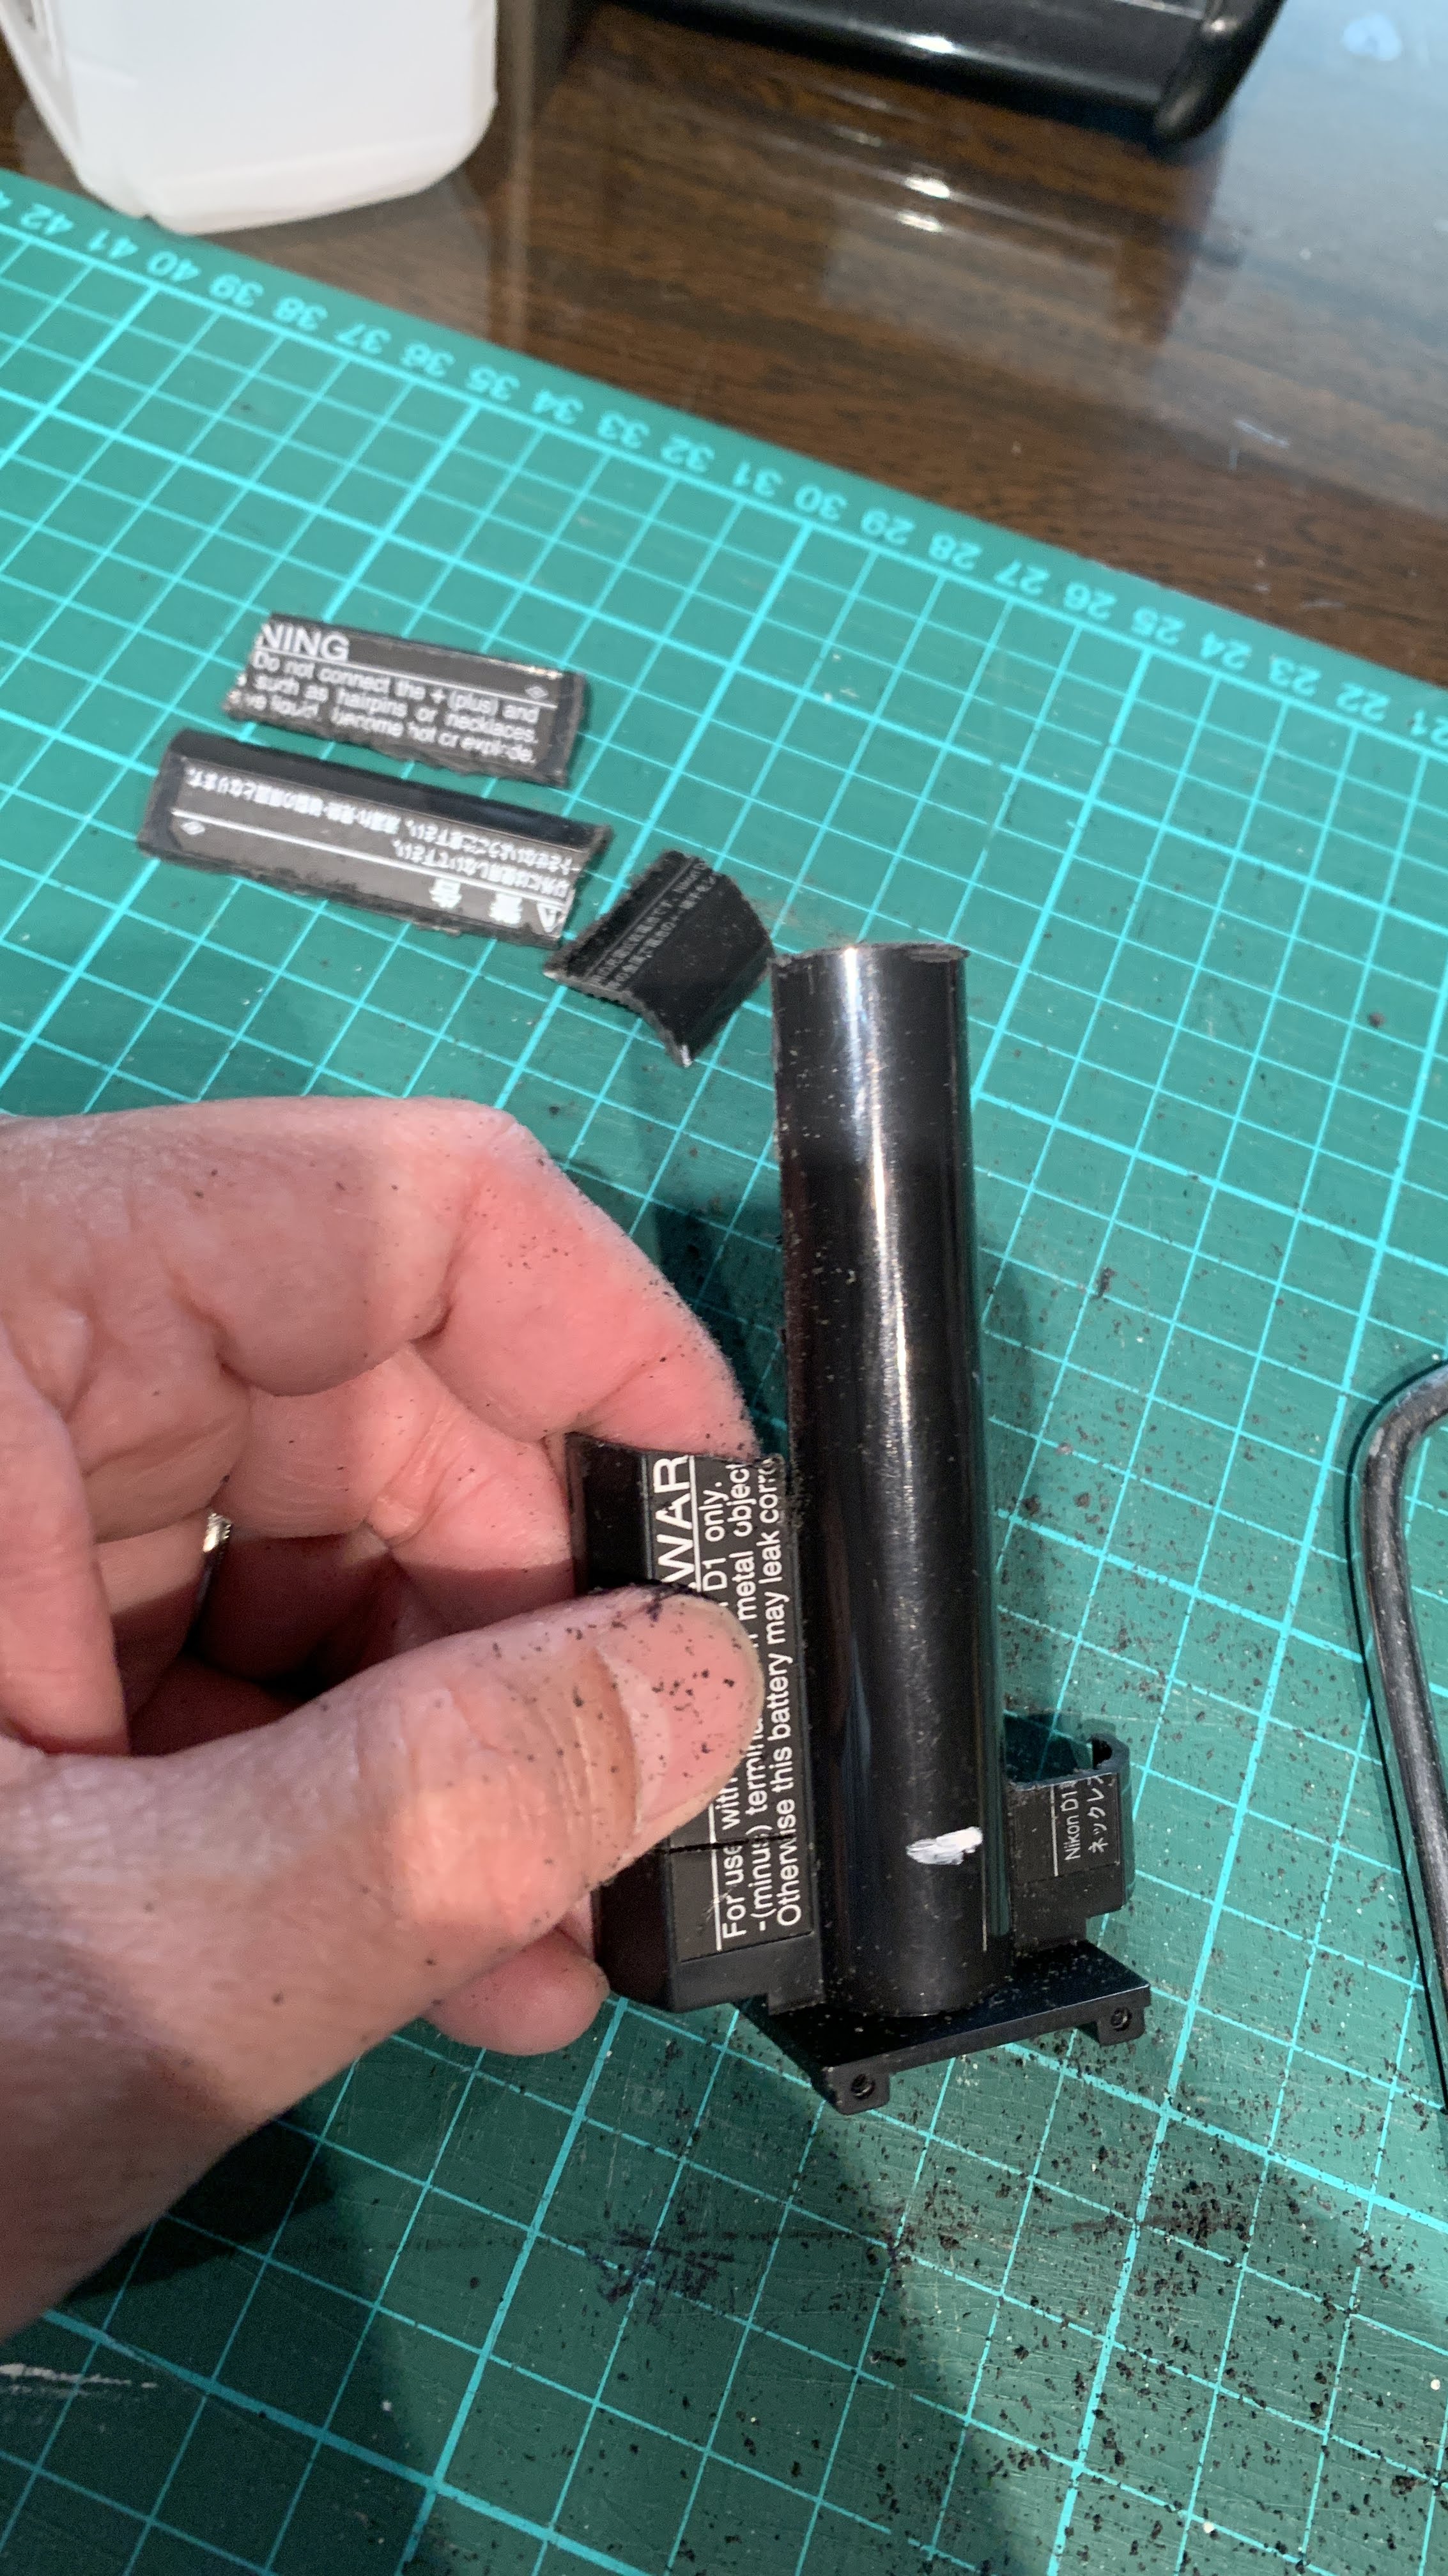
Once the components were glued in position and electrical connections restored, the top half of the casing is readied for re-assembly. Because the 18650 Li-Ion cells are slightly wider in diameter than the NiMH cells, the top half of the casing cannot fit back without removing the sides of the top casing to expose the Li-Ion cells. Once this is done to measurement (and covering the dowels for esthetics), the halves are glued together.
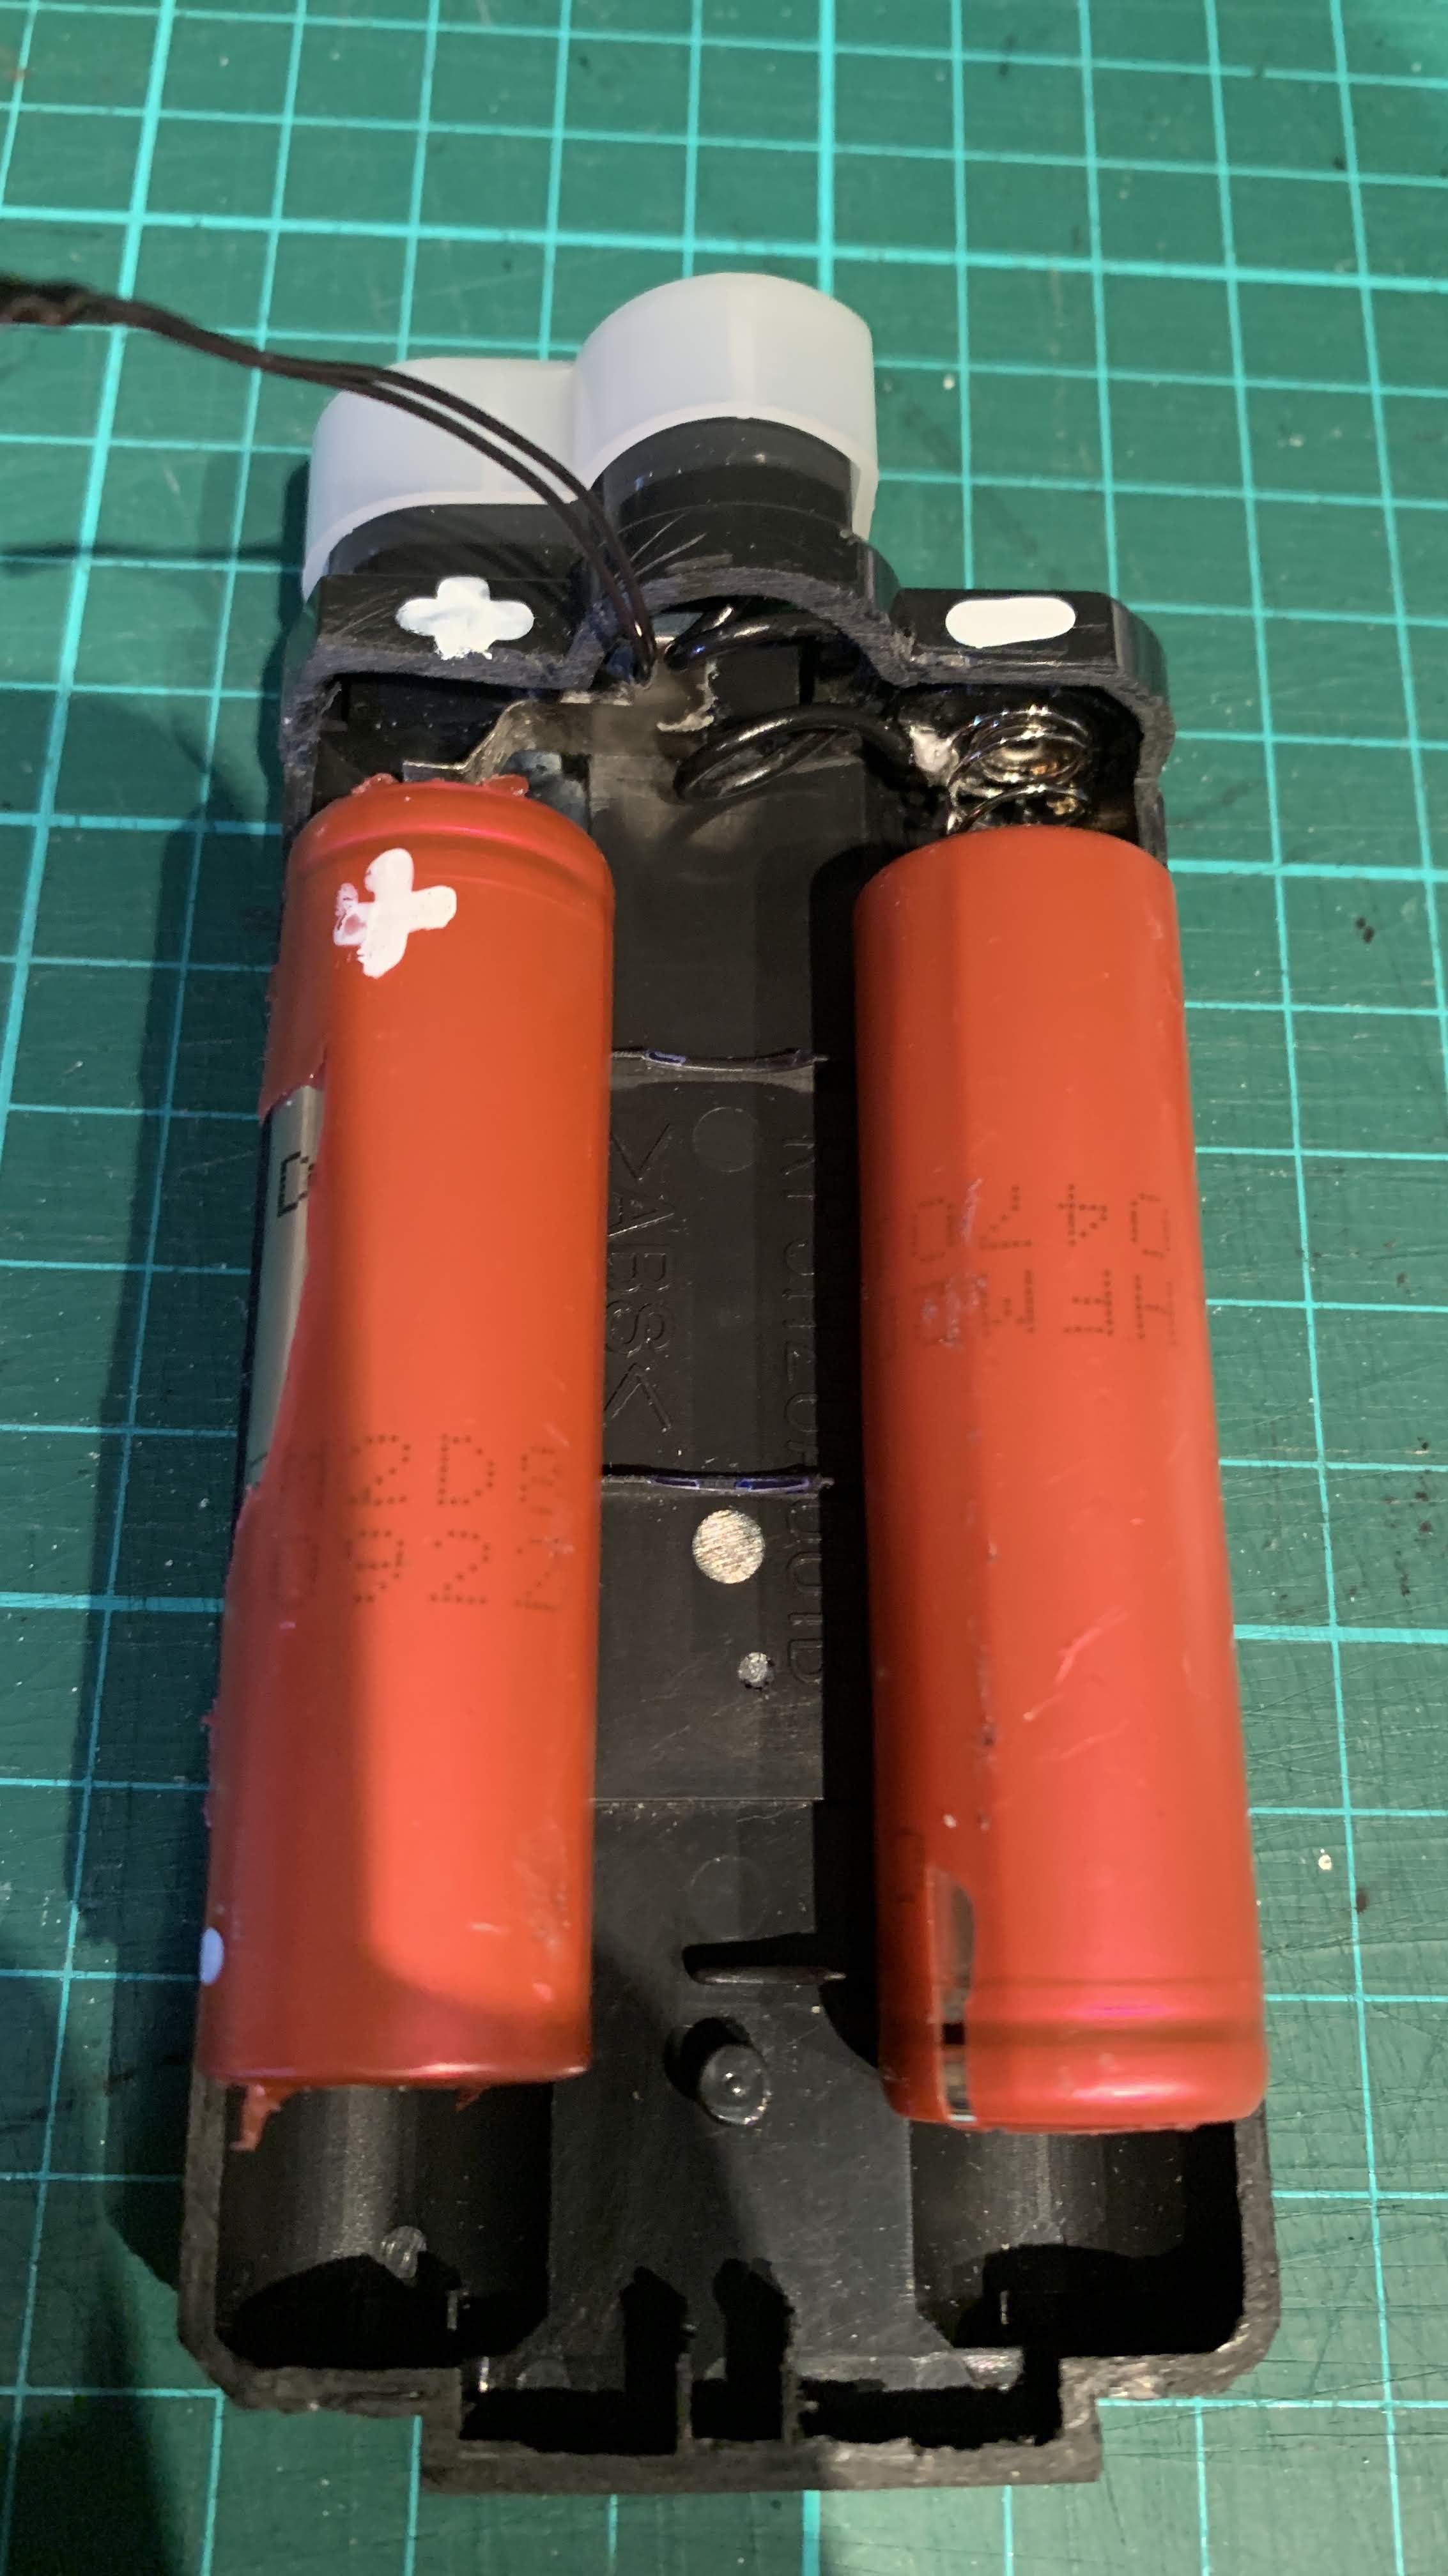
The finished product with the Nikon 18650 cells inserted.
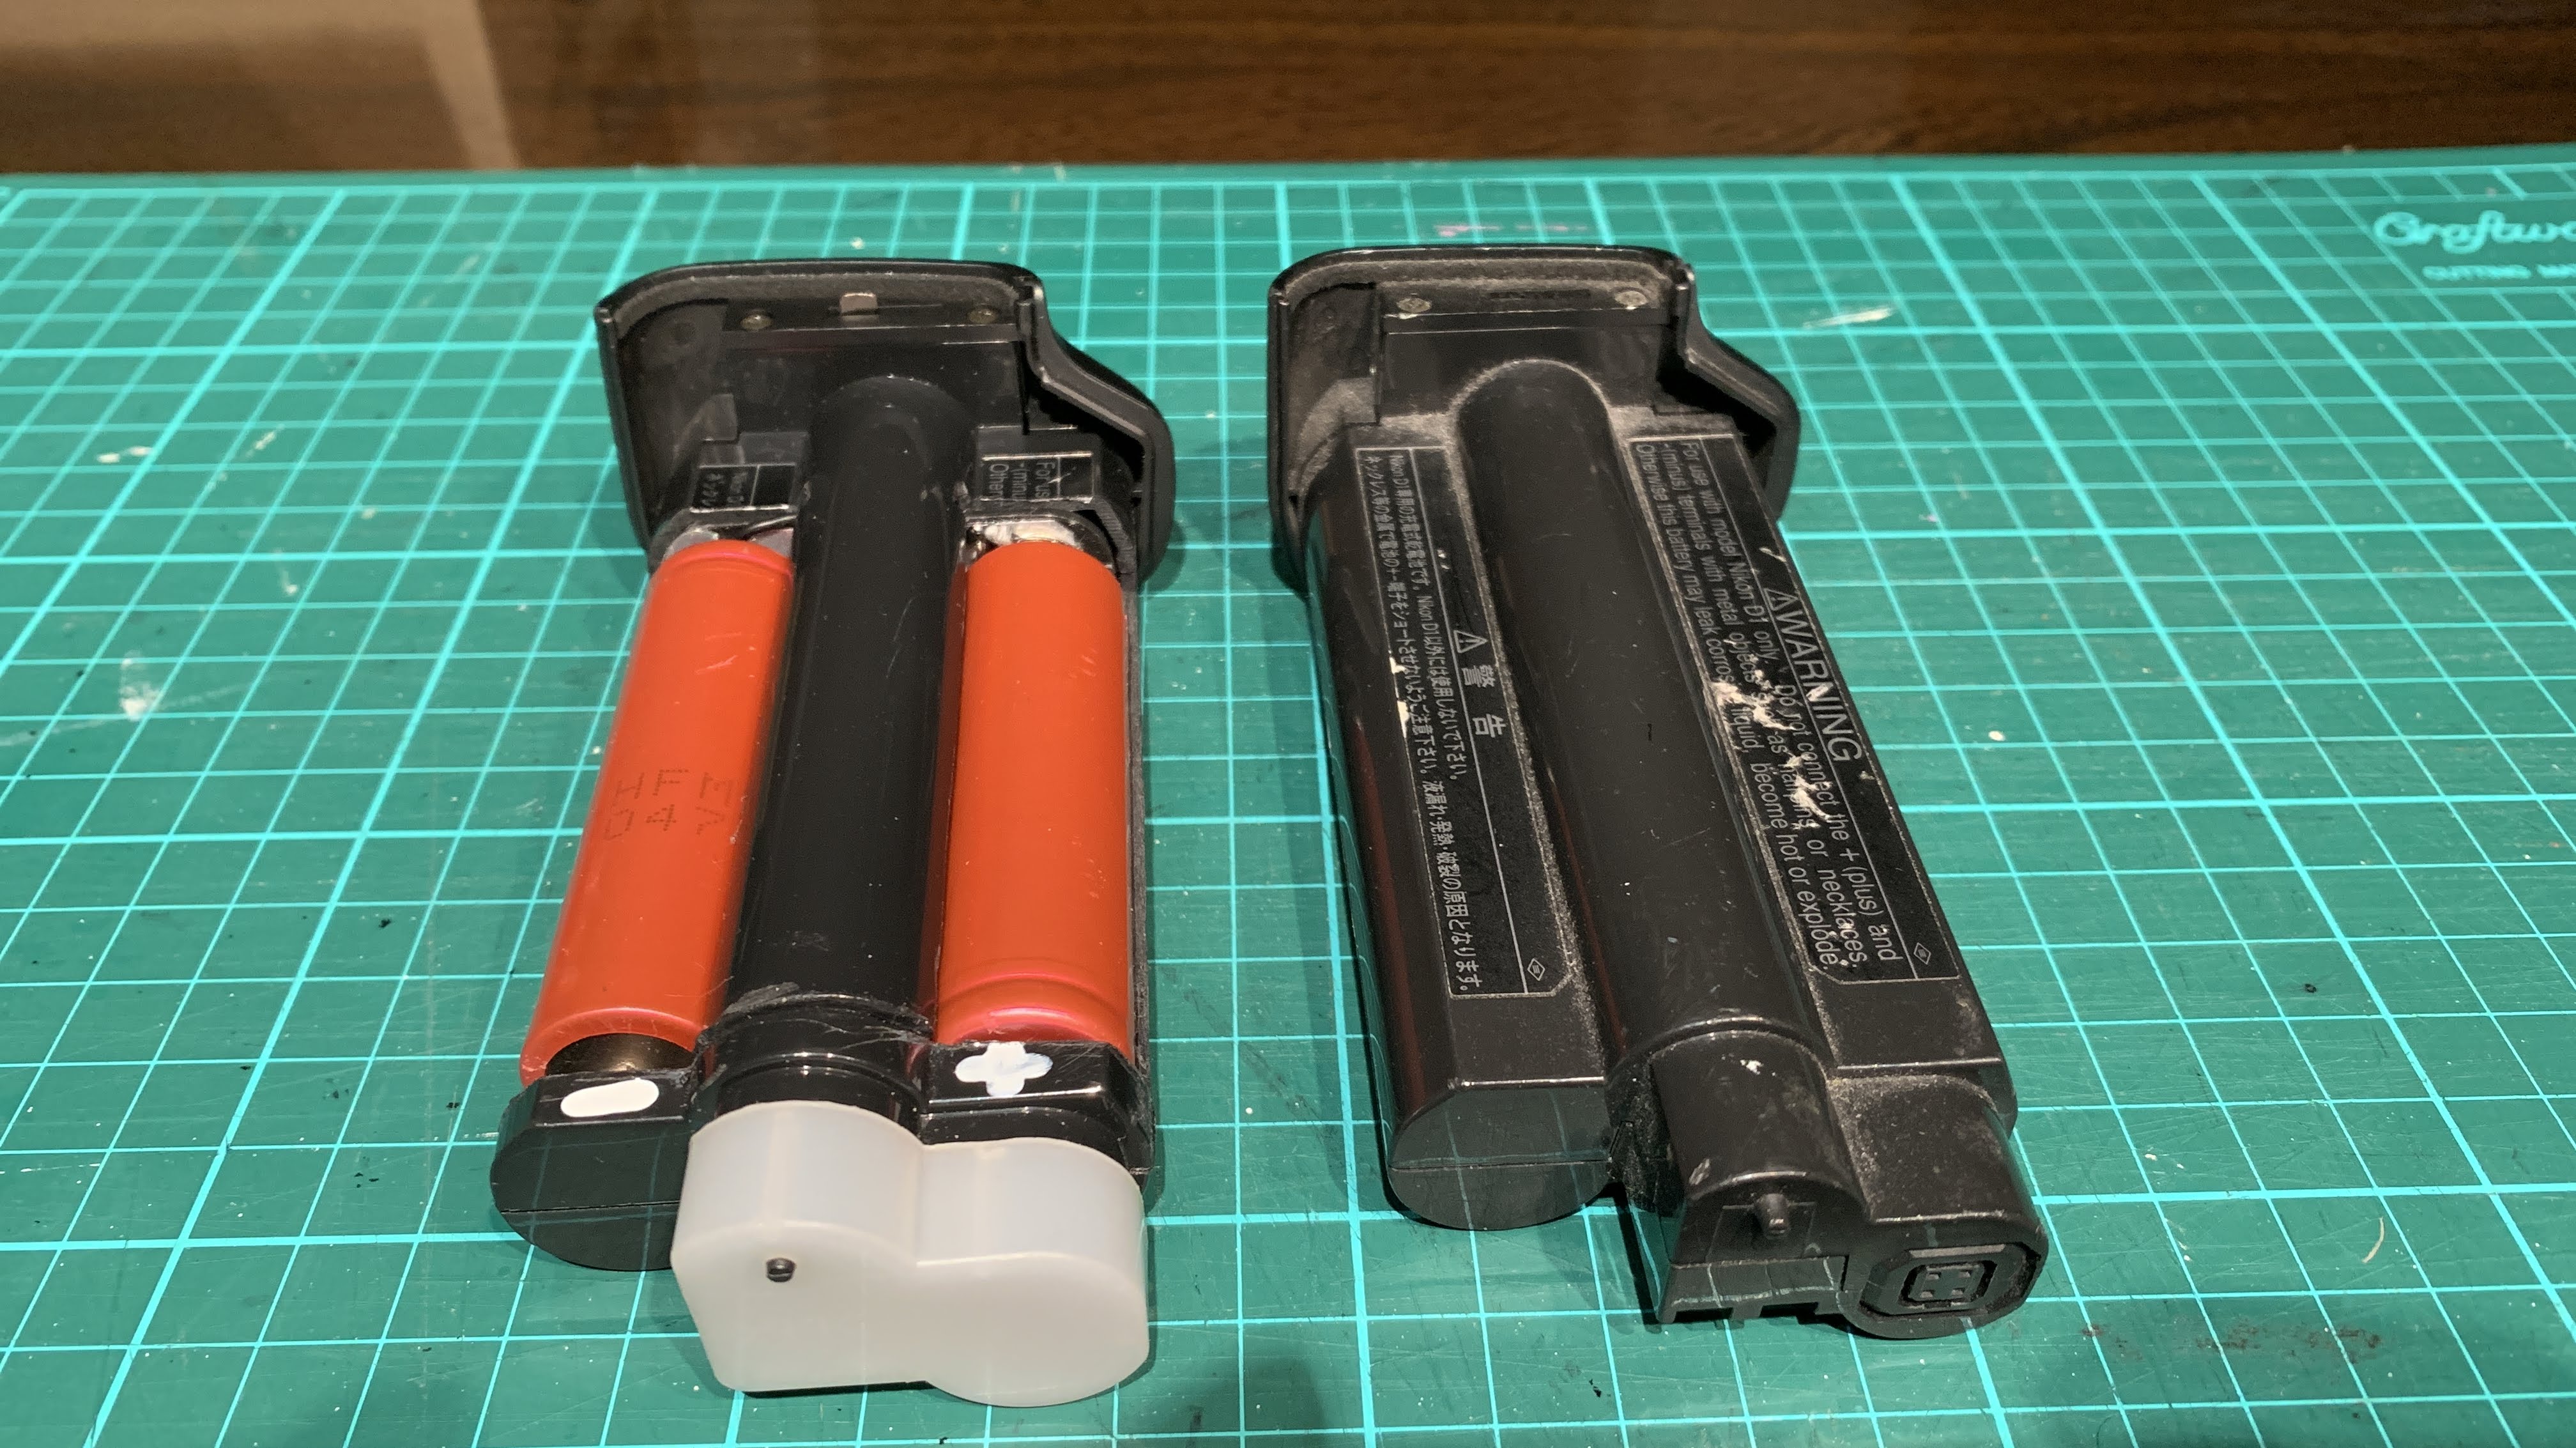
The Franken Li-Ion EN-4 next to another dead Nikon NiMH EN-4.

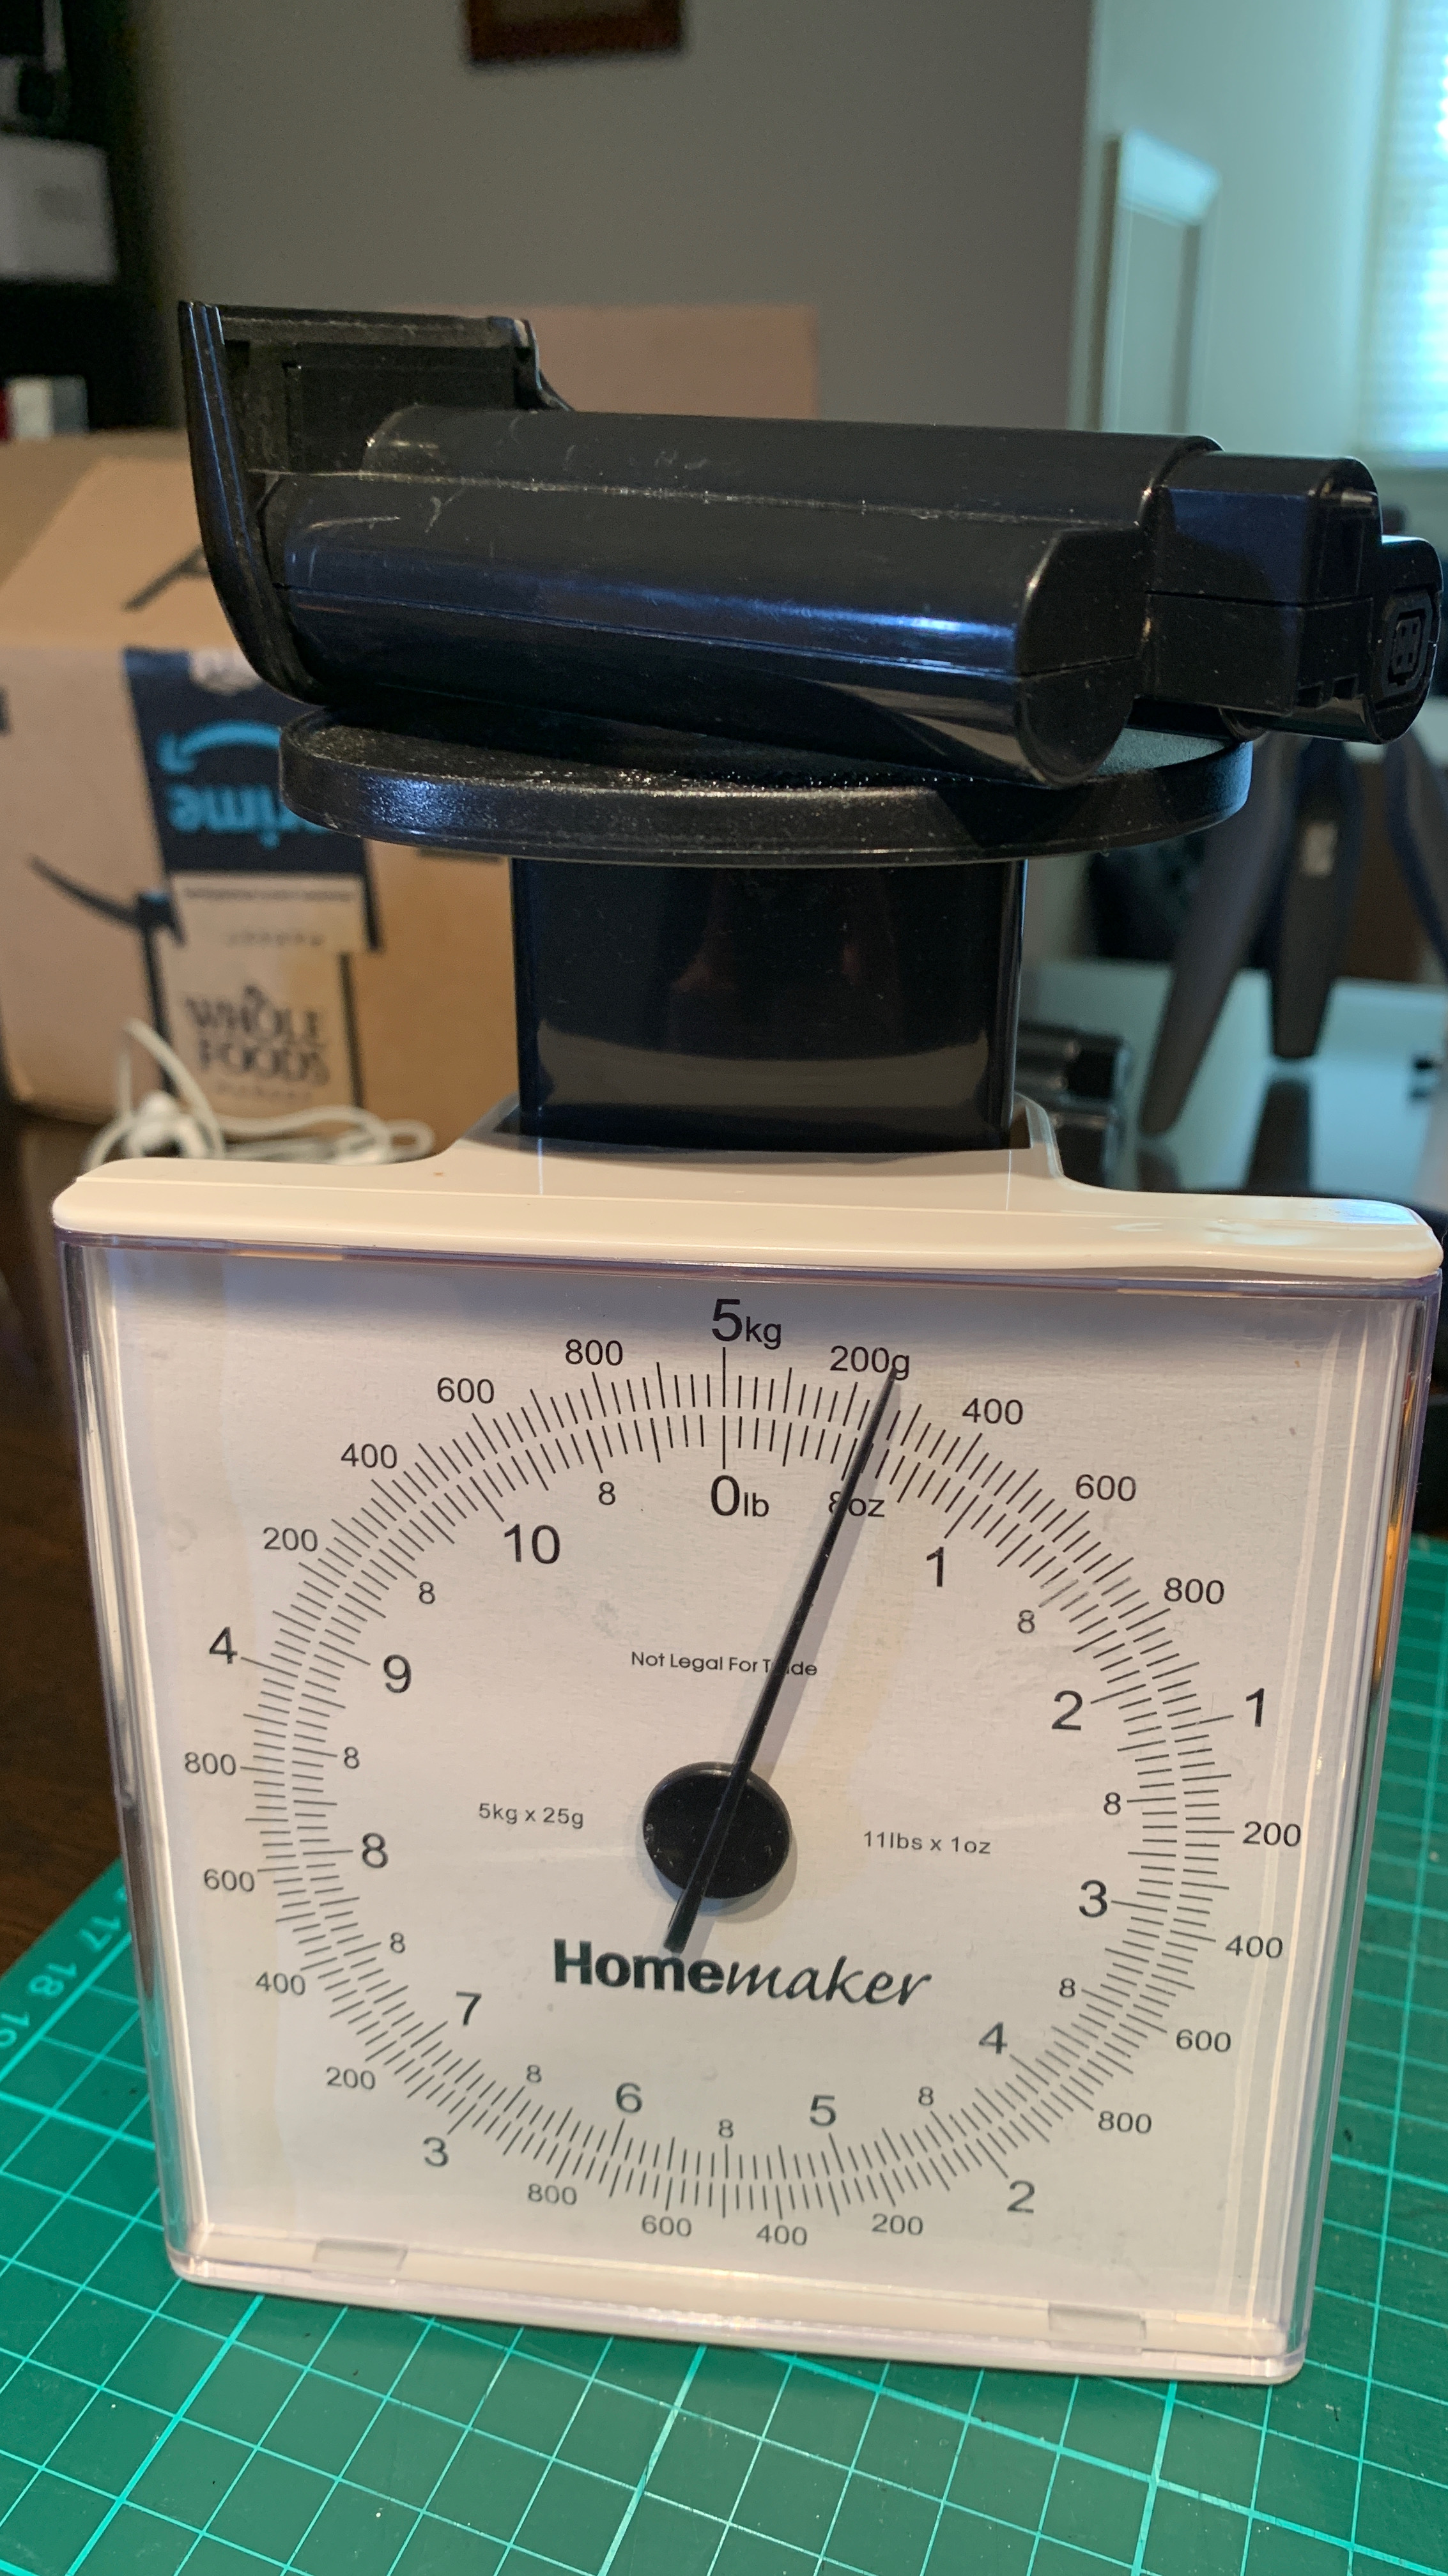
The Franken EN-4 weighs approximately 150 grams compared to the original EN-4’s 250 grams. Approximately 100 grams less.

With the new Samsung 18650 cells and a combined total of 5000mAh of capacity – this Li-Ion Franken EN-4 battery pack has more capacity or juice to last longer and take more photos than the original NiMH EN-4.
Overall, a satisfying project to revive an old $50 Nikon pro-level camera.

Thanks for the inspiration. I had everything laying around so I ran with your idea. I don’t have the Nikon charger so I used springs for tension and made the batteries removable so I can charge them with my $5 charger! I can send a few photos if you would like. Thank you for helping make my old Nikon useable again!
LikeLiked by 1 person
Thanks for your comment, Bob. Glad that your old Nikon is usable again. Would love to see your photos!
LikeLiked by 1 person
Hi aksiong, what charger you use for the restored Li-ion acupack?
LikeLike
Hi Pavel, you can easily buy a 18650 battery charger from eBay.
LikeLike
aksiong,
Thank you for your detailed conversion. I followed the procedure on my D1/EN4 and when inserting the “Franken” Unit everything functioned as per your write-up and pictures.
Auto focus, shutter release, both screens functioned as they should – BUT the image was not registered on the CompactFlash Card after shooting pictures.
Reinserting another battery (not modified) all functions resumed proper operation.
I used (2) Tenergy 3.7 v – 2600mAh – 18650 Batteries – reading 7.8 volts at the connections.
Have any suggestions?
LikeLike
I don’t have any issues with my CompactFlash card using the “Franken” unit, so unable to comment on why this is an issue.
LikeLike
Hi aksiong, Thank you for your post on the Nikon EN-4 battery conversion to 18650 Lithium. What’s an acceptable range on the battery mAh, since ebay offers a wide variety on the 18650 batteries, 2000 mAh to 9000 mAh?
LikeLike
Hi Alex,
I’m no electrician but I read somewhere that the mAh indicates the amount electrical charge that could be stored in the battery. However I wouldn’t steer too far away from the rating of the original Nikon battery. Hope that helps.
LikeLike
Hi D1 users,
I just completed my “Franken” unit following aksiong’s instructions. The unit runs with two 18650 batteries, each having a capacity of 3400mAh. These batteries fully charged provide 8.3 volts at the connections. Although a bit afraid that my D1H wouldn’t survive that, I can tell you that it fires like it never did before! Wonderful!!!
Sandro
LikeLike
This is awesome! On a whim, I picked up 2 D1 cameras without batteries from an “as is” auction on ebay, but was shocked later to see the only batteries I could find were used or $50. The used ones I picked up didn’t work, so I started looking for alternatives and found your post. This is now on my list of hobby projects. Thanks for sharing! I’m excited to try it out!
LikeLike
Good luck 👍🏻
LikeLike
Interesting project. I have a D1x a cousin gave me some years ago. I bought two EN4 cells and used the camera until the cells died. I haven’t used it since as the EN4 cells were too expensive for my taste. A local camera store wanted to charge me $100.00 for one battery. I had found the two original batteries for $17.00 each on line. I’m thinking of buying one or two EN4 battery packs and using the camera again. I don’t think I could do a conversion. At my age my vision is no longer sharp enough and I have arthritis in my thumbs.
LikeLike
Will you please post a video of your conversion I’m part of a large Nikon D1X facebook group and would love to see this conversion in a detailed video . Your conversion is growing in legend and I’m sure you would get thousands of views ! Thank you for making this page and giving hope to us die hard D1X users !
LikeLiked by 1 person
Thanks for your comment, I haven’t done a conversion since I wrote the post but I’ll take your comment into consideration for the future. It takes me about 1 to 2 hours to do a conversion. The most time consuming part is scoring the battery with a sharp Stanley knife. Have to be patient and persistent to ensure that the scoring doesn’t cut into other parts of the battery or yourself.
LikeLiked by 1 person
Hi there! Love how you explained everything in the process, but in the DIY board with the diet coke can did you solder on the spring? If not how did you connect the spring to the diet coke can DIY positive connector? Thanks in advance!
LikeLike
I cut the plastic holding the spring off the AA cell holder. I then shaped the plastic to fit into the NiMH battery case. I then glued the plastic holding the spring onto the NiMH case. This kept the spring in place. Subsequently, I slipped the Diet Coke can positive connector through the base of the spring.
Initially I also glued the Diet Coke can to the NiMH case but the glue spread all over and created an insulation barrier between the spring and can. Instead I would advice once you slip the Diet Coke can through the base of the spring, solder it so that it forms an electrical connection. Hope that helps.
LikeLiked by 1 person
Sweet! Thanks man! Also last question, are 18650 cell holders fit for this project or are the AA cell holders a must need or else the franken battery won’t work or the backings won’t fit? Thanks in advance!
LikeLike
Never tried 18650 cell holders, so you might have to experiment. If it works let us know. Thanks!
LikeLiked by 1 person
Thank you! Thank you sooo much! It works! But my D1X is producing black images. Turns out it’s a power issue since I bought some sketchy pair of 1 dollar batteries. I’ll buy new ones later. Also the 18650 cell holders did work but its extremely finnecky and you need to do alot of cutting to make it fit. I cut 2 cells for 2 hours so not worth the time. 100% use AA battery holders. Less finnecky and fits more easily. Thank you again man! You’re the best!
LikeLike
LikeLike
Are these batteries with buttons compatible with this modification?
https://a.co/d/0h0yt8Uv
LikeLike
Should be.
LikeLike
how hot does your franken unit get? I put hot glue to secure some parts in my franken unit but even without using the battery in my camera leaving the 18650 batteries in the franken unit the metal contact points get so hot that the hot glue melts. Is it normal that these parts will get so hot? If so let me know! Thanks!
LikeLike
Mine did not heat up. Seems strange yours heats up
LikeLike
Could be loose points, I’ll look into it. Another strange issue is that I’ve tried both 500 mah 3.7 volt 18650 batteries and 1200 mah also but strangely they go out at the same time. I beleive this has something to do with that little black wire in the middle of the EN-4 unit which has that little blob of black glue on the tip. Could you please inform me what it is? Thanks!
LikeLike
Mel
Can you charge the “Franken” battery using Nikon MH-16 charger?
LikeLike
I do not think so but I have not done it. I believe the MH-16 charger is optimized for the old NiMH batteries and I think there is a small circuit board that was removed when the original Nikon battery was disassembled.
LikeLike
Do you remove the batteries when exhausted and charge them externally?
LikeLike
I think I will try the conversion sometime. I think it might be easier to use Dremel with cutter blade to separate the battery, may be it will be safer than a knife. To keep the lithium batteries in 7.2 volts, may be add a Zener diode (and a resistor) as a voltage regulator. I am not sure whether the D1 has a voltage regulator built-in. I would think it should have one, because all the batteries after charged will have different voltages, especially the aftermarket batteries. If that is the case, the Zener diode will not be needed.
LikeLiked by 1 person
I reskiu a D1 von the elektro trash . But y don habe a bateri pack …to test if the Kamera work …some of you hab a extra pack …? I can make the conversion to litum … I leave in Switzerland…
LikeLiked by 1 person