
I bought a Balda camera along with a Kalimar Reflex medium format camera from a flea market seller. I hadn’t heard of the Balda before, but I offered to buy both for a lower price on the Kalimar. The Balda needed a full service because it had corroded parts, a non-working shutter and peeling leatherette. Despite this, I was satisfied with the price I paid for both cameras.
Back home, I focused on the Kalimar and put the Balda aside. A few weeks later, I took out the Balda camera to examine it and learn how to service it.
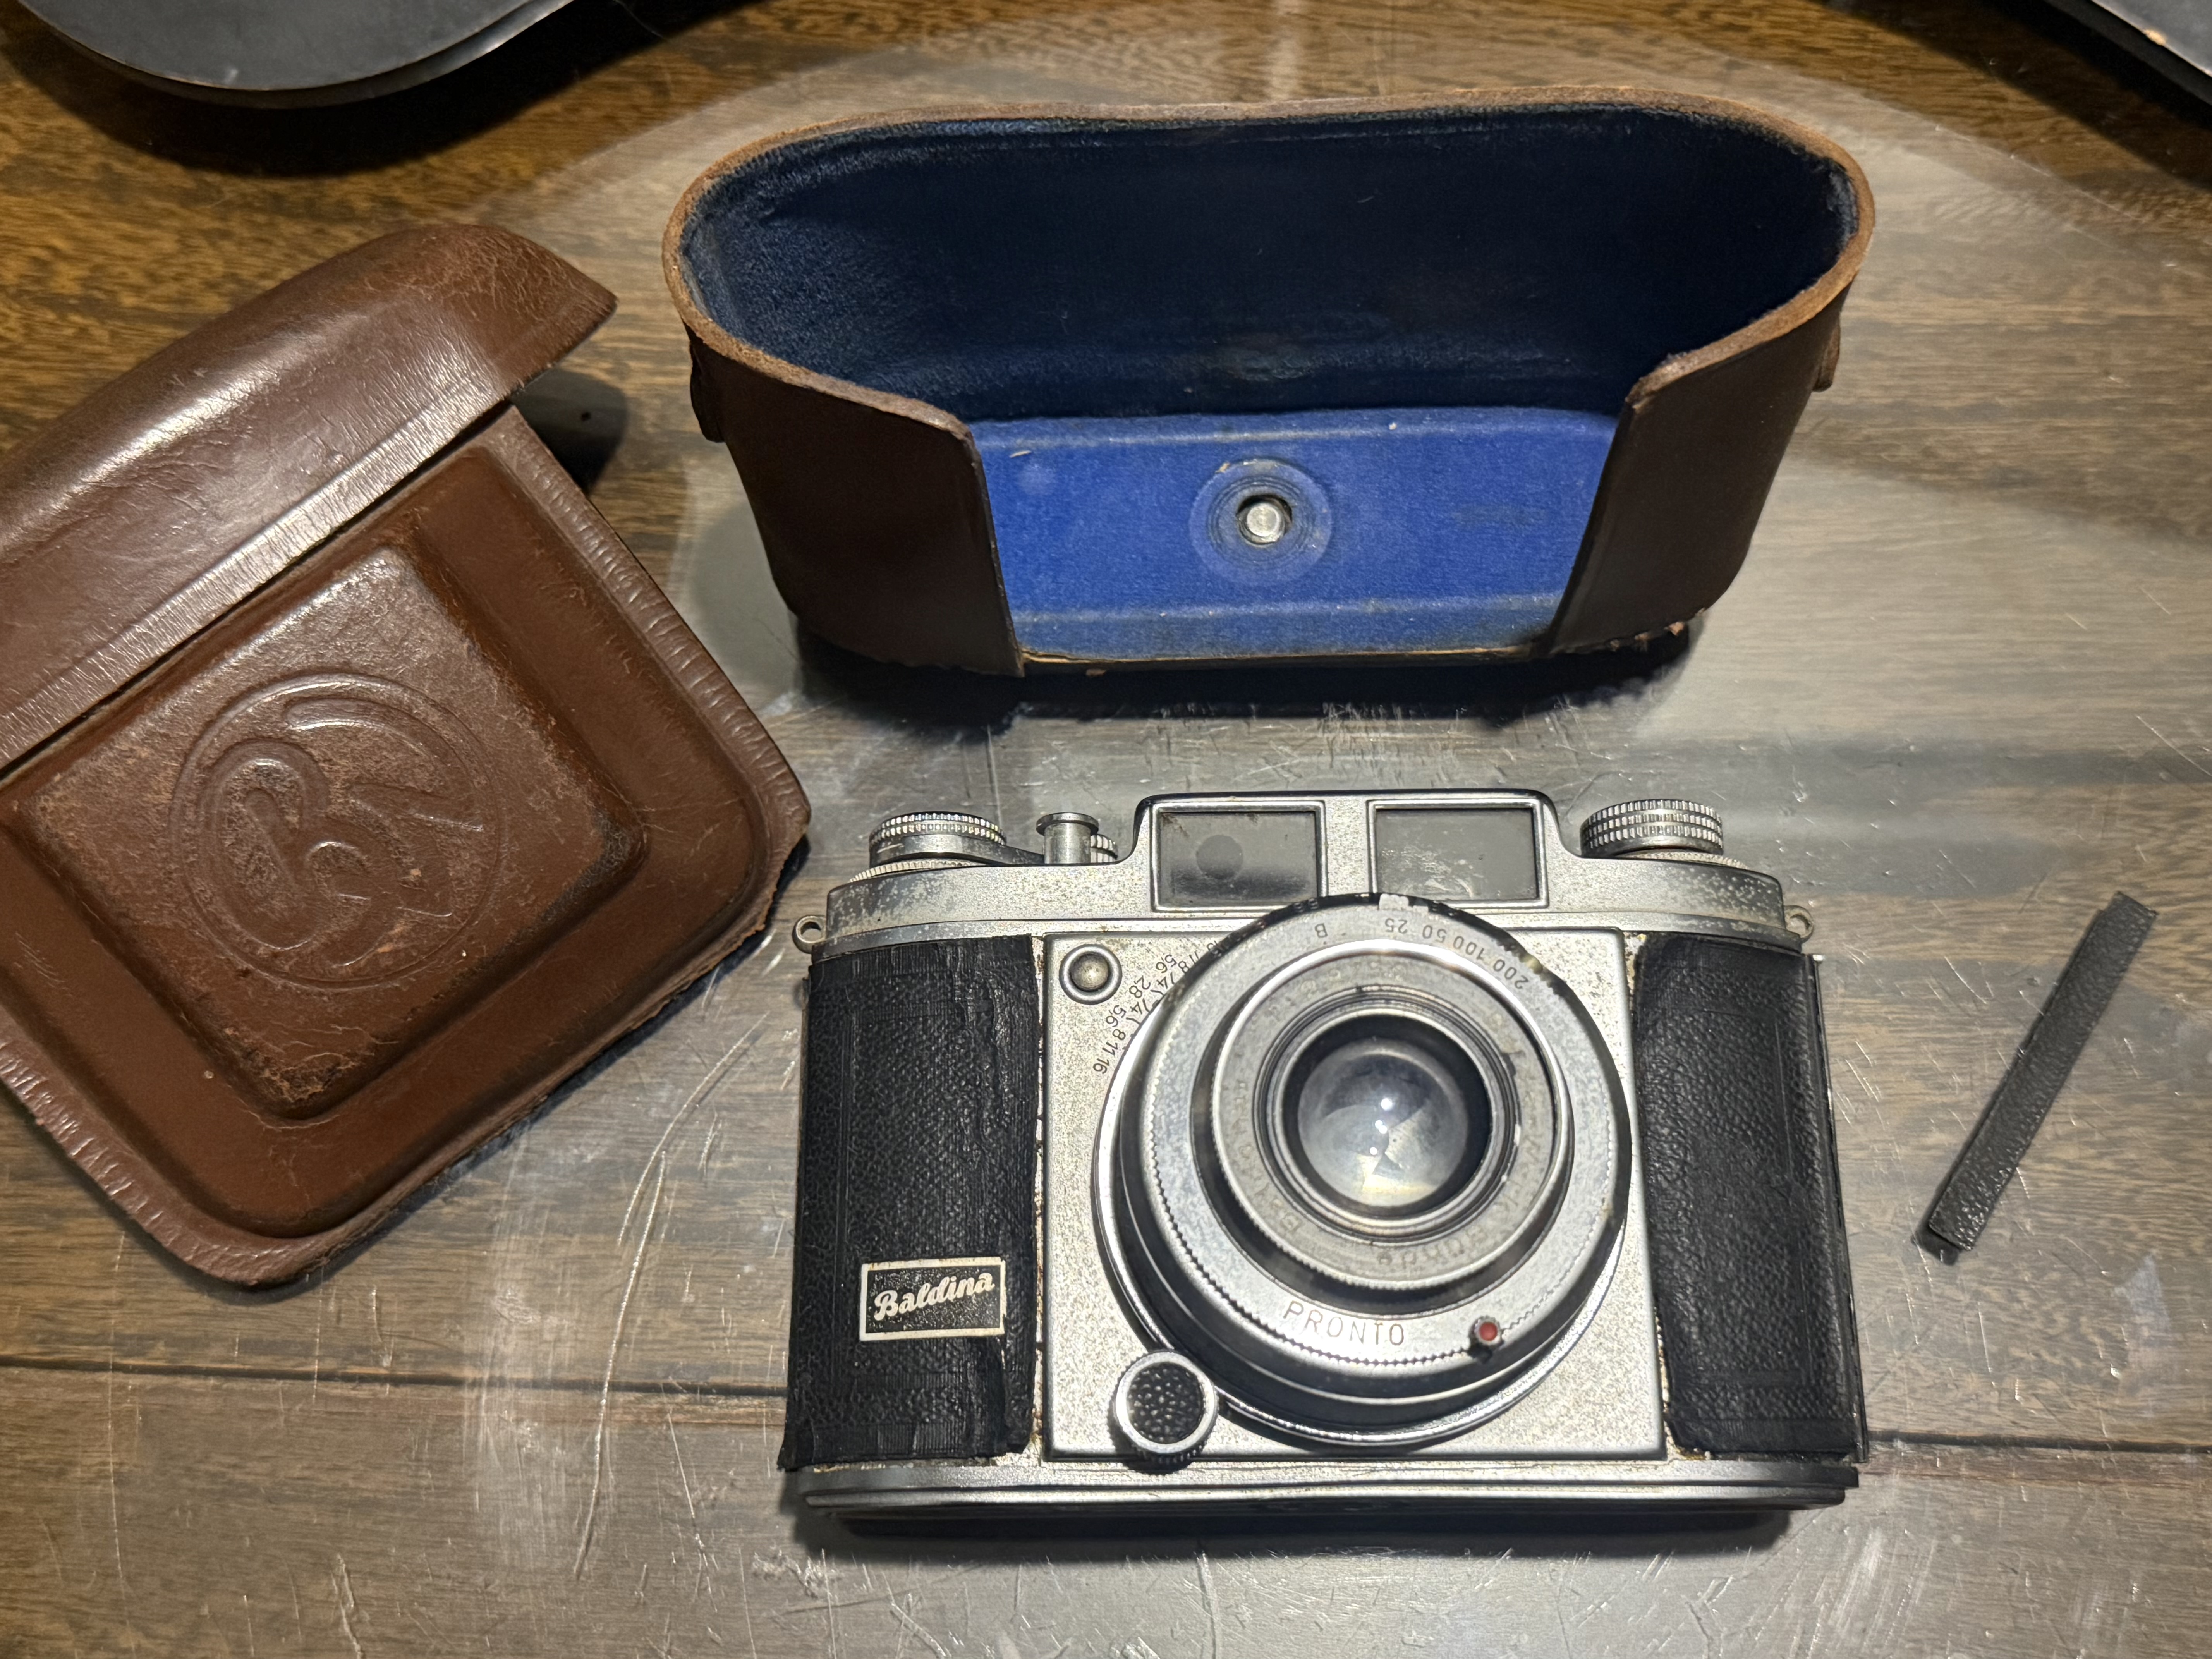
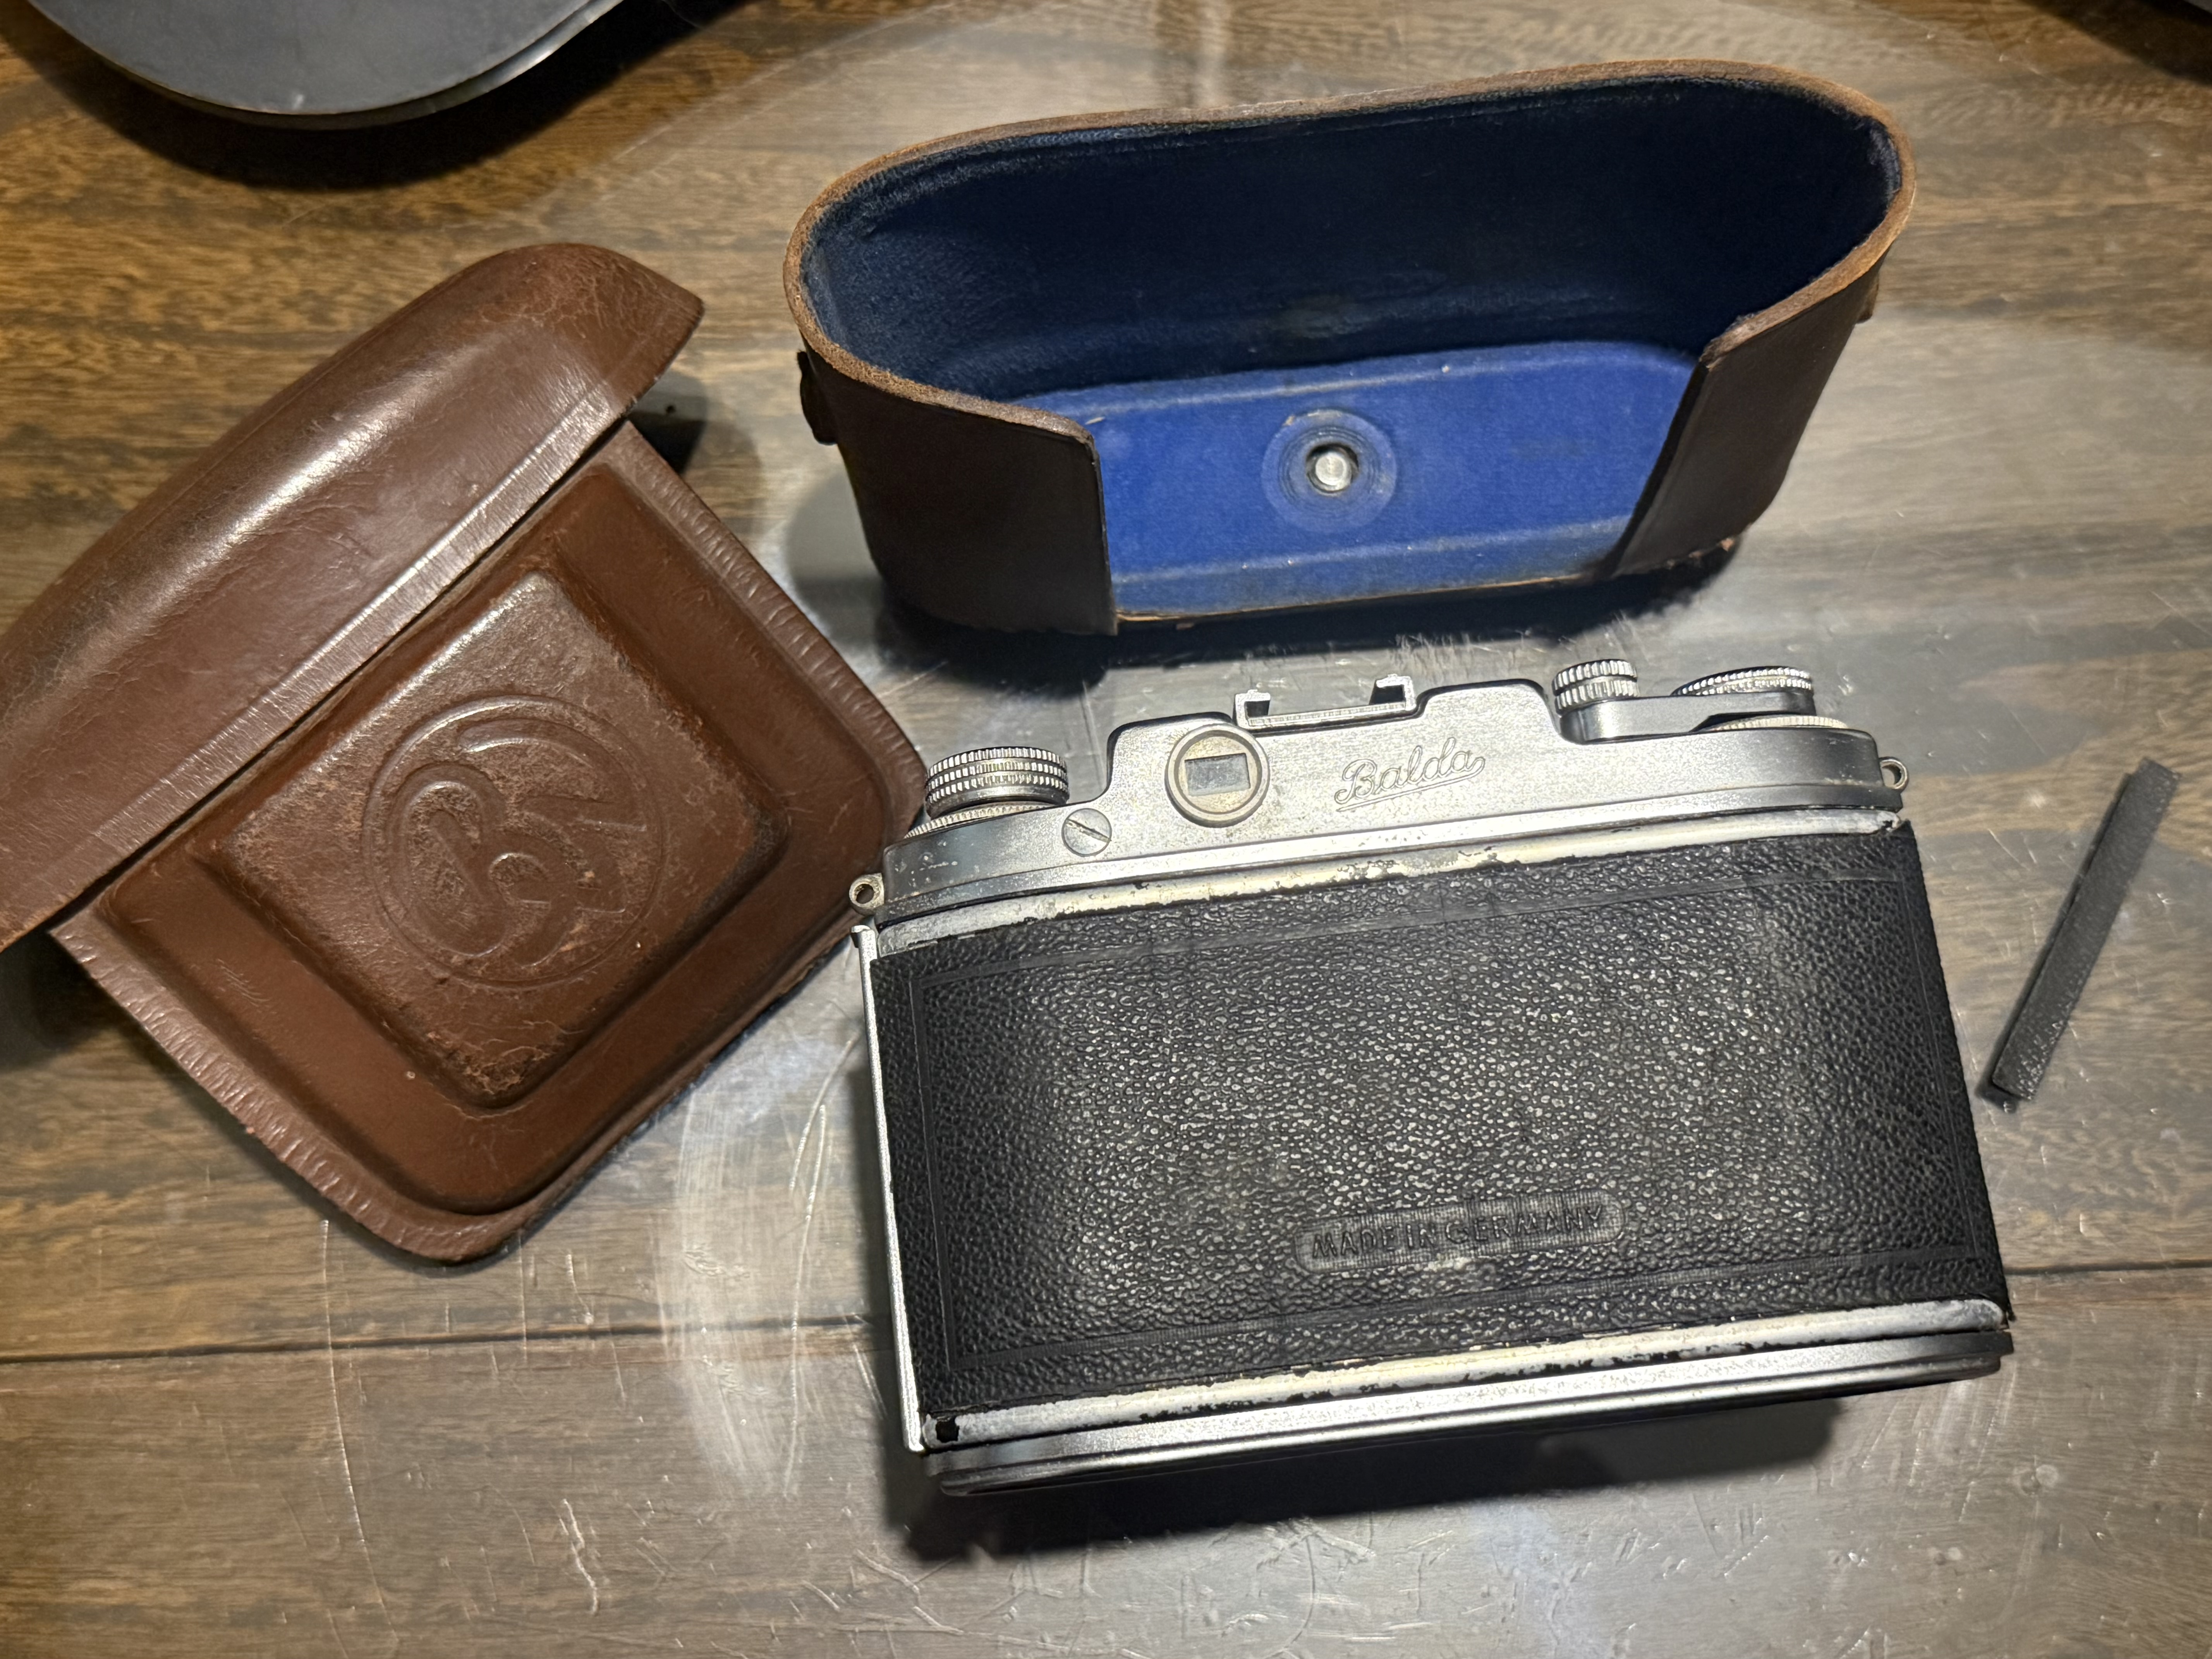
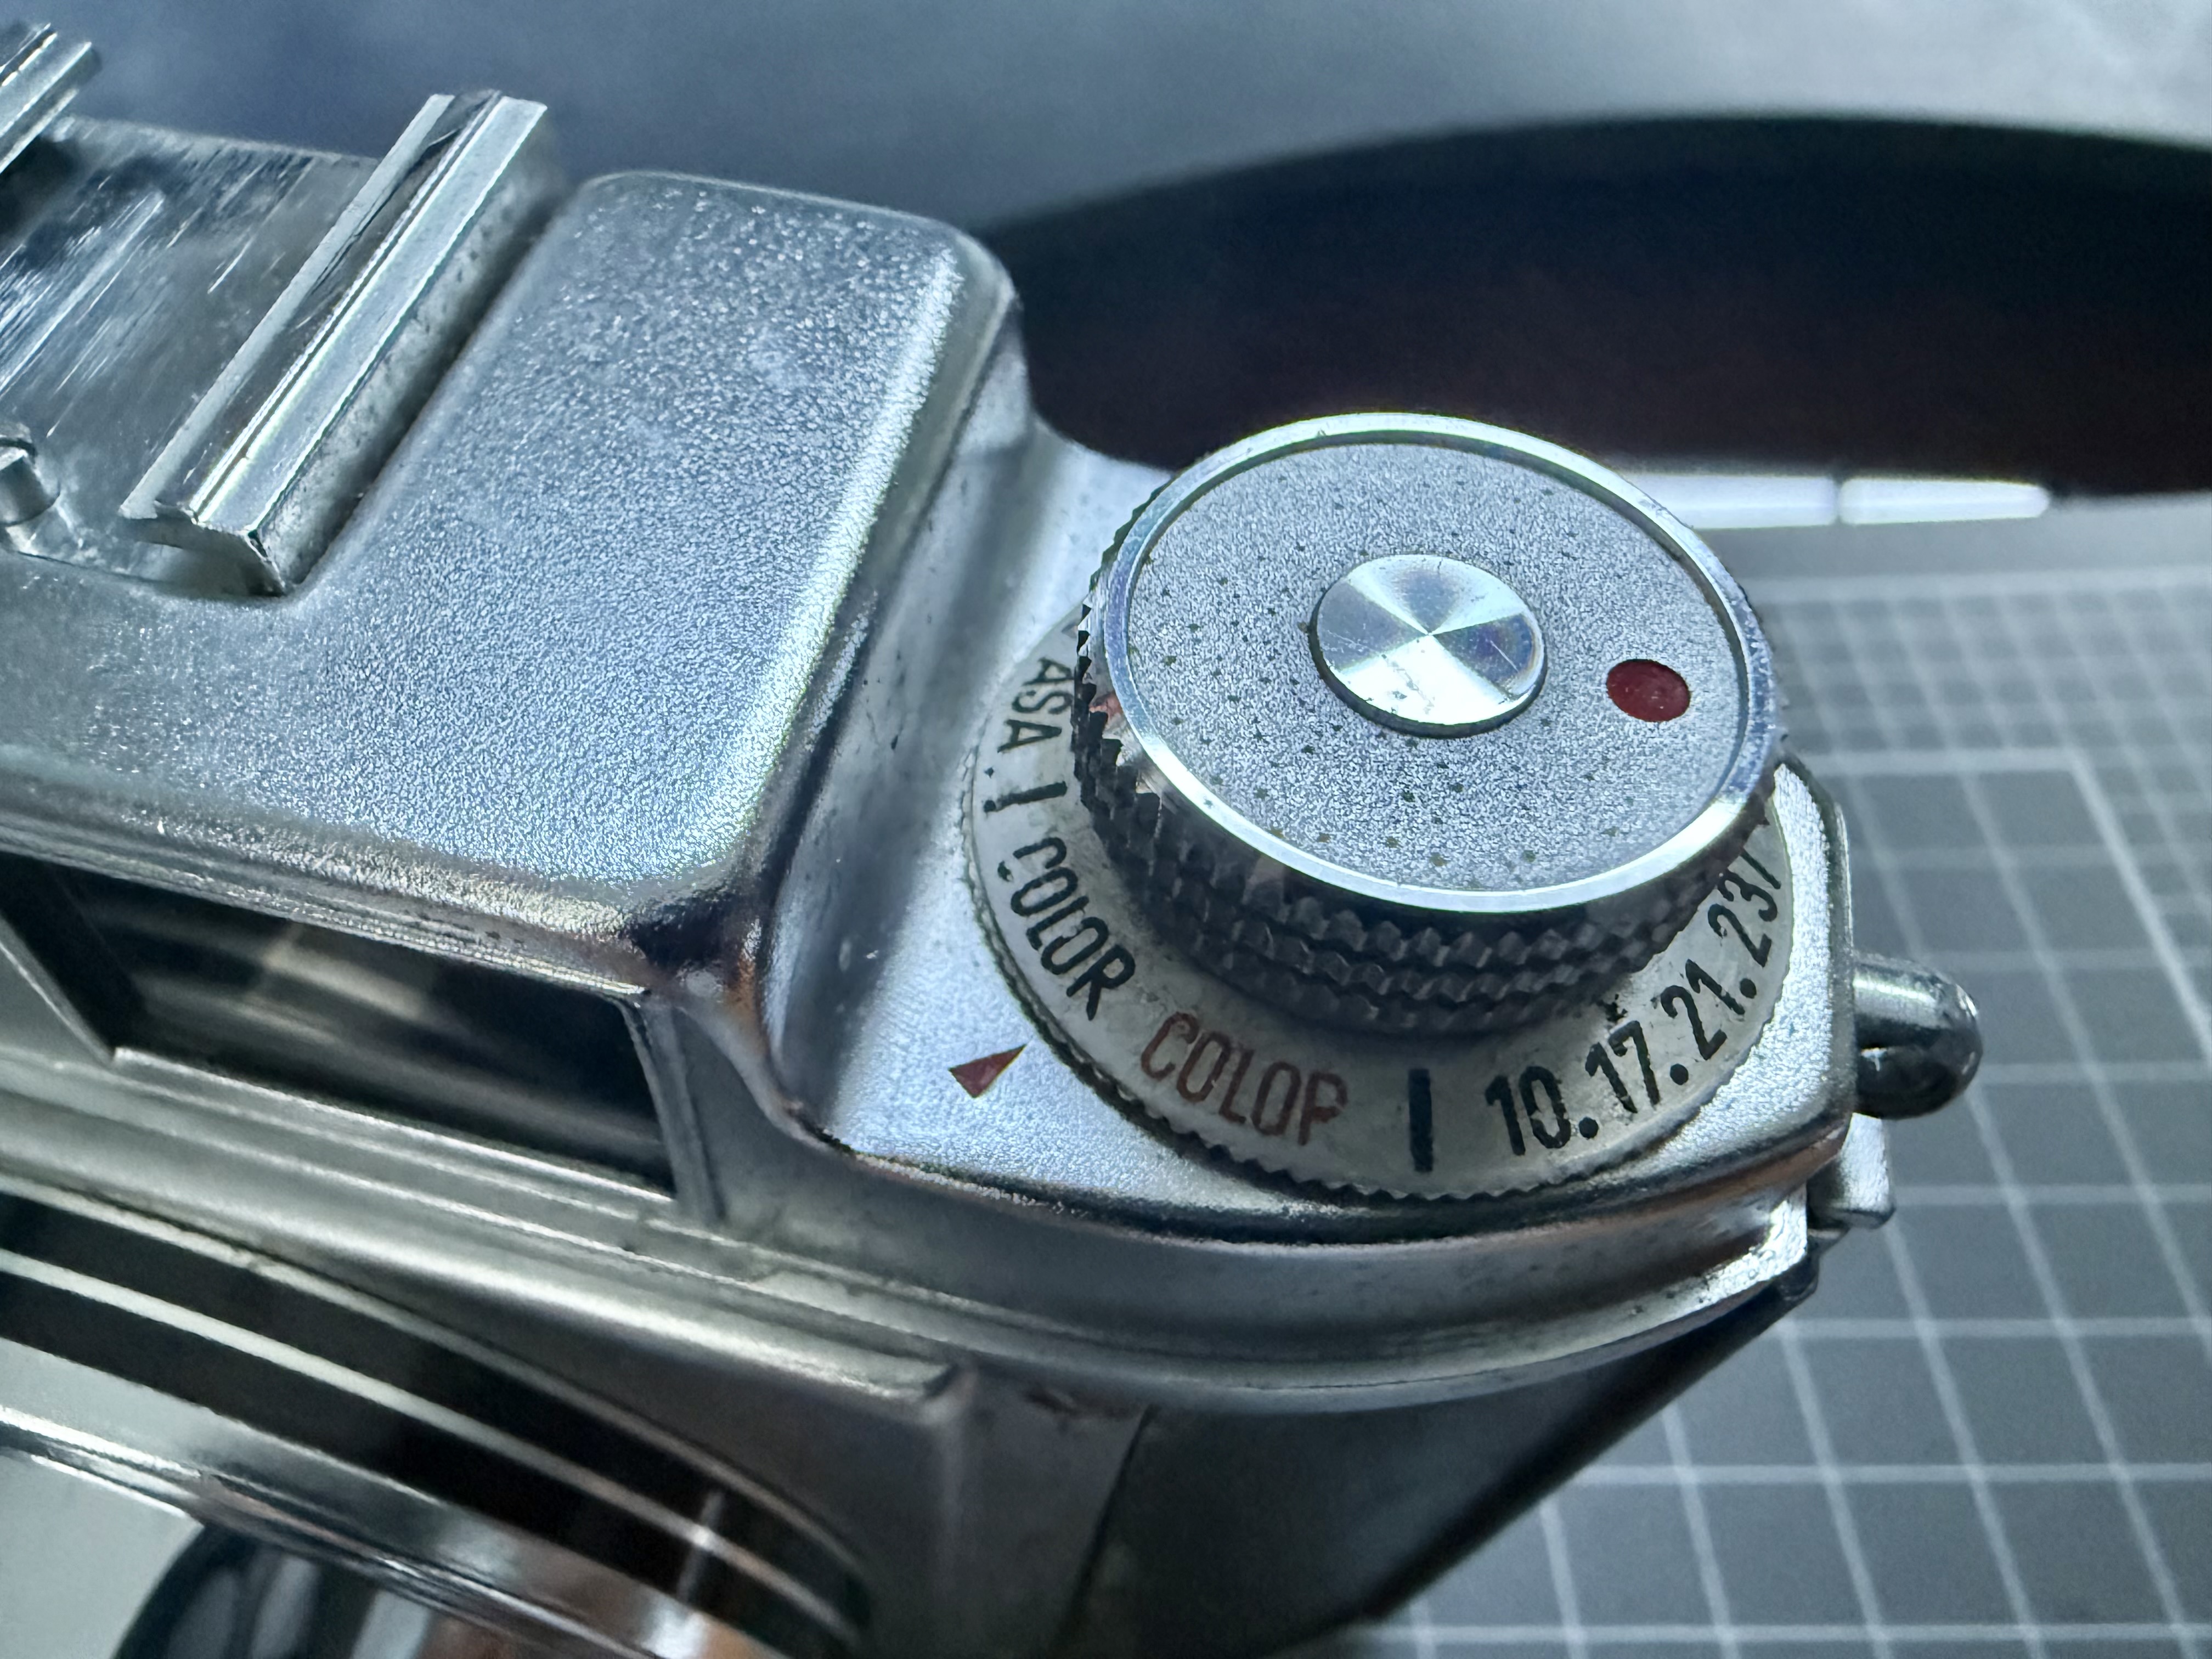
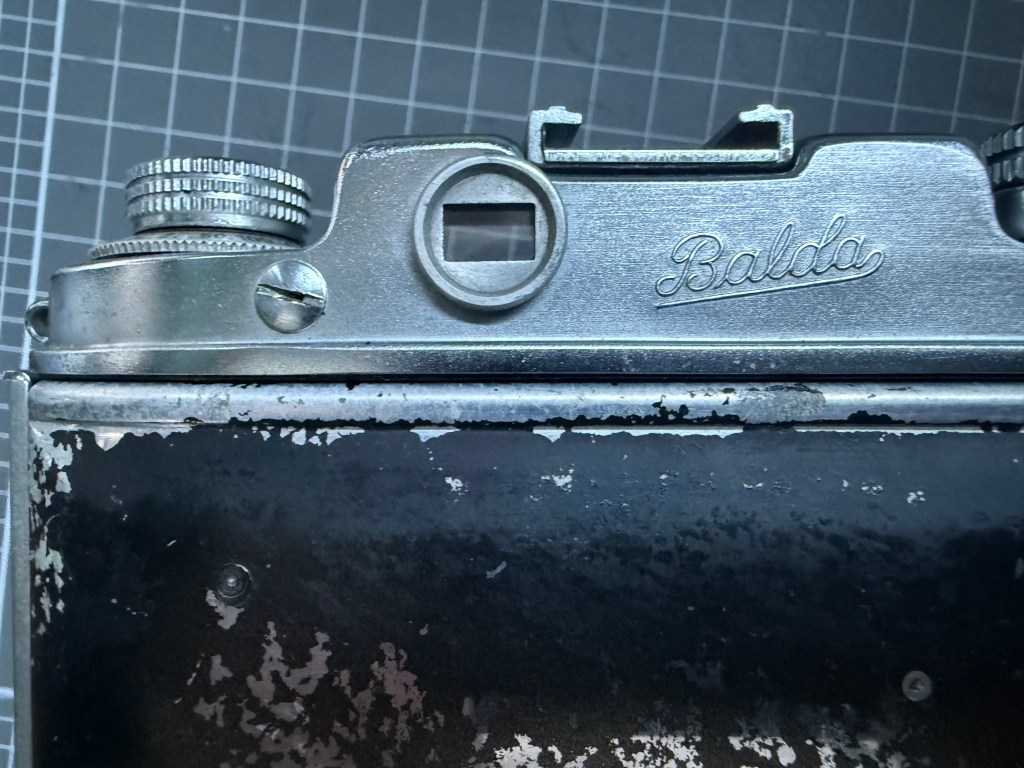
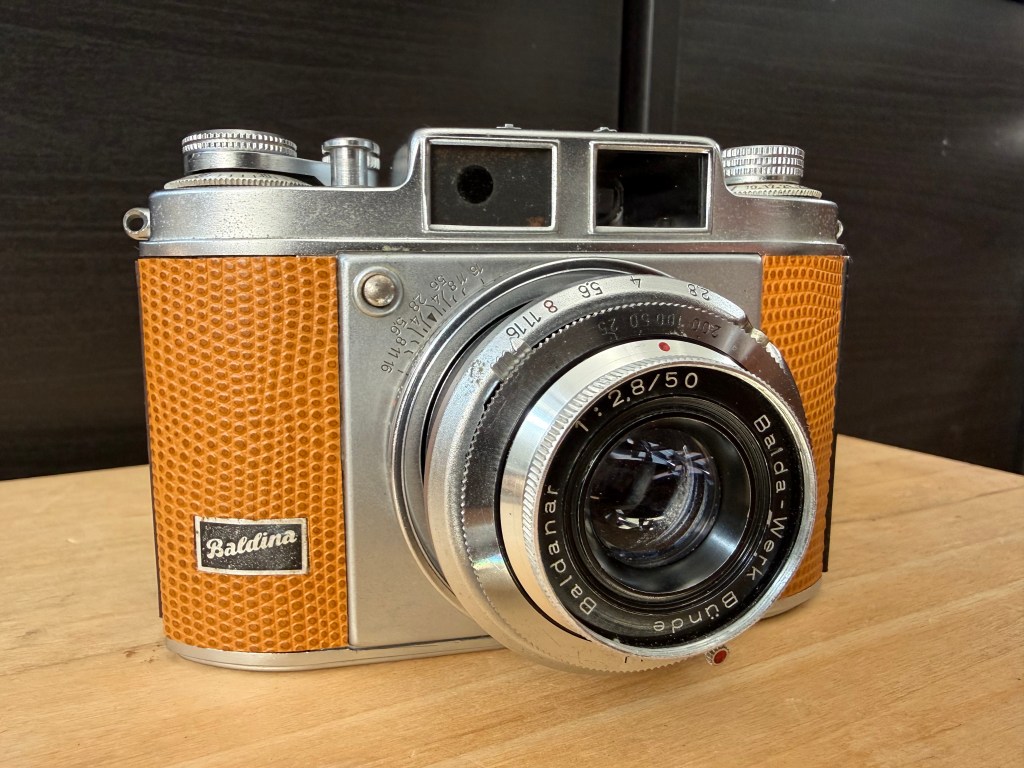
The Balda Baldina was a viewfinder camera from the mid-1950s made by the German company Balda-Werk. Although it resembled a rangefinder camera, it was not one. To reduce costs, Balda-Werk produced both rangefinder and viewfinder versions using the same body. The rangefinder version was called Super Baldina, while the simpler viewfinder version was just Baldina. Balda-Werk offered these cameras with various lenses and shutters. My version had an in-house Baldanar 50mm f2.8 lens and a non-working Pronto shutter.
I am writing this blog because I couldn’t find posts about servicing or disassembling the Balda Baldina or Balda Super Baldina cameras. Here are my notes on how to service and reassemble the parts of this camera.
I began by carefully taking off the leatherette from the camera. I hoped to reuse it when putting everything back together, but it was too damaged and cracked.
I next removed the top cover.
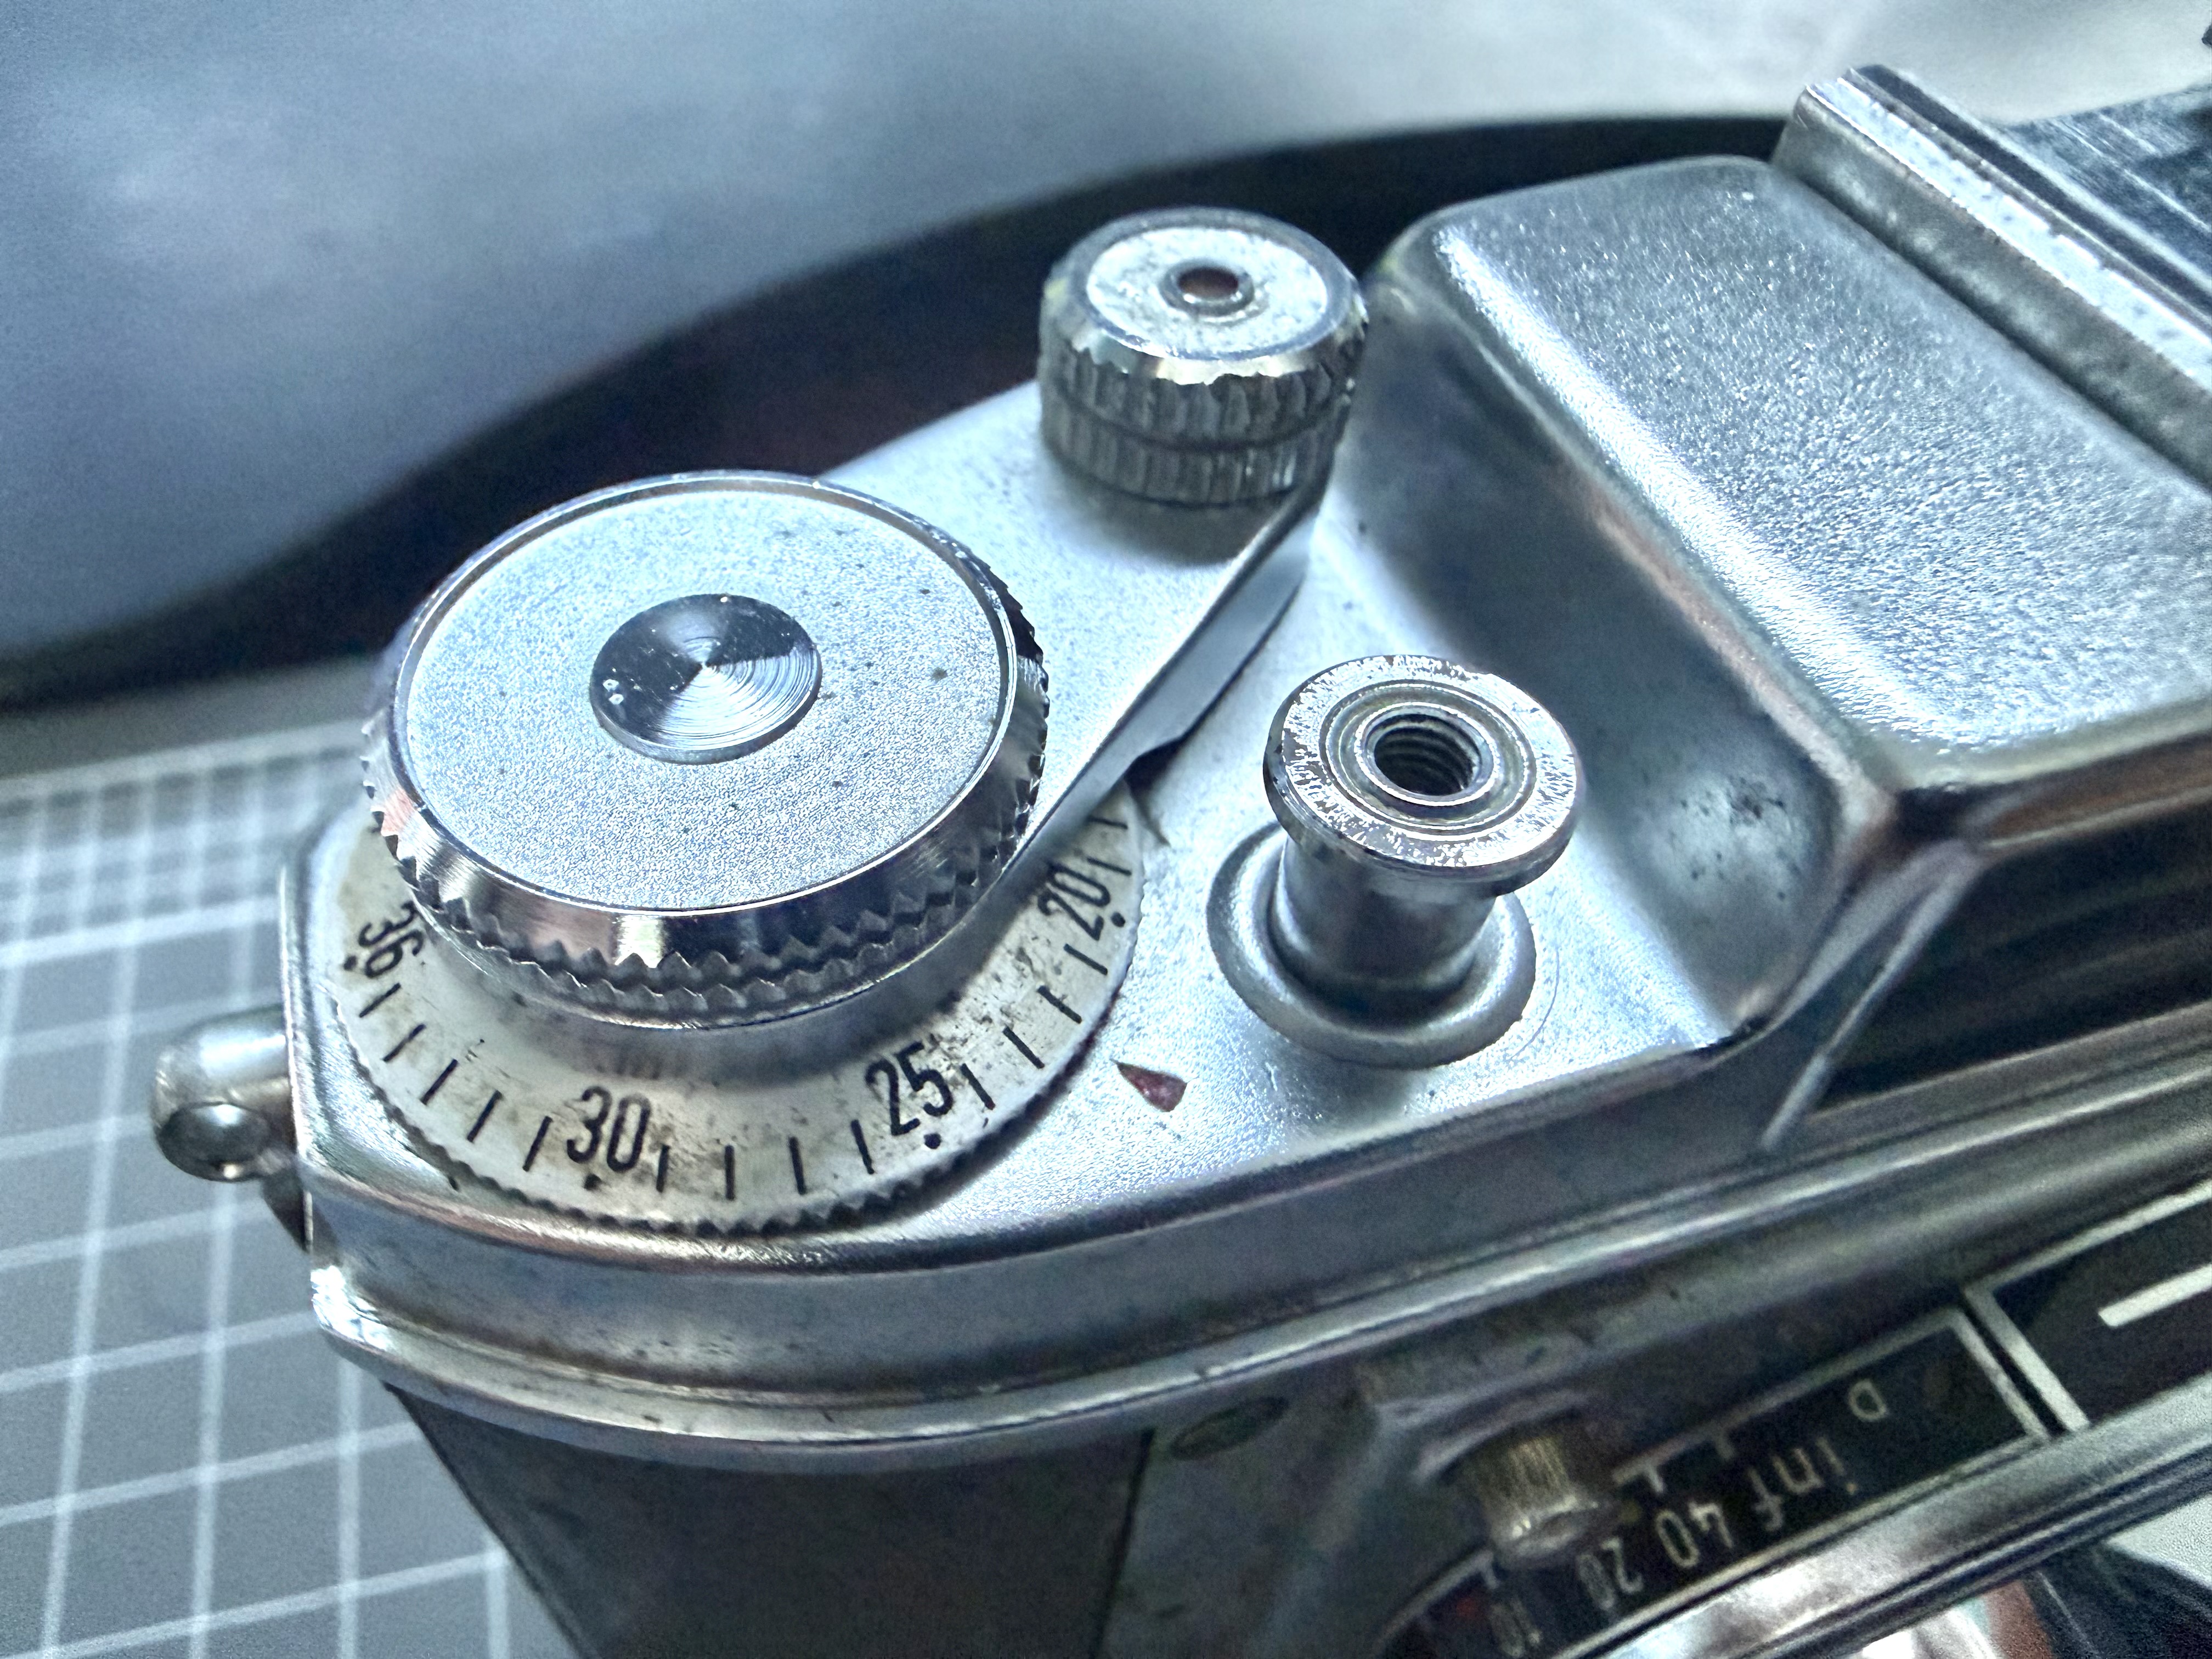
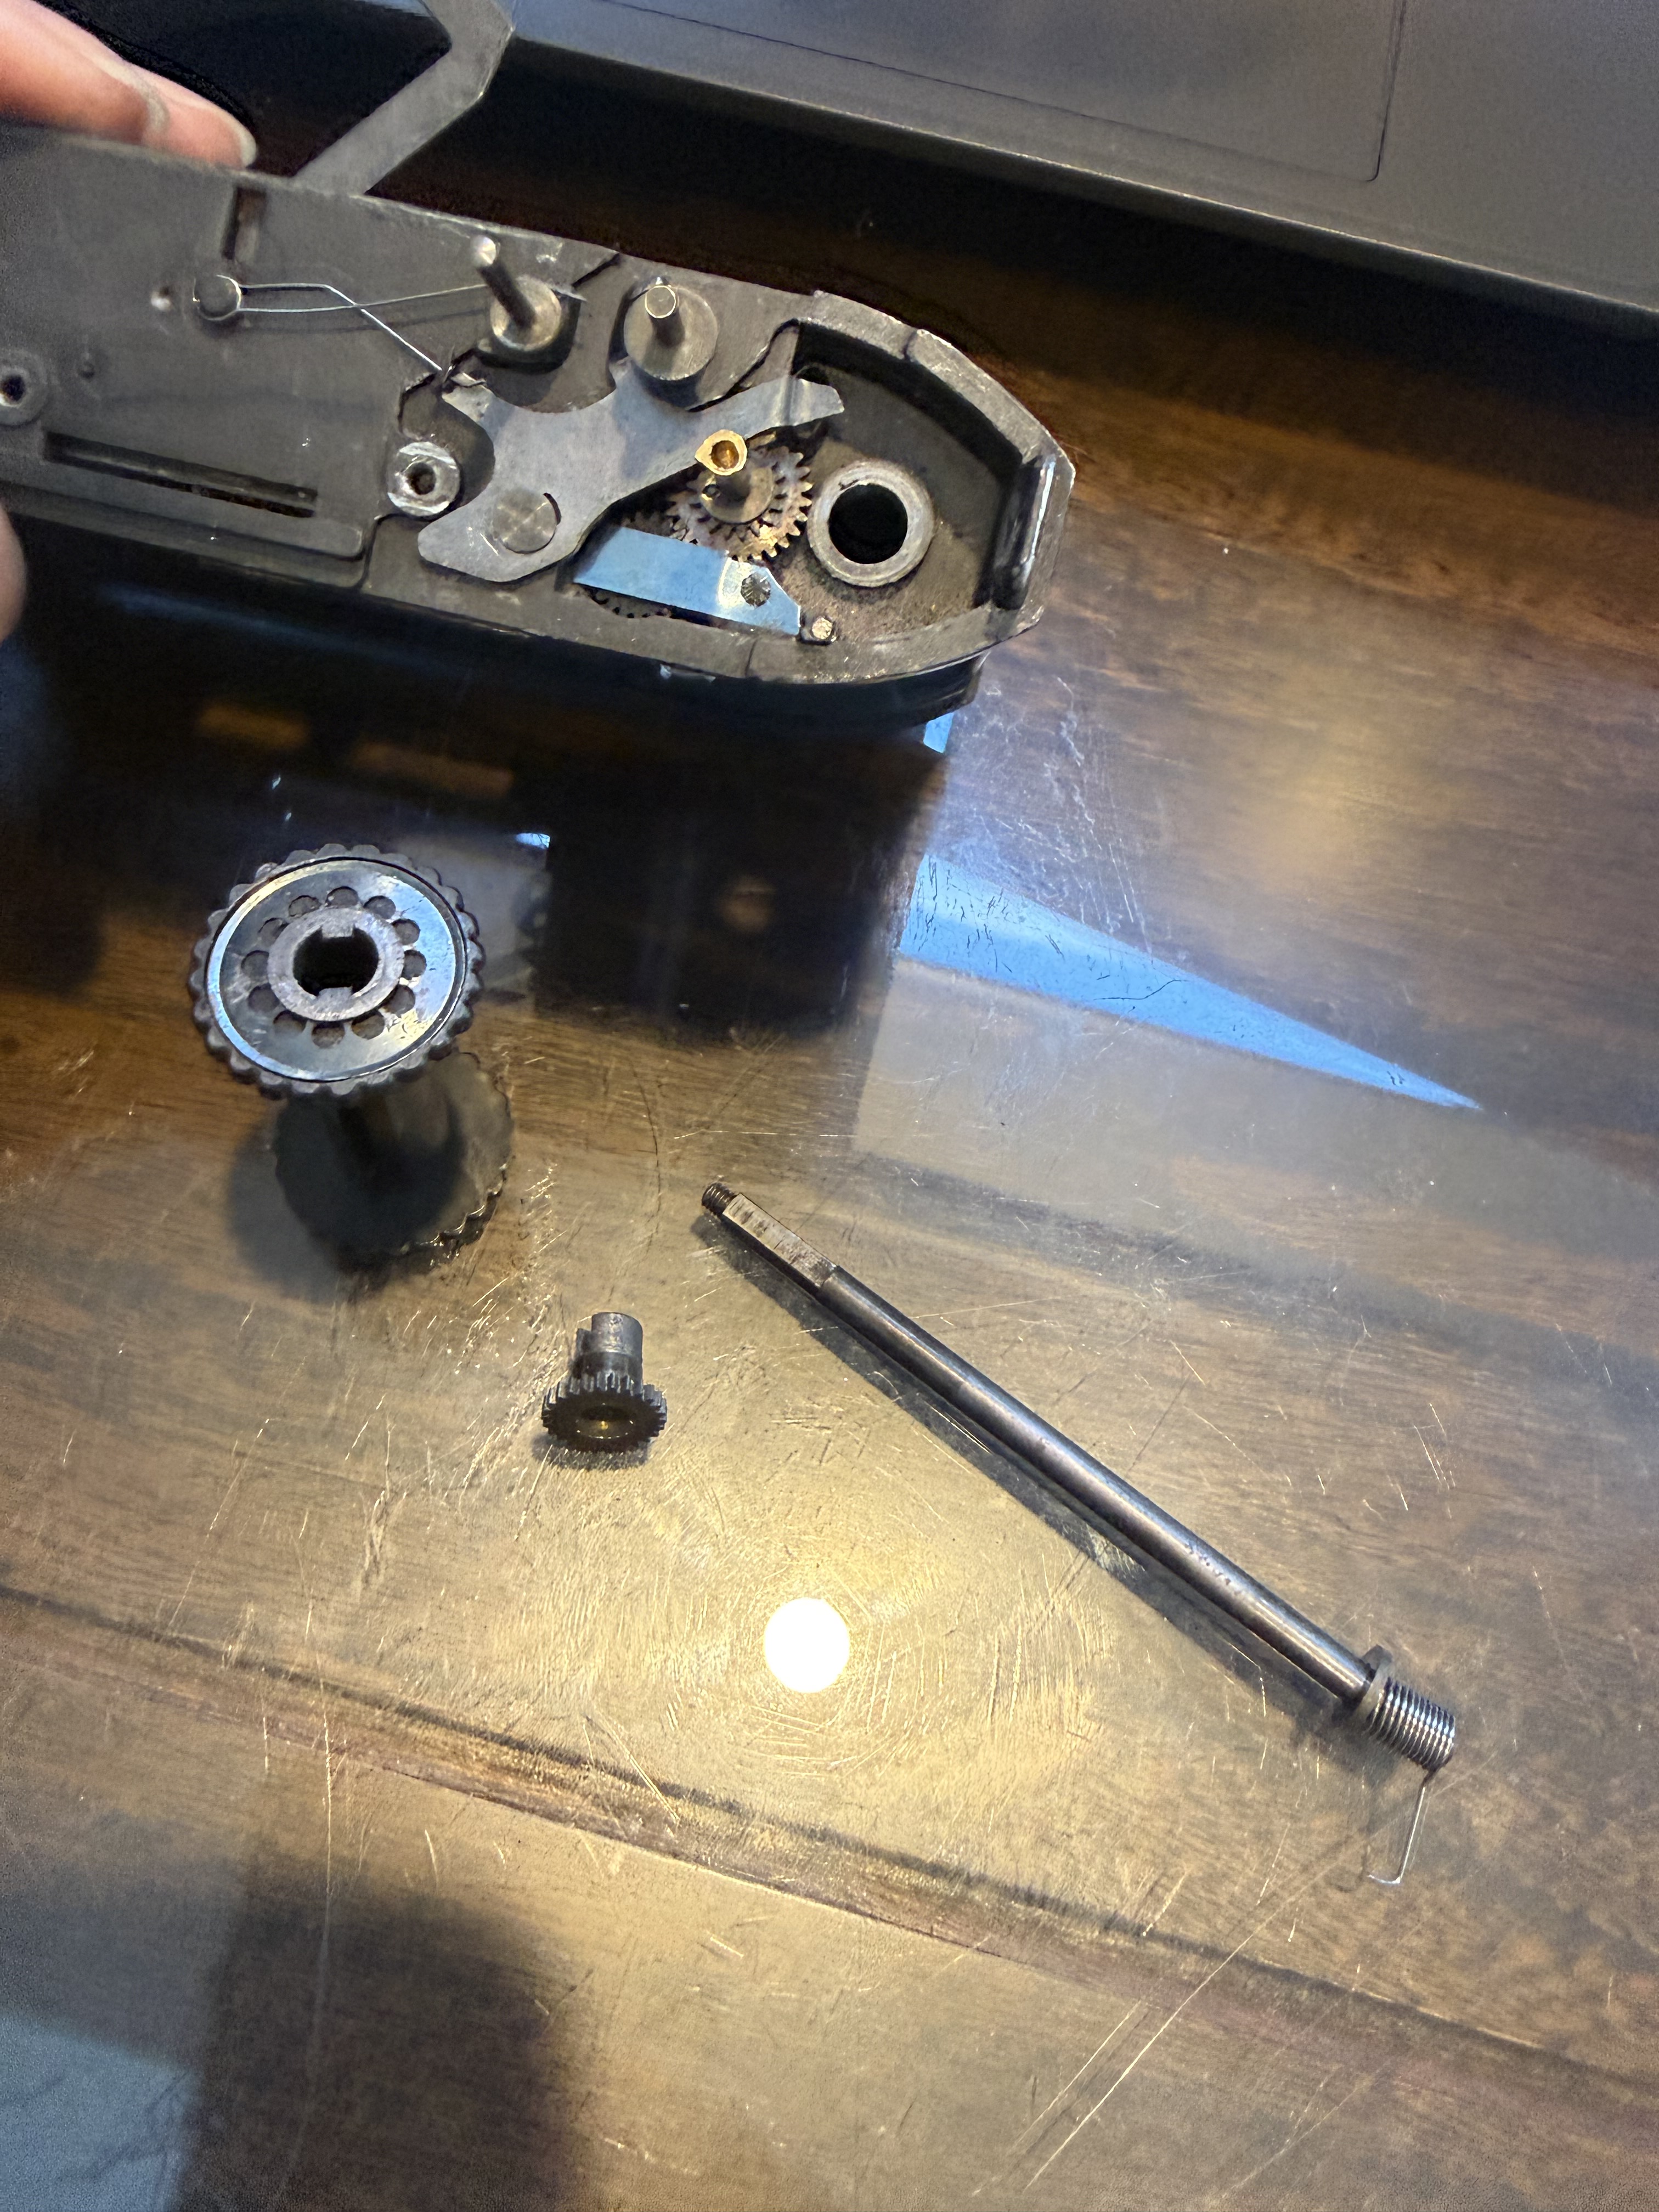
To remove the film advance lever untwist the cap counter-clockwise. The film rewind knob is removed by opening the film door, jamming the film prongs with the blunt end of tweezers, and turning the knob counter-clockwise. After unscrewing the neck-strap lugs on both ends, carefully take off the top cover, avoiding damage to the viewing glass.
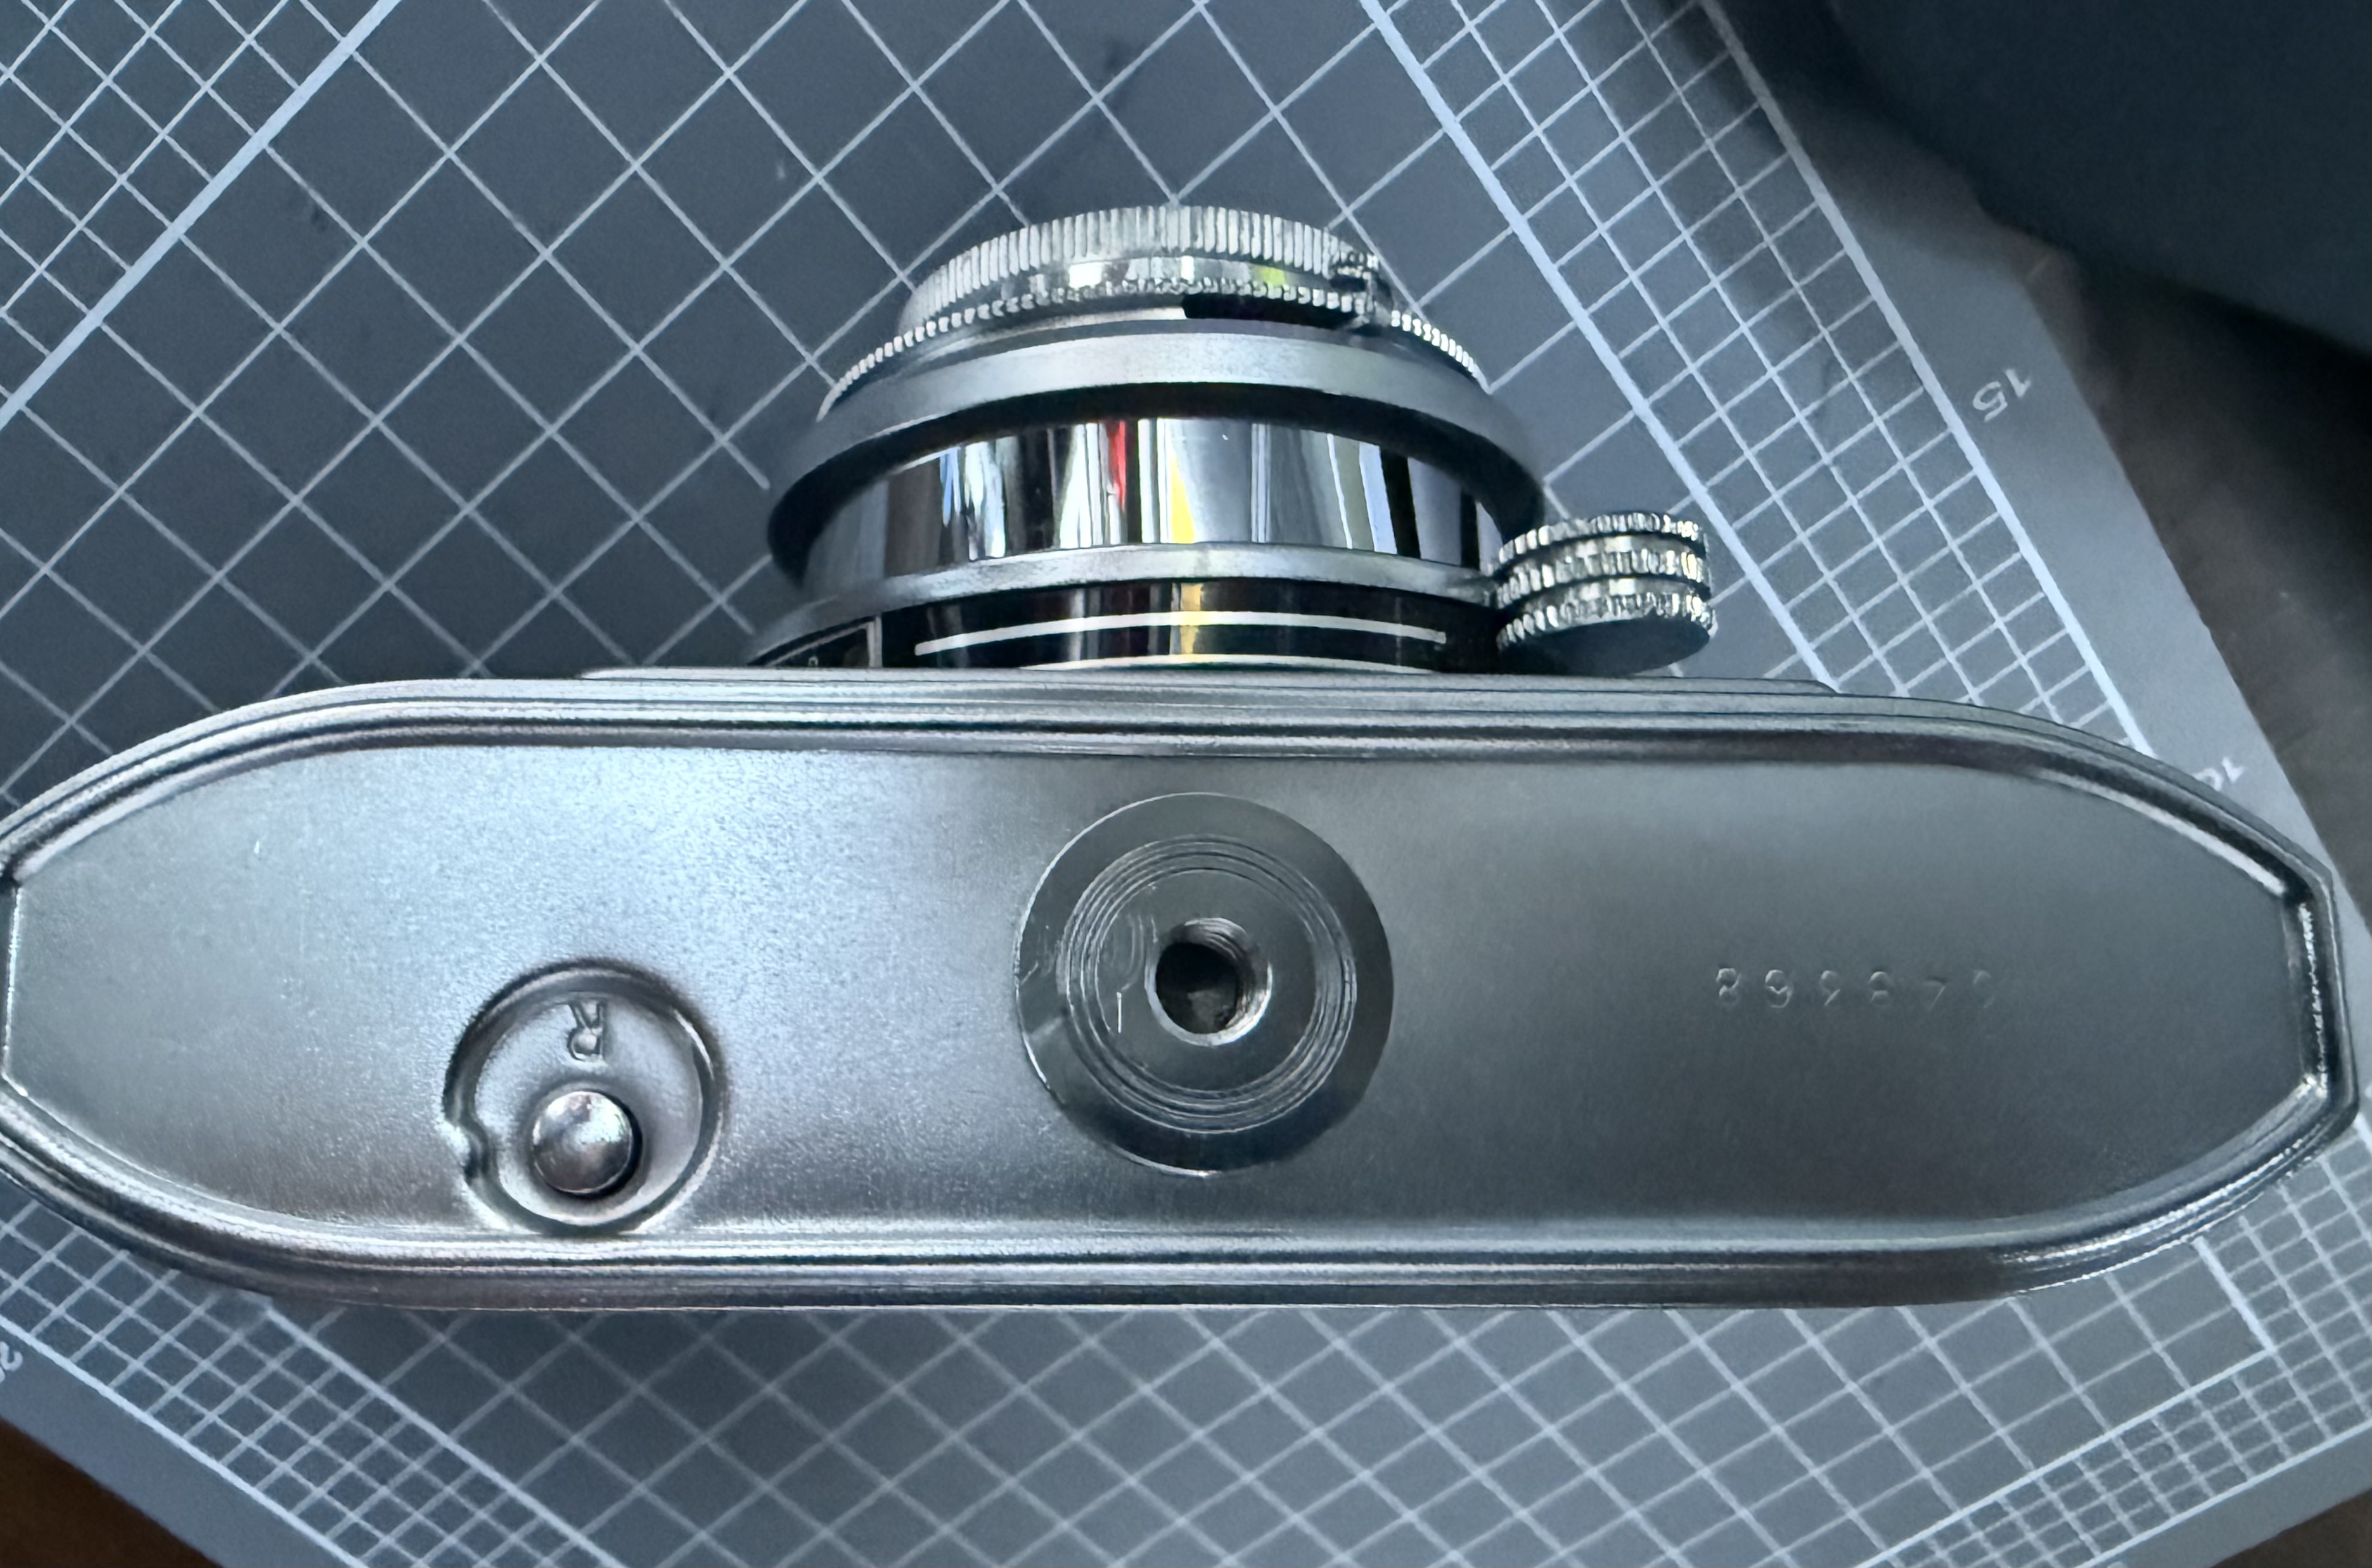
I initially didn’t know how to take off the bottom plate since there were no screws visible. I removed the front lens and shutter housing and found a big screw inside that secured the tripod mount and bottom plate from the inside. When reassembling, I realized there’s a way to access it without removing the front lens and shutter housing, as it’s nearly impossible to put the housing back on if the bottom plate is reattached.

Both the Baldina and Super Baldina share the same camera bodies and have collapsible lenses that pop out when you press the button on the top left of the lens housing. The lens does not use helicoids for focusing; instead, the focusing knob moves the tube in and out. When reassembling the lens housing, it is easiest to set the focusing knob at the midpoint between the nearest and infinity focus.


There are four screws that hold the front lens plate to the body. The two screws on the left have larger heads, while the two on the right have smaller heads. Be sure to put them back in the correct spots during reassembly to ensure a flushed fit.
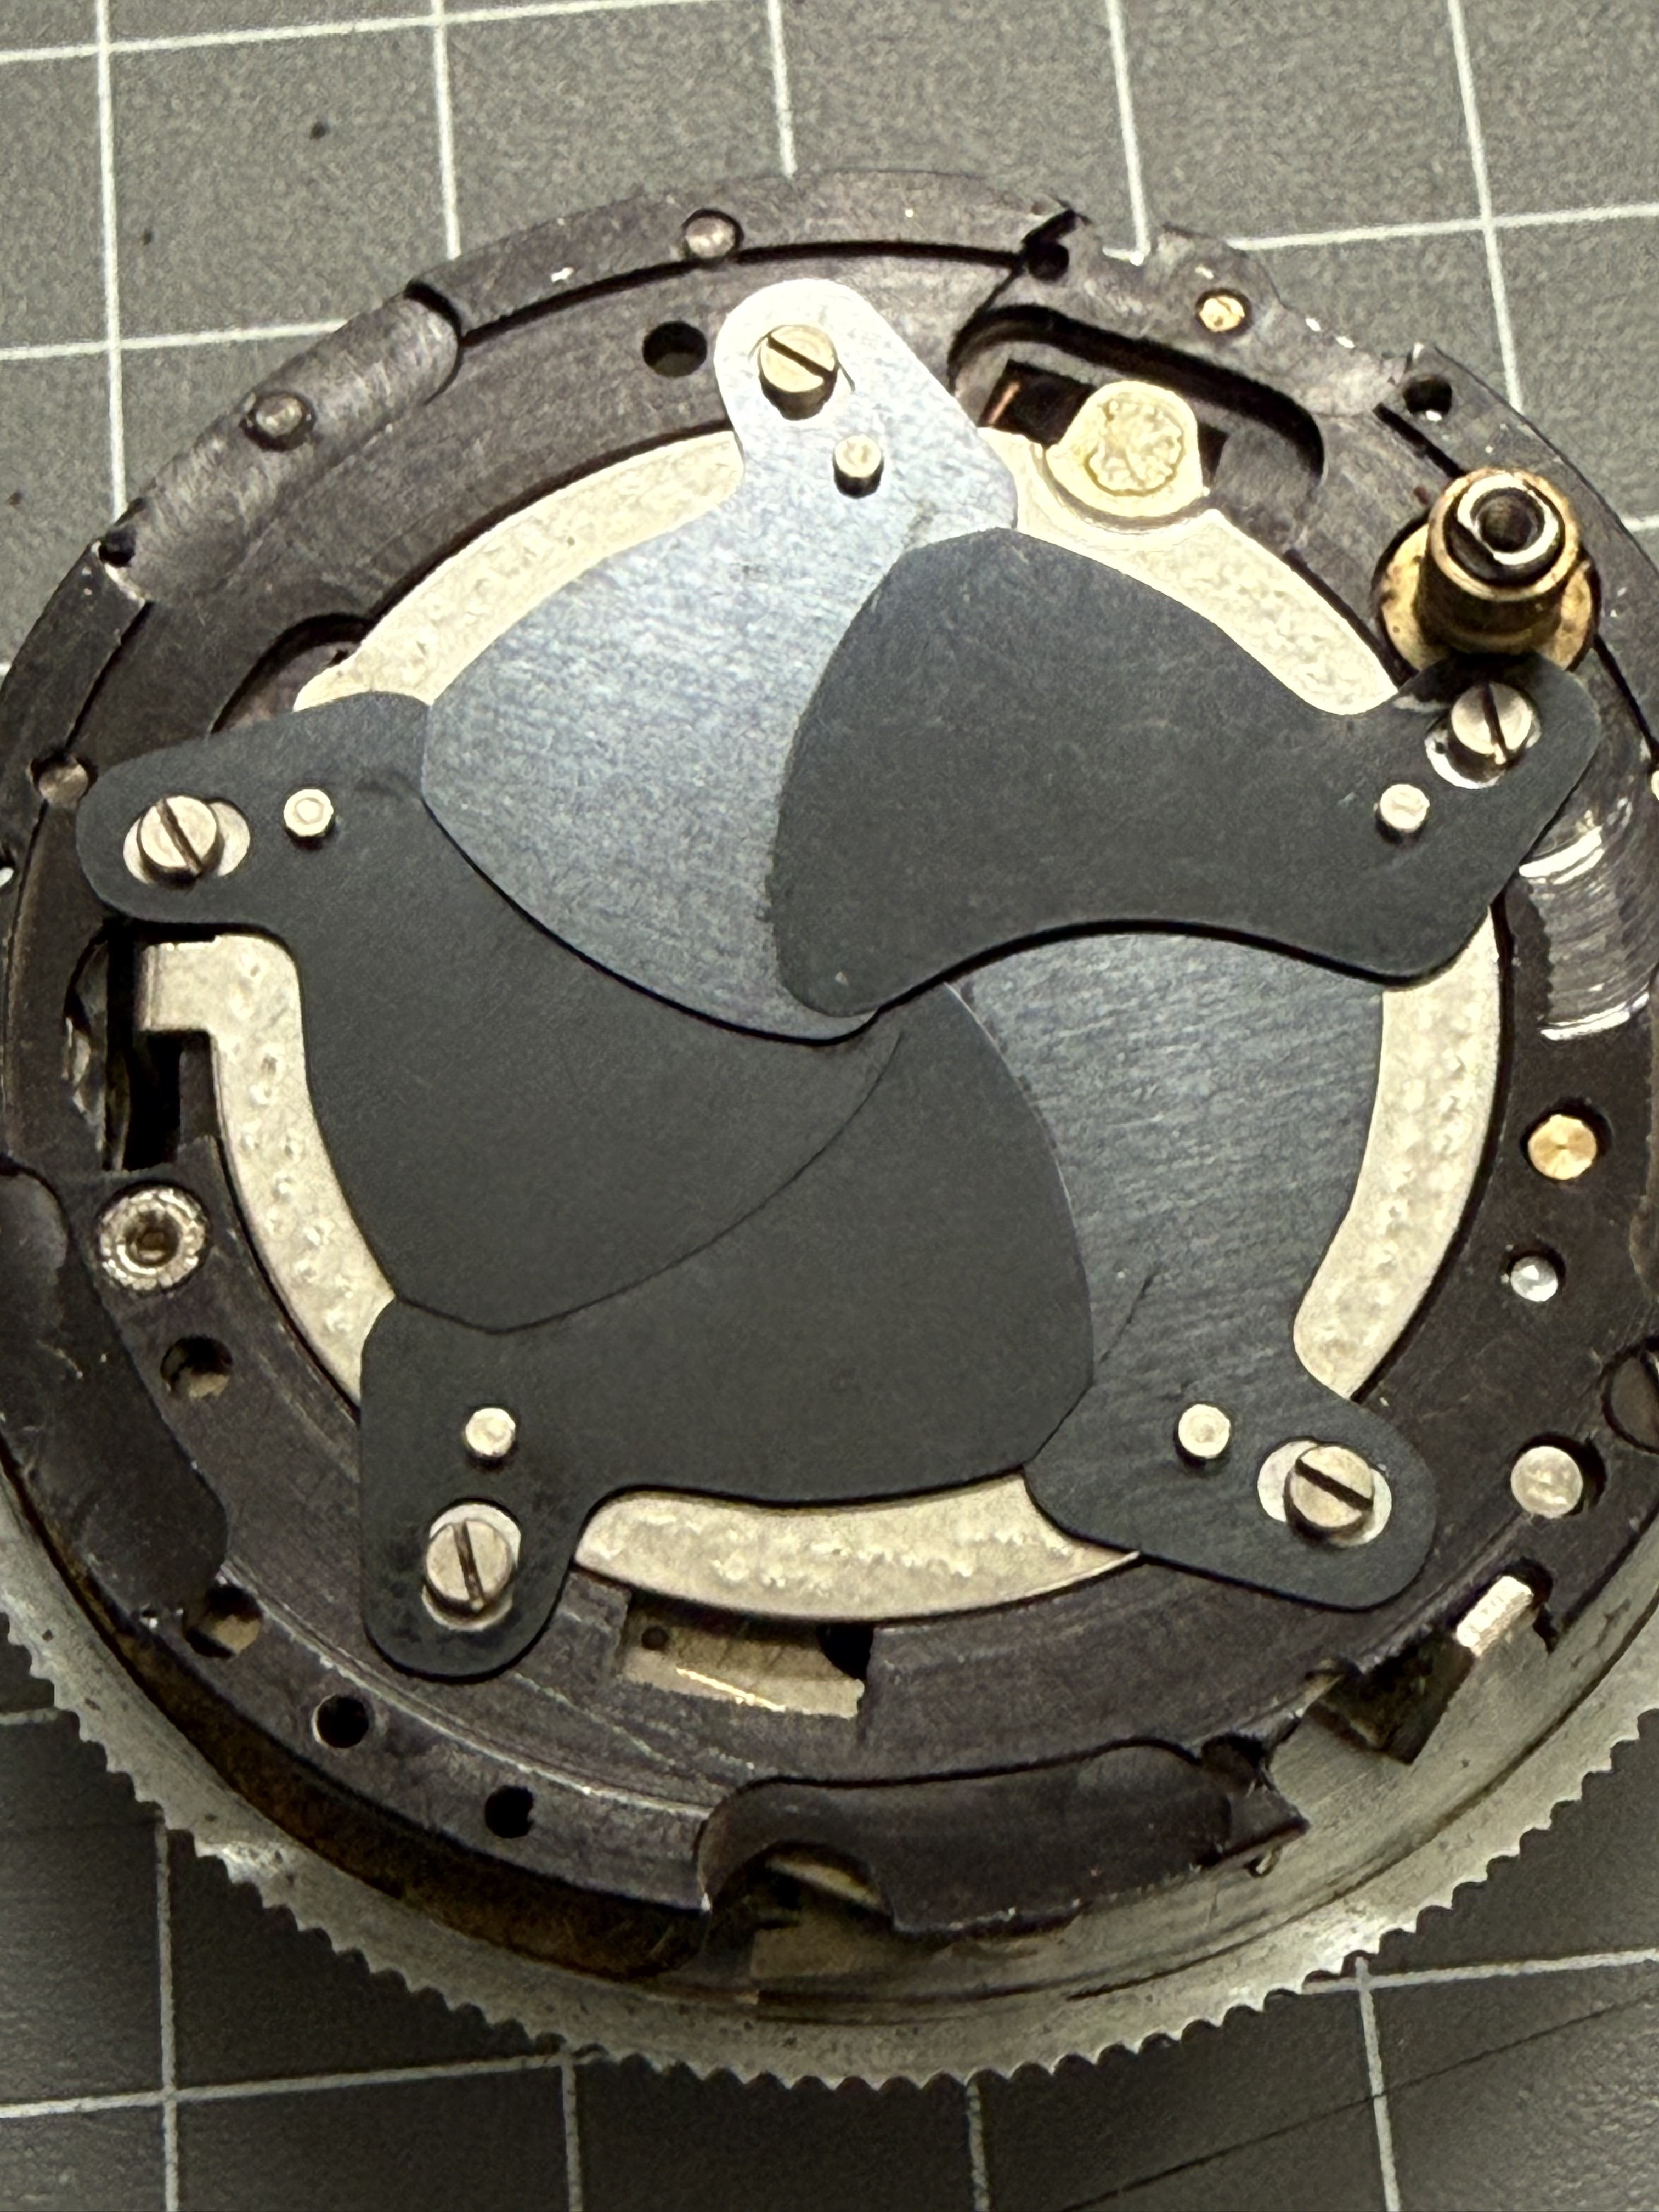
When taking off the screws, hold the front lens plate firmly onto the body. The collapsible part of the lens tube is under tension from two large springs that aren’t tightly secured inside. You should extend the lens tube before unscrewing the plate to lessen the tension on the springs. In my case, the springs popped out when I removed the front lens plate.
Later, I discovered that the springs are held in place by two holes in the body and two on the lens tube. To reassemble, first secure the springs in the holes, then push the inner plate to hold the springs under tension. Next, attach the front lens plate while making sure the collapsible tube release button and shutter cocking lever fit into their holes. This was the hardest part of reassembly. The design is poor, and it took several attempts to get everything back in place. It’s not impossible, but it becomes very difficult if the bottom camera plate is already attached.
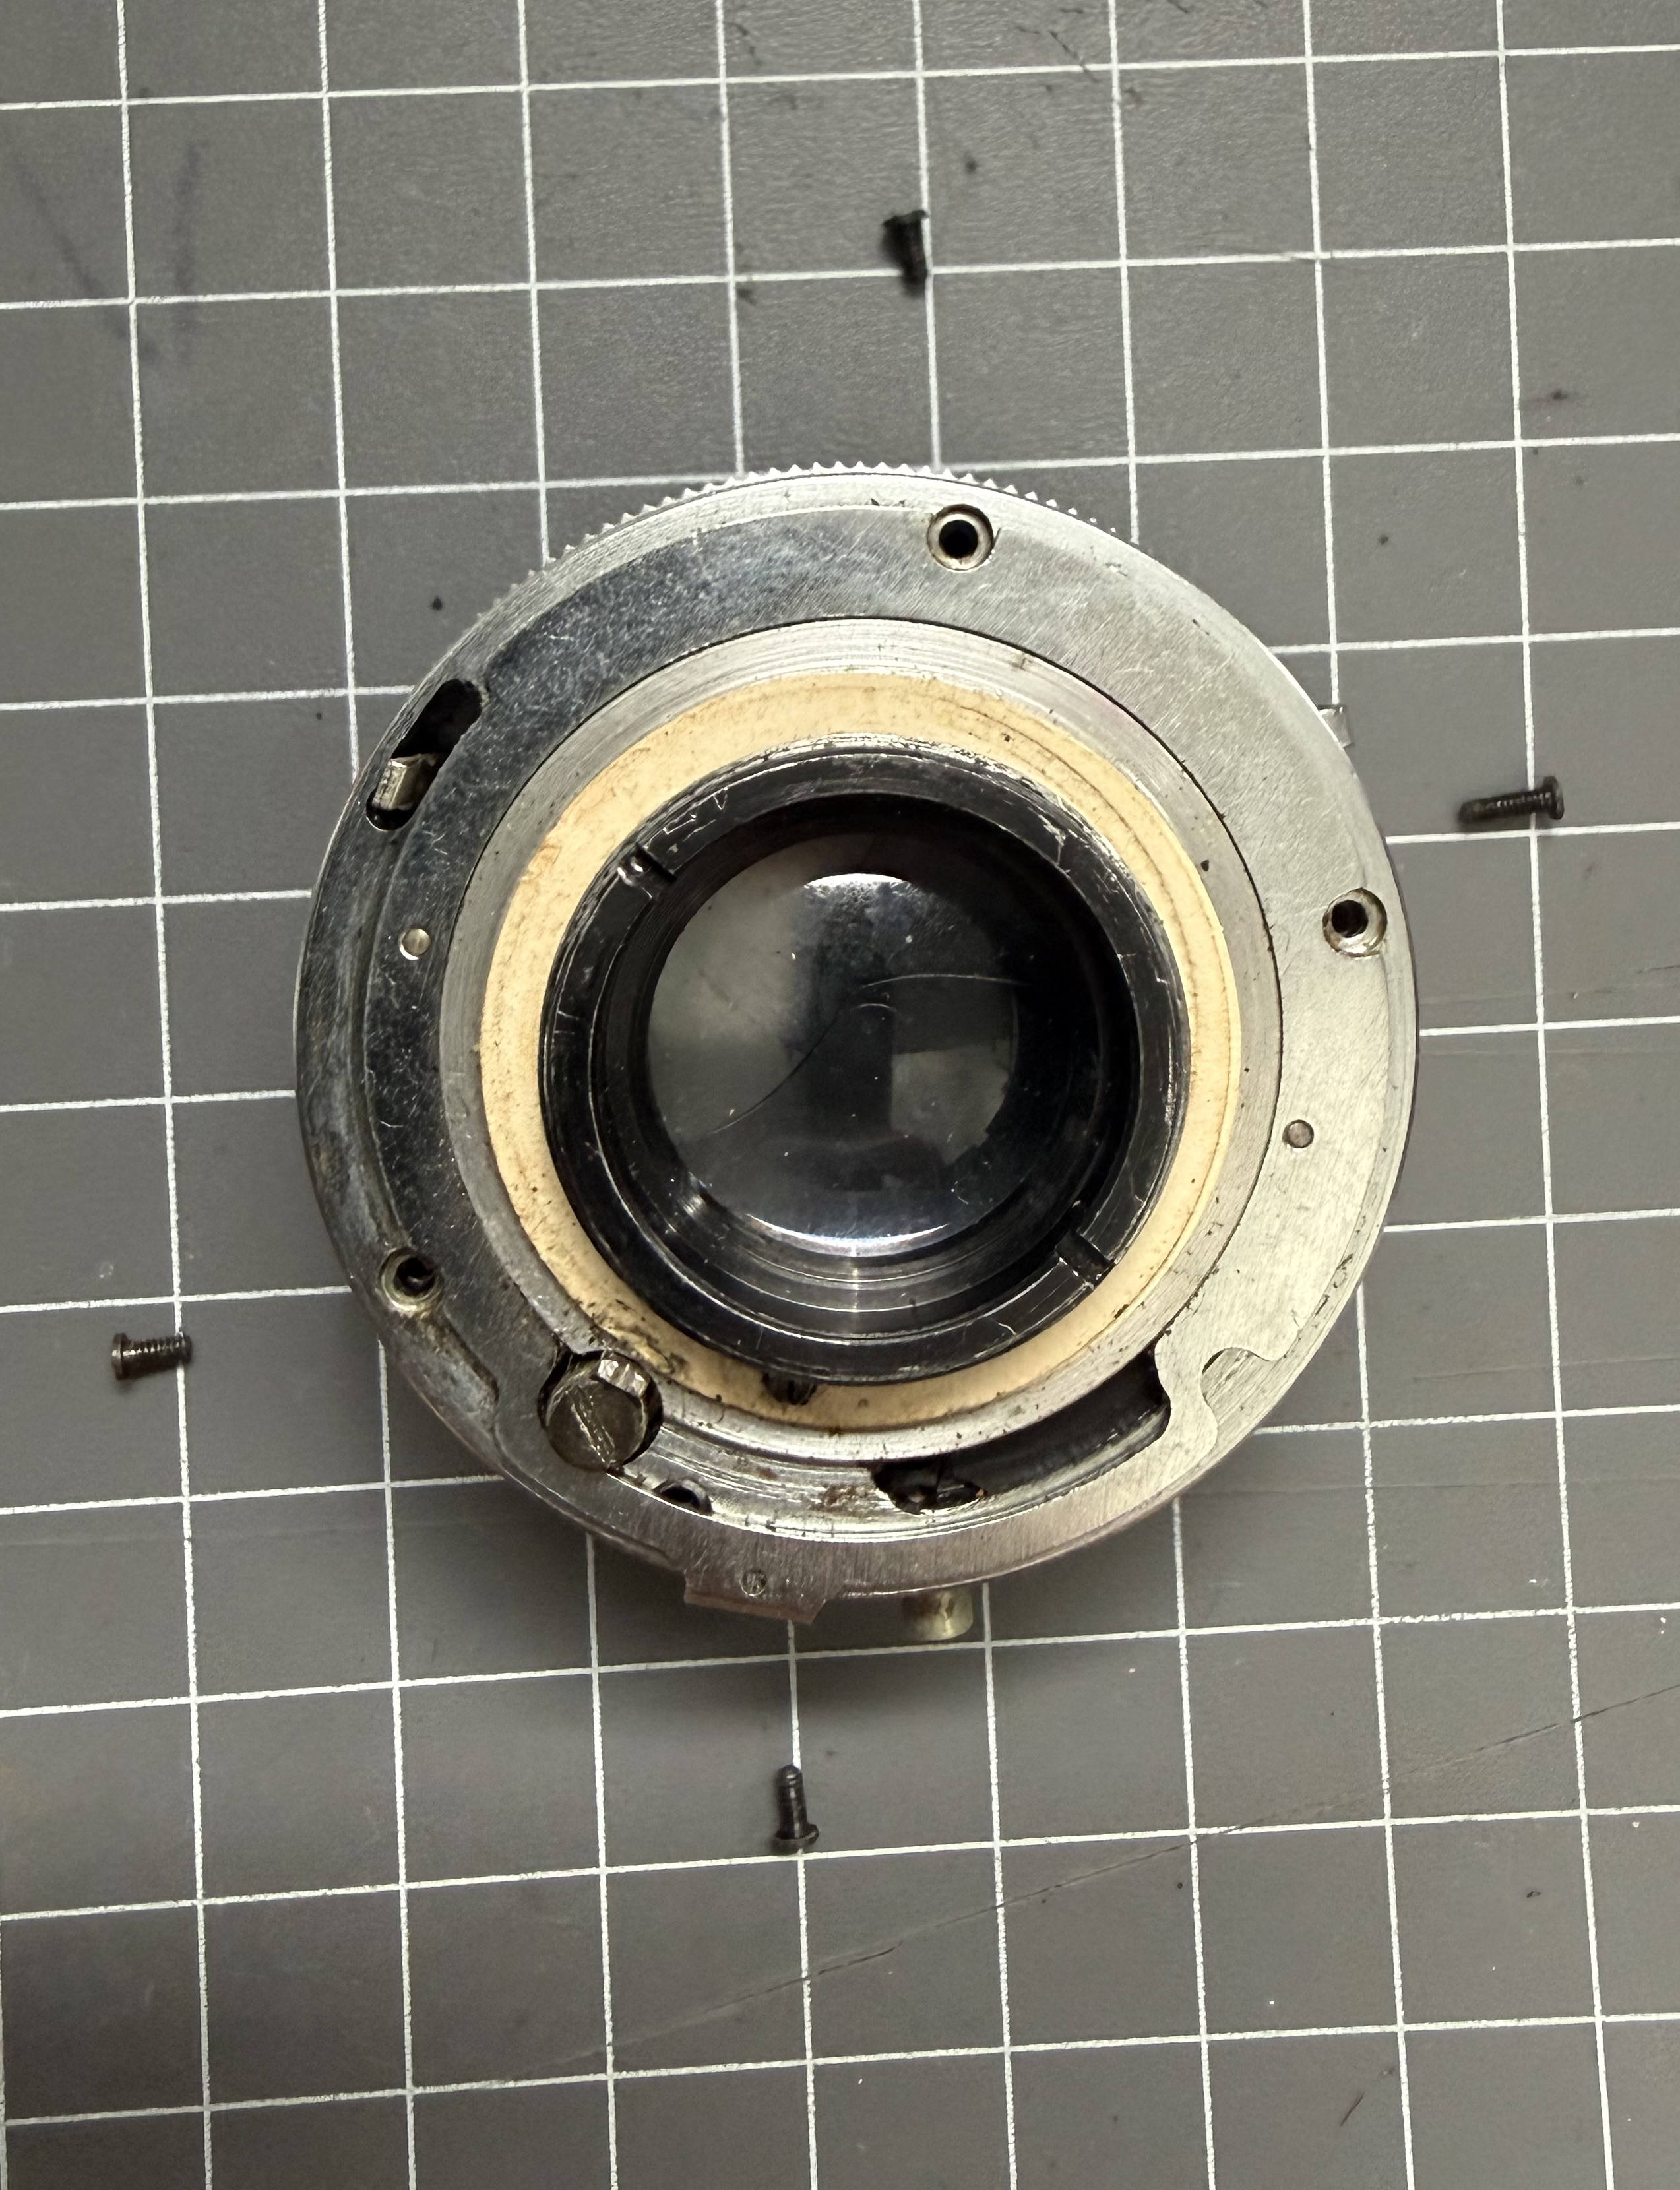
Compared to the front lens plate, the lens and shutter are easier to handle. They are attached to the front plate with a retaining ring at the rear, which can be removed using a lens spanner.
I accessed the shutter blades from the rear since I couldn’t unscrew the front lens elements despite using acetone and naphtha. When taking apart the Pronto shutter from the rear, be cautious of the cardboard shims and four screws, one of which is longer and also serves as a stop for the spring that tightly closes the shutter blades. Remember where each part goes. The shutter blades can be easily removed, cleaned, and reassembled, so note their positions before disassembly.
Later, I managed to remove the front lens element to access the Pronto shutter from the front. I won’t explain how to service the shutter, as you can find that in videos online.
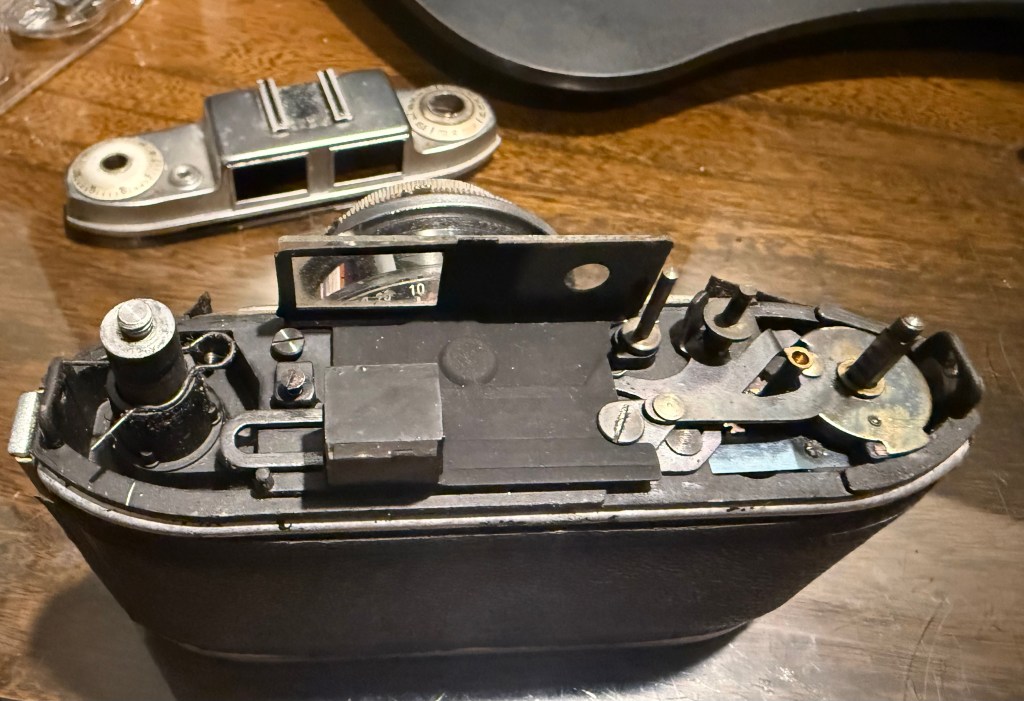
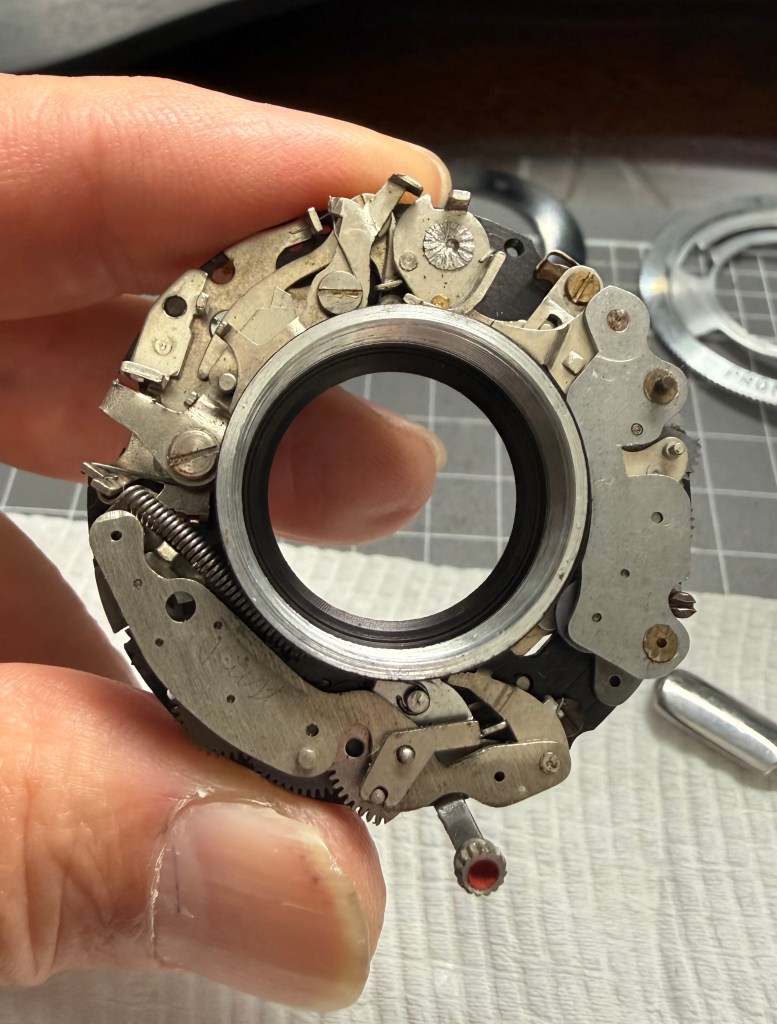
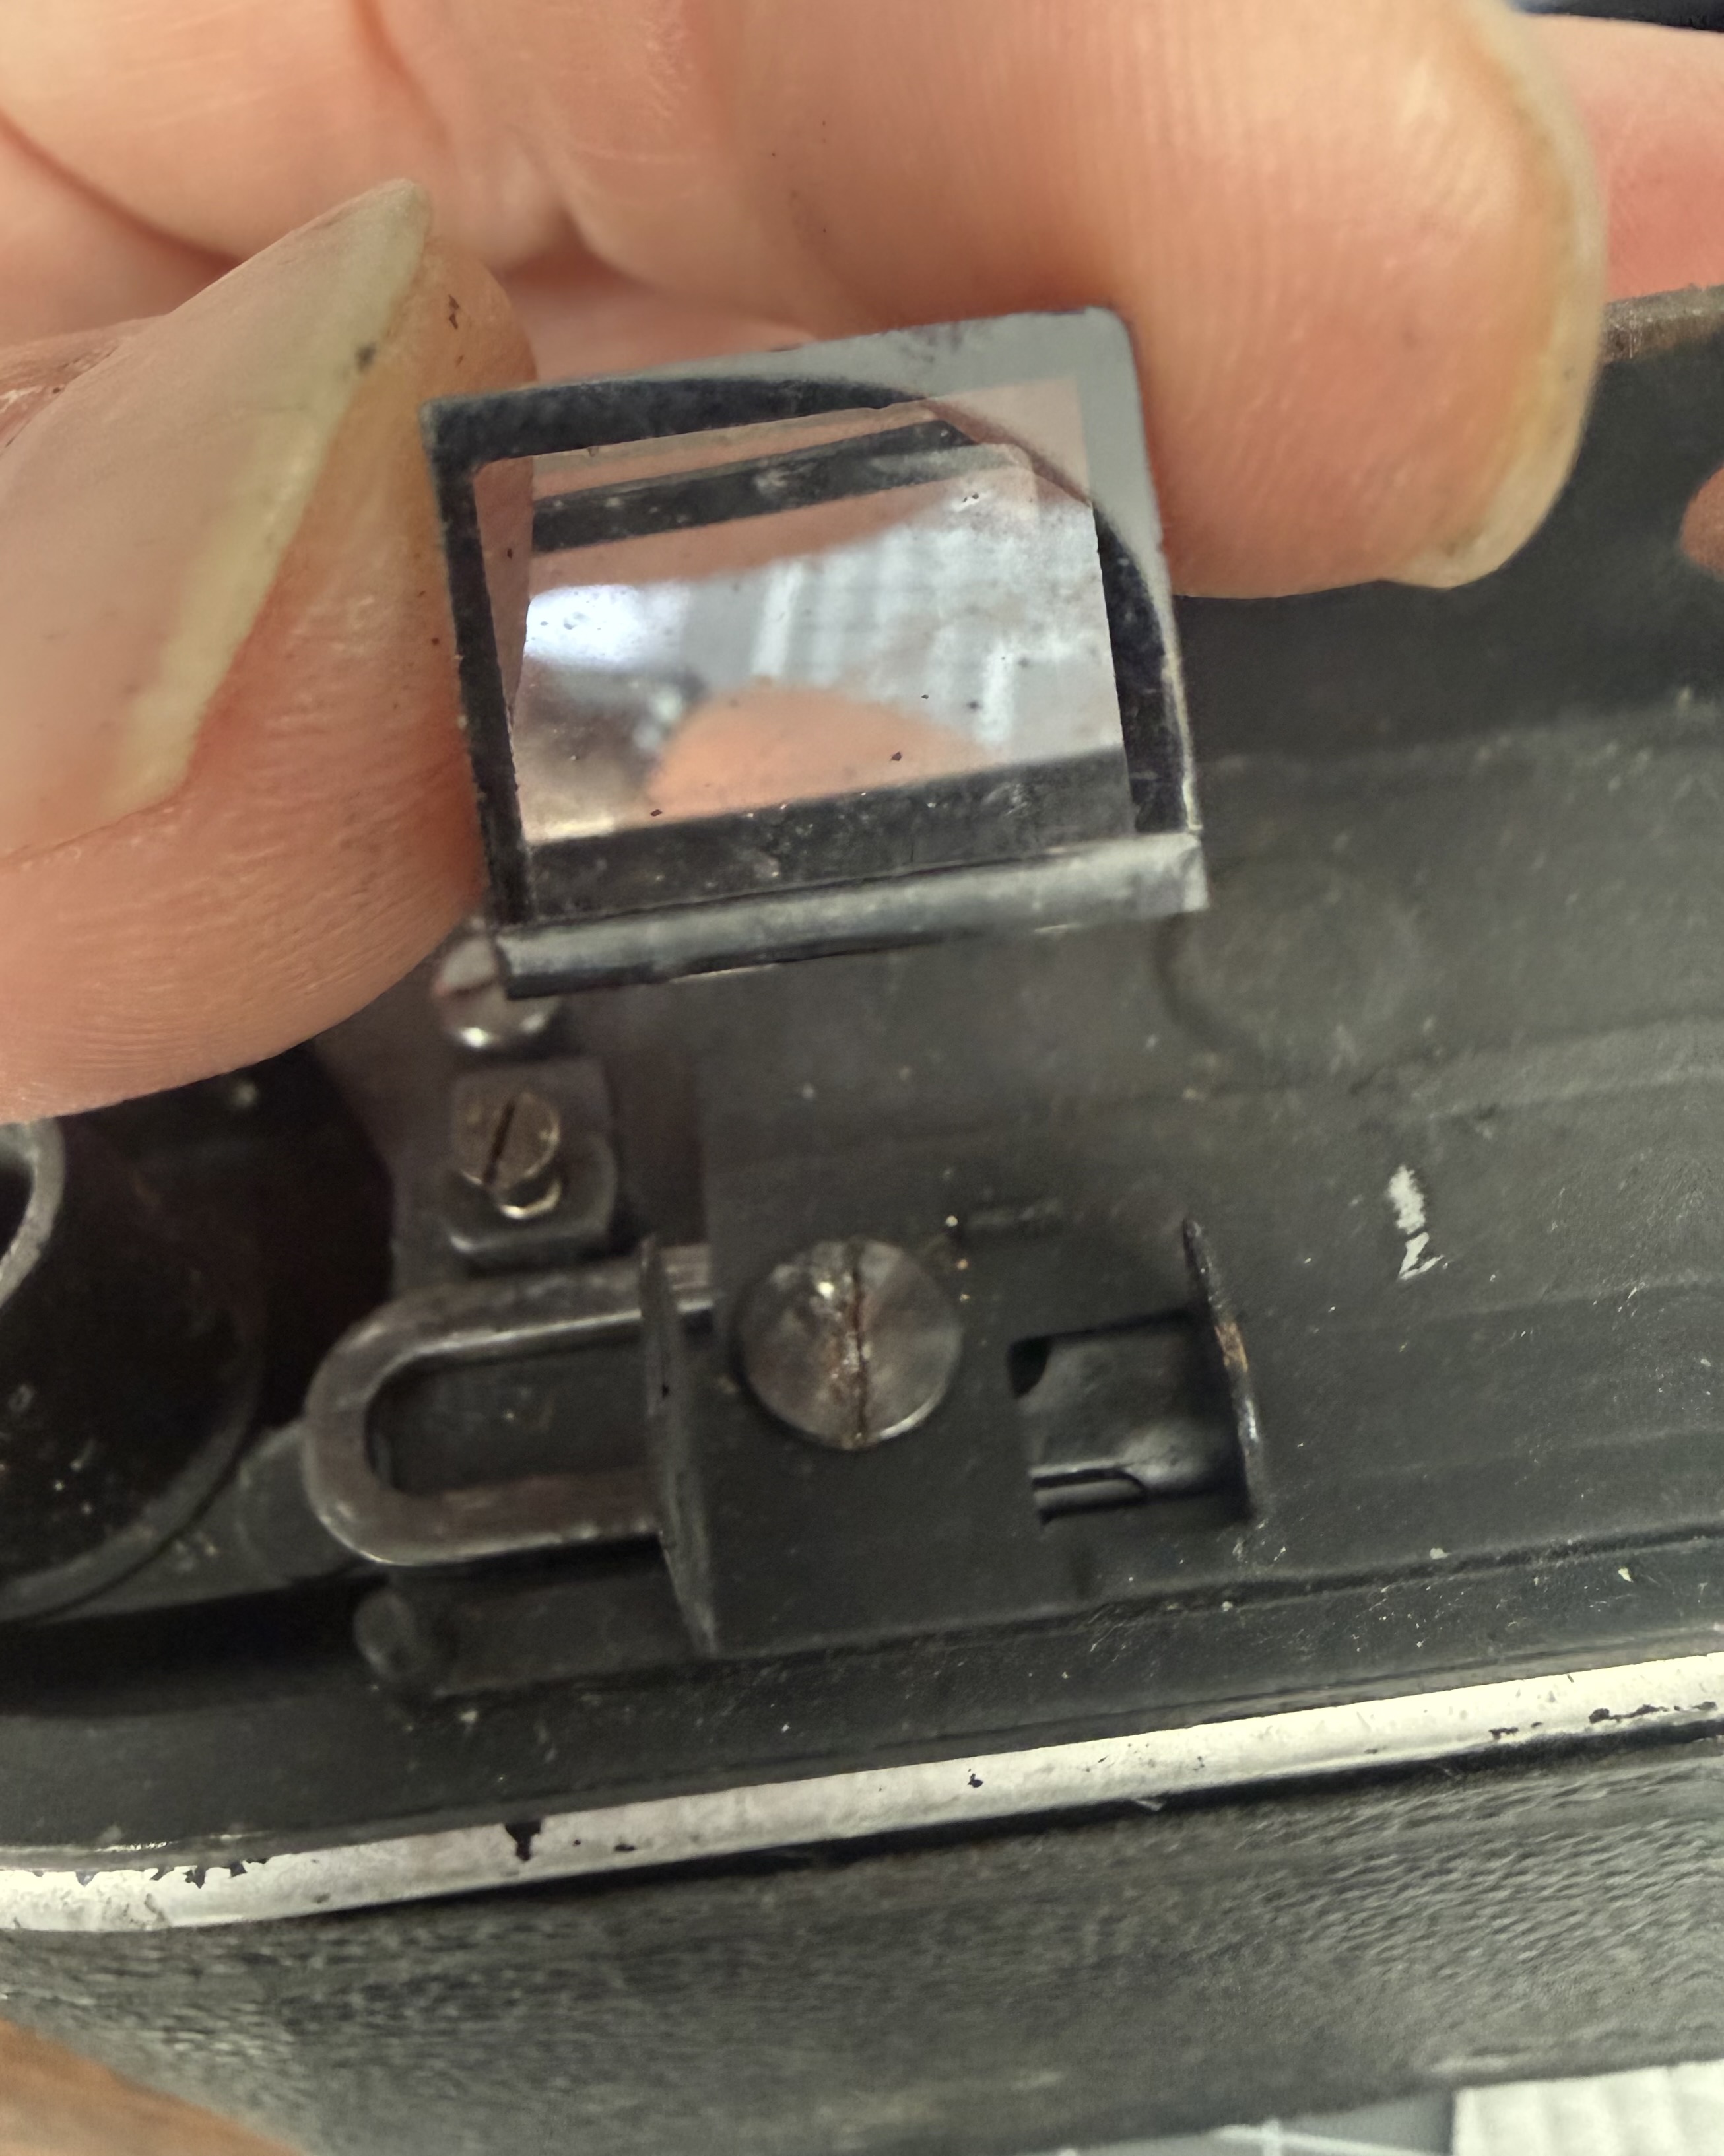
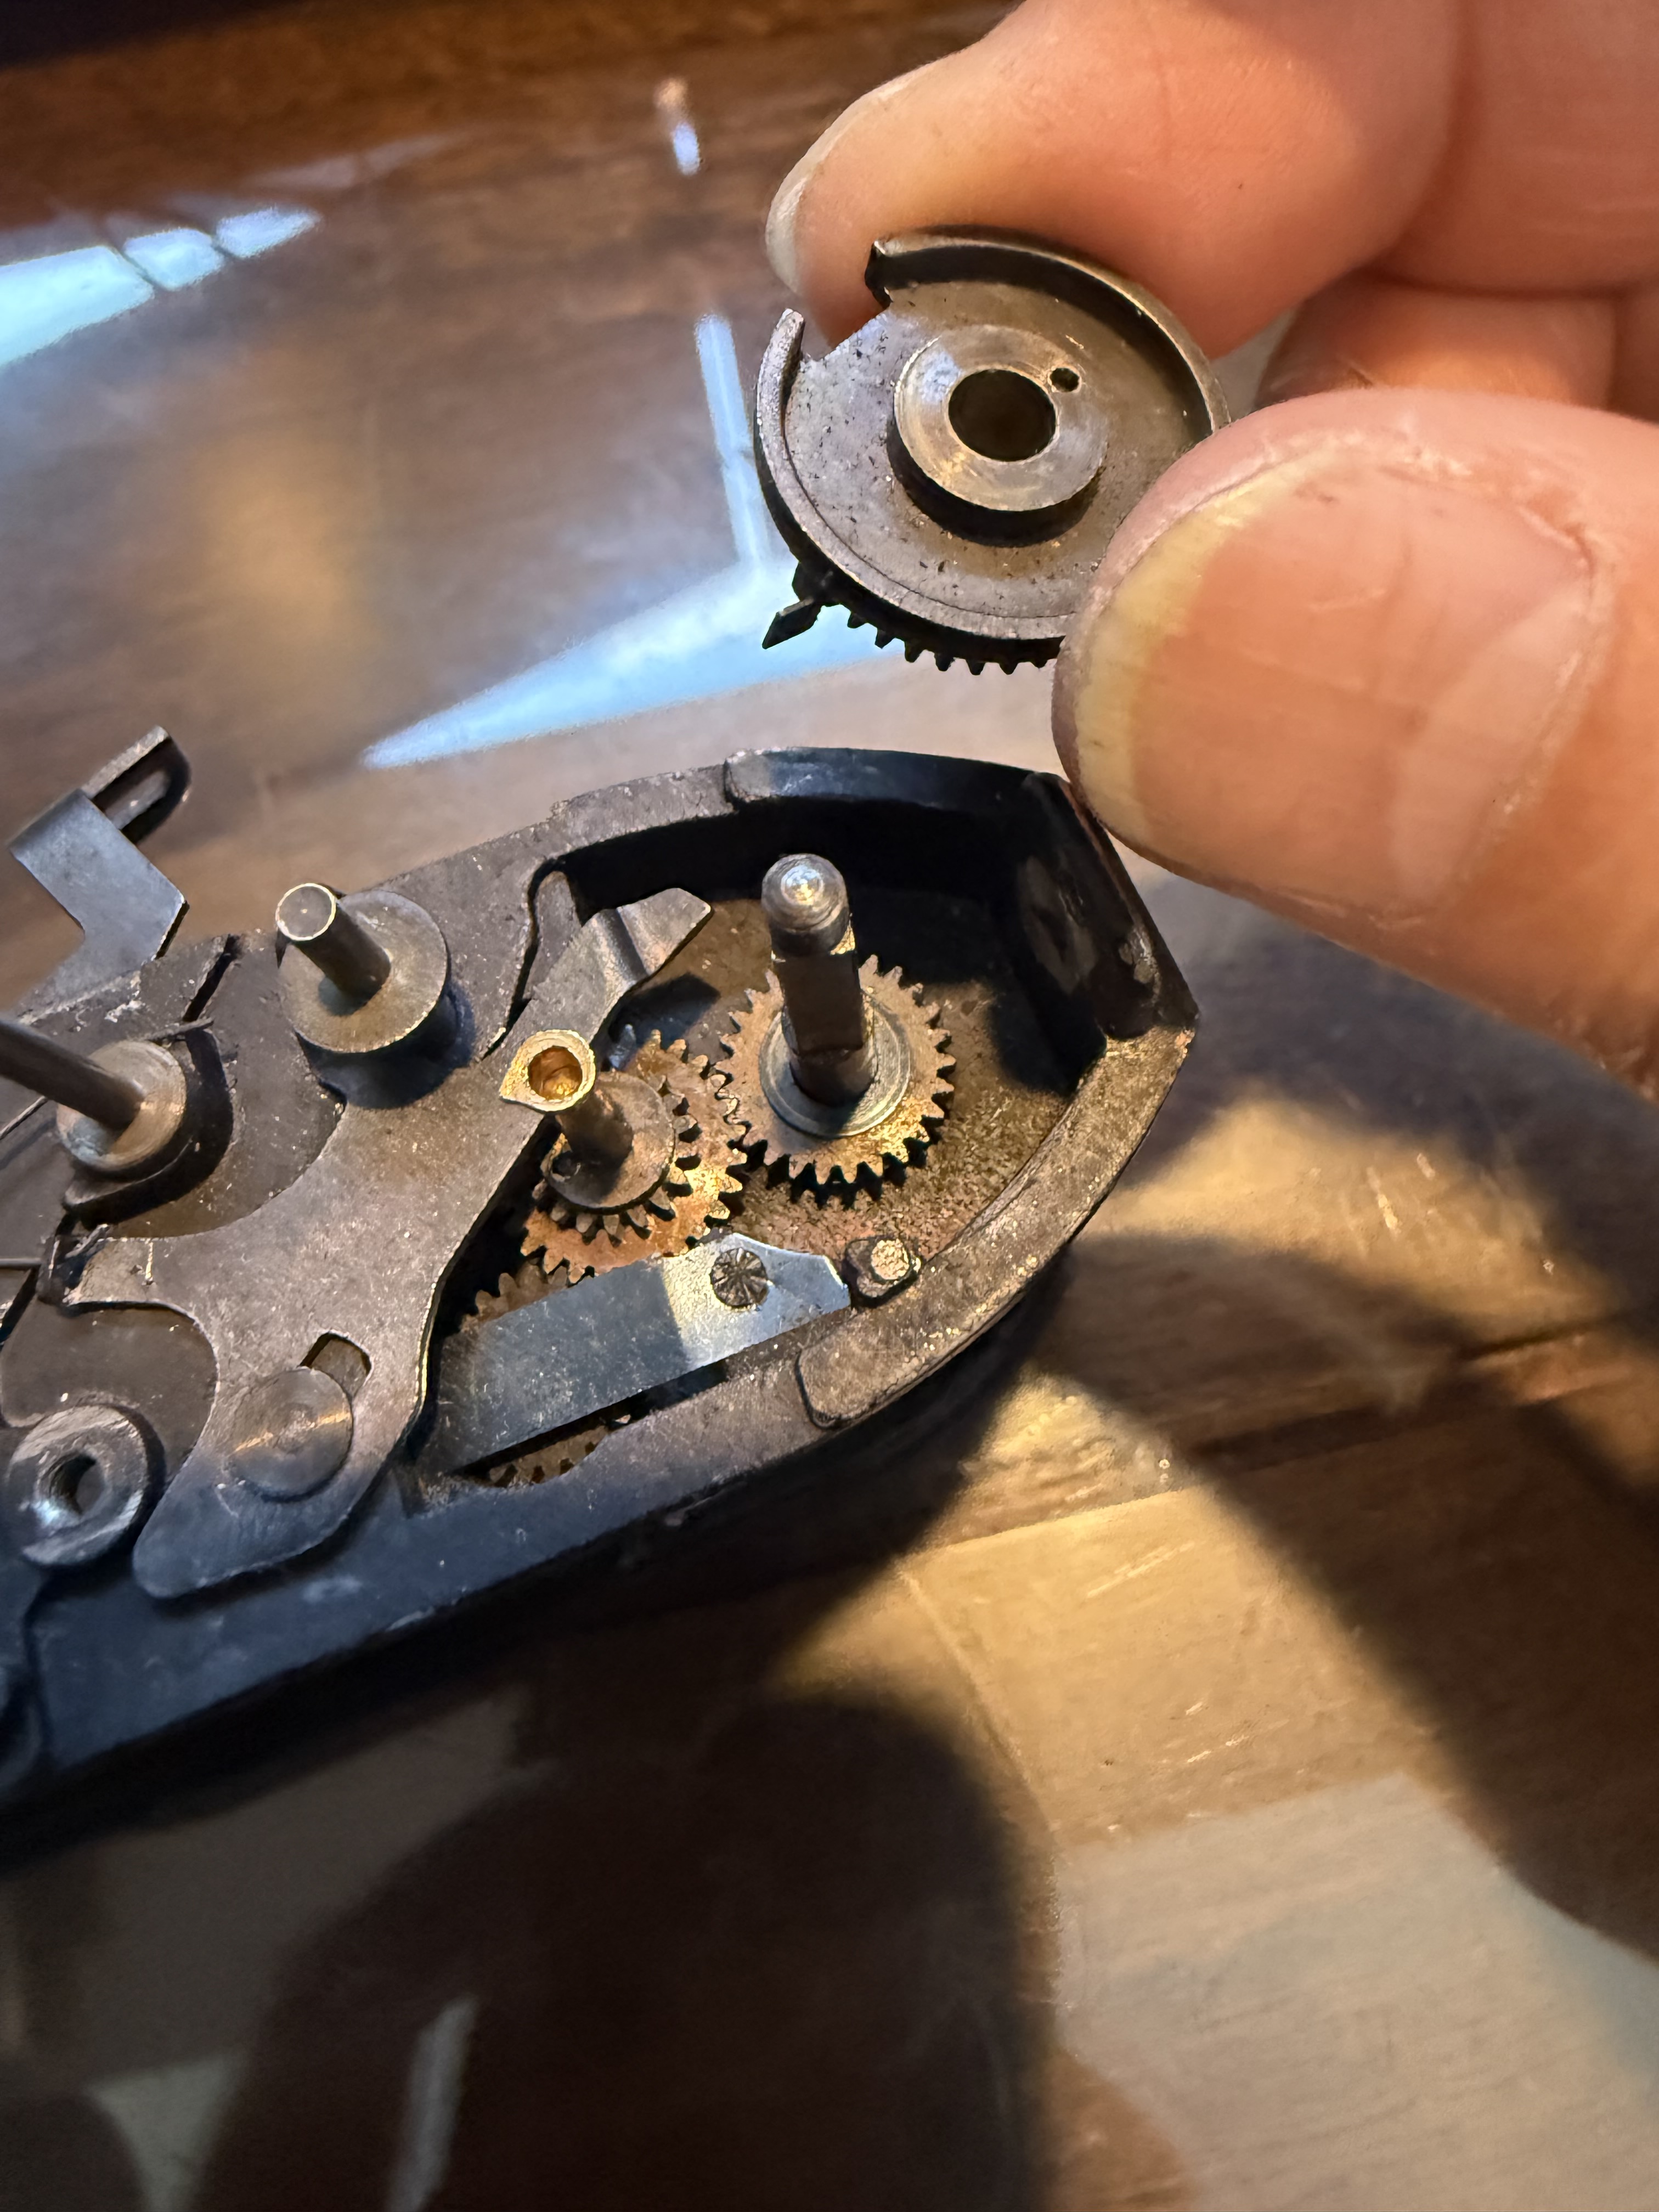
To service and lubricate the film advance mechanism, first remove the viewing prism and the viewing glass housing. Gently wiggle the prism out of its holder, and unscrew the exposed screws to take off the viewing glass housing.
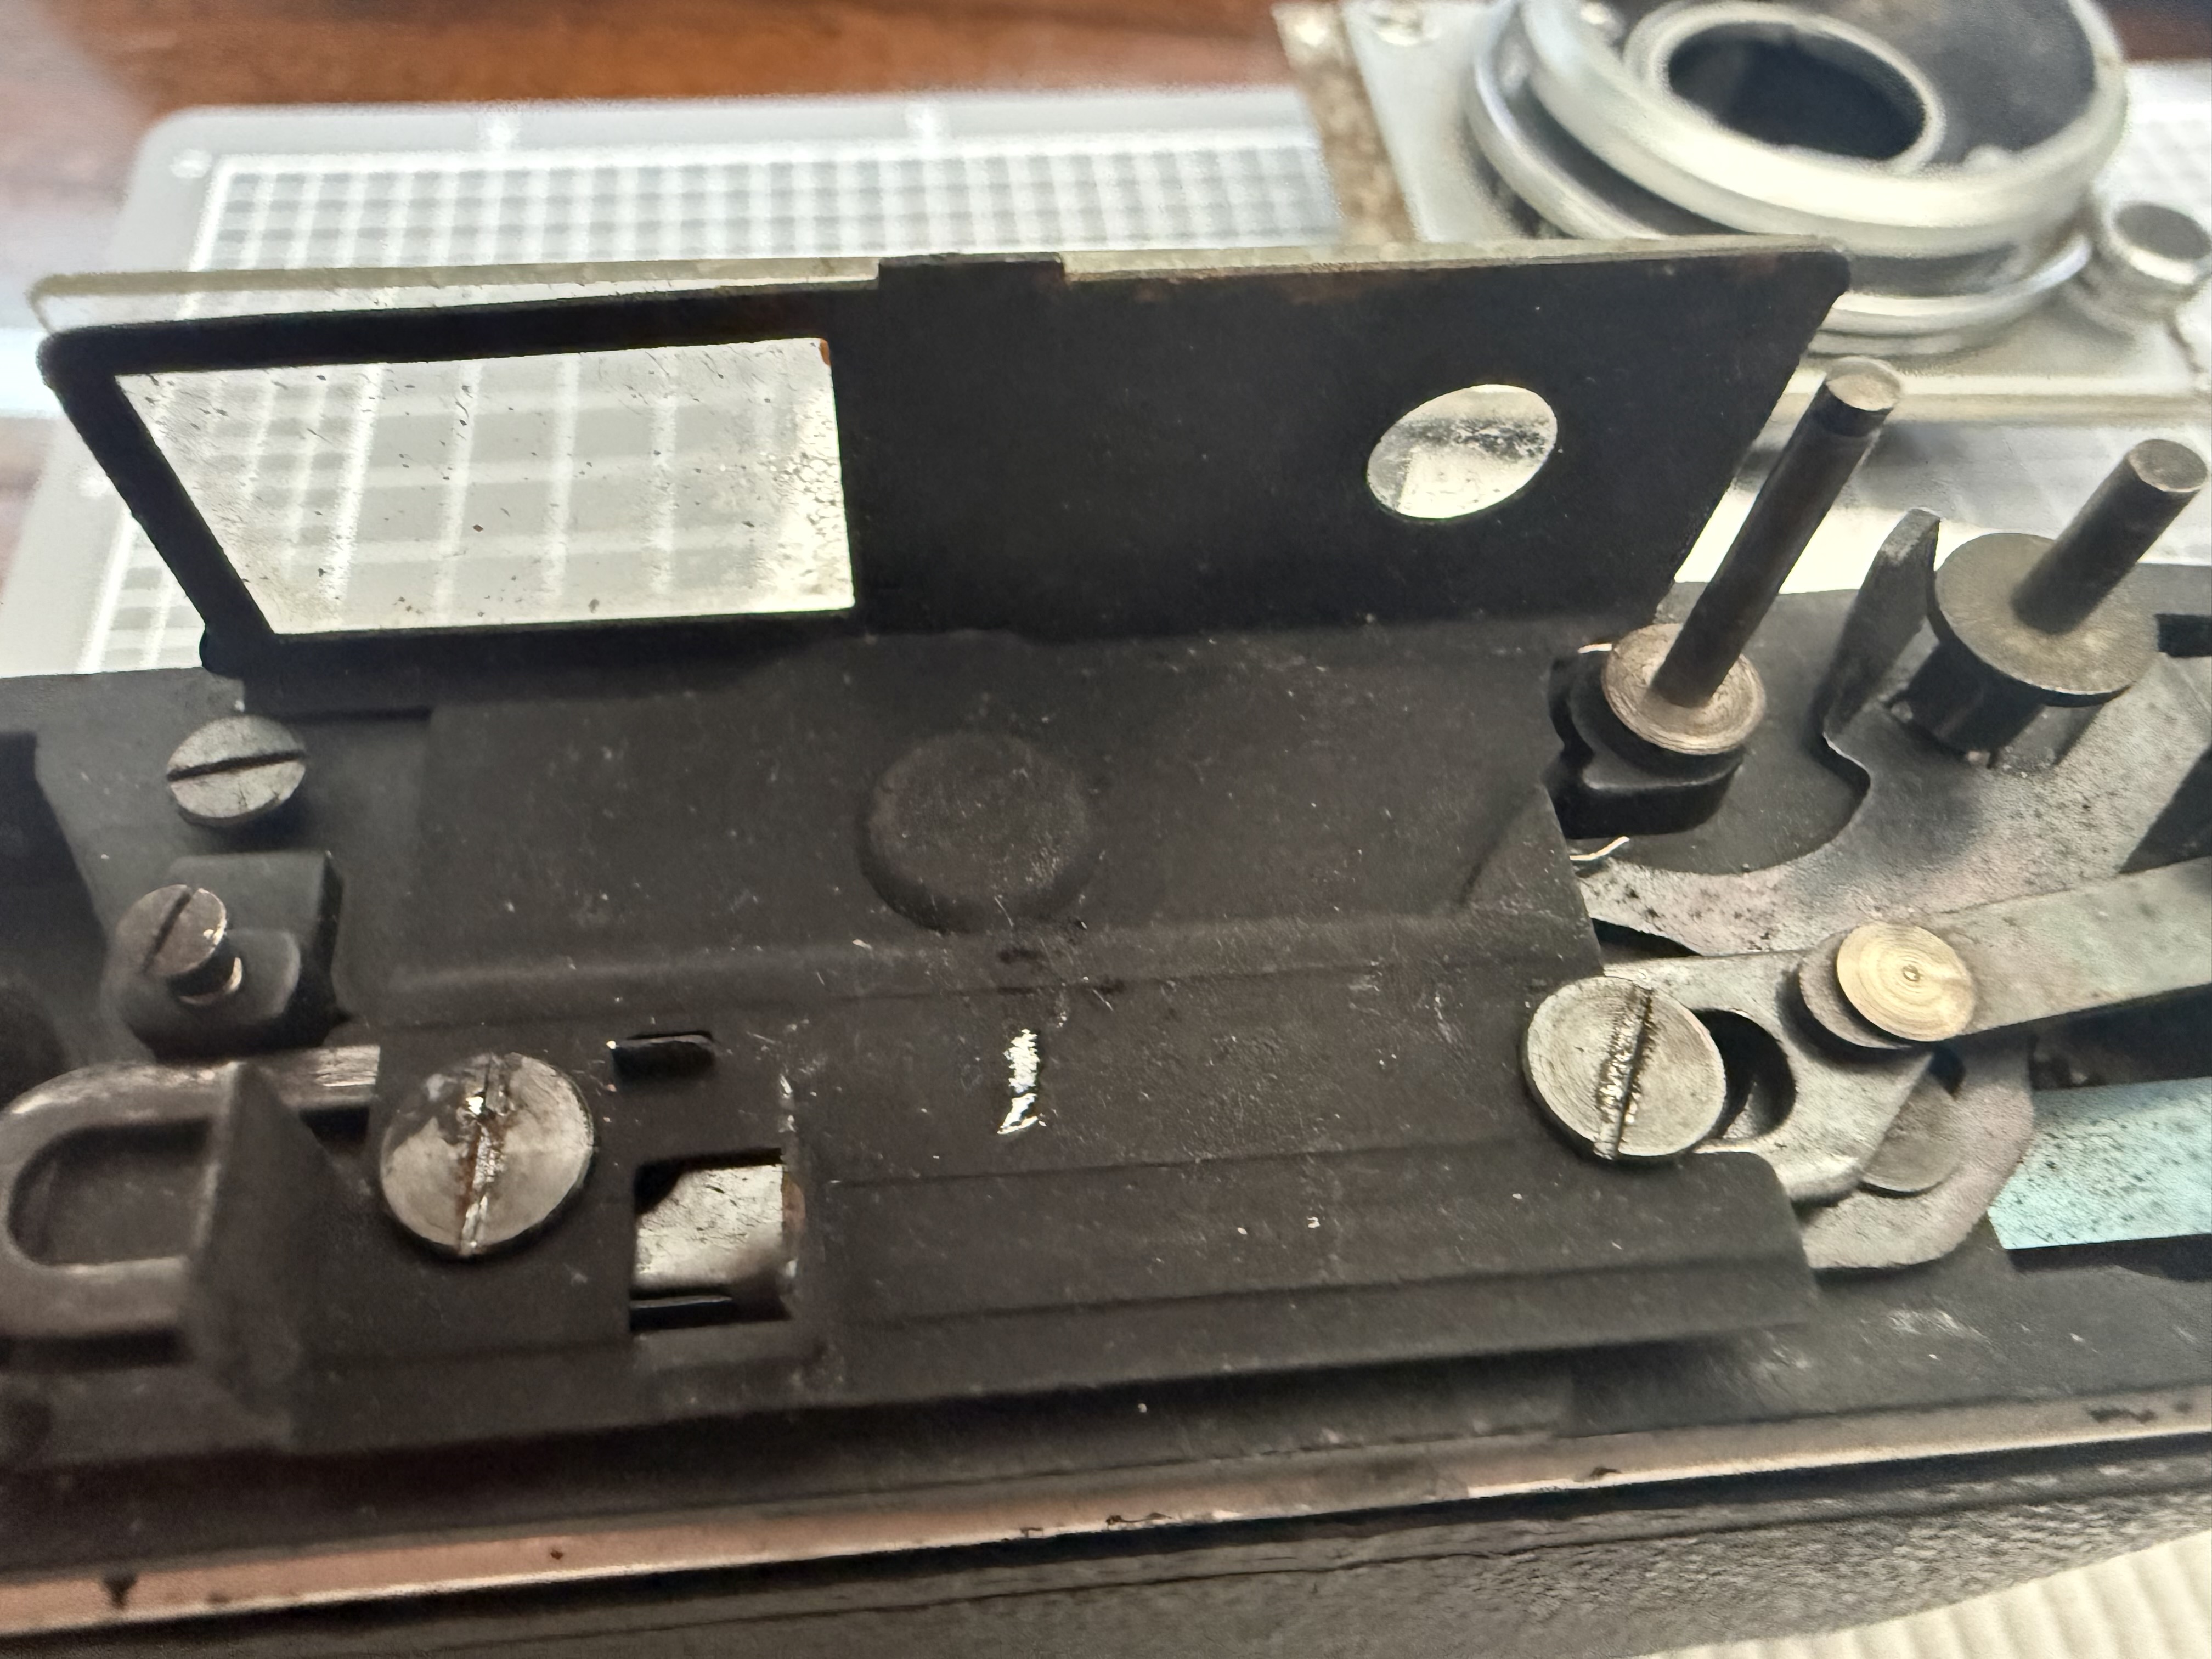
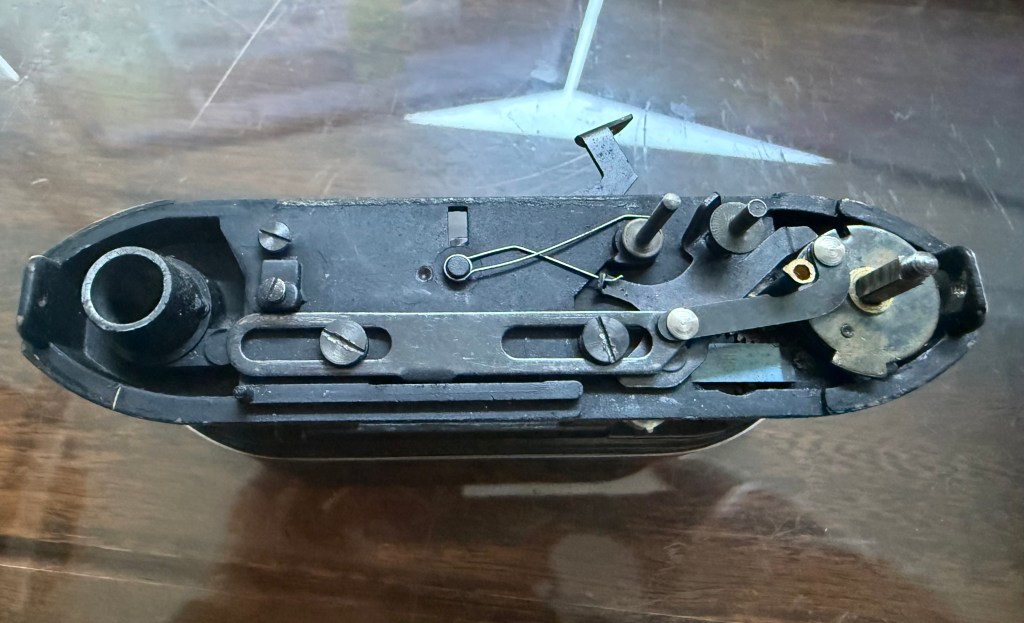
Note how the film advance and shutter cocking mechanisms are put together as you take them apart. It’s not a complicated mechanism, but understanding how they work before disassembly is important.
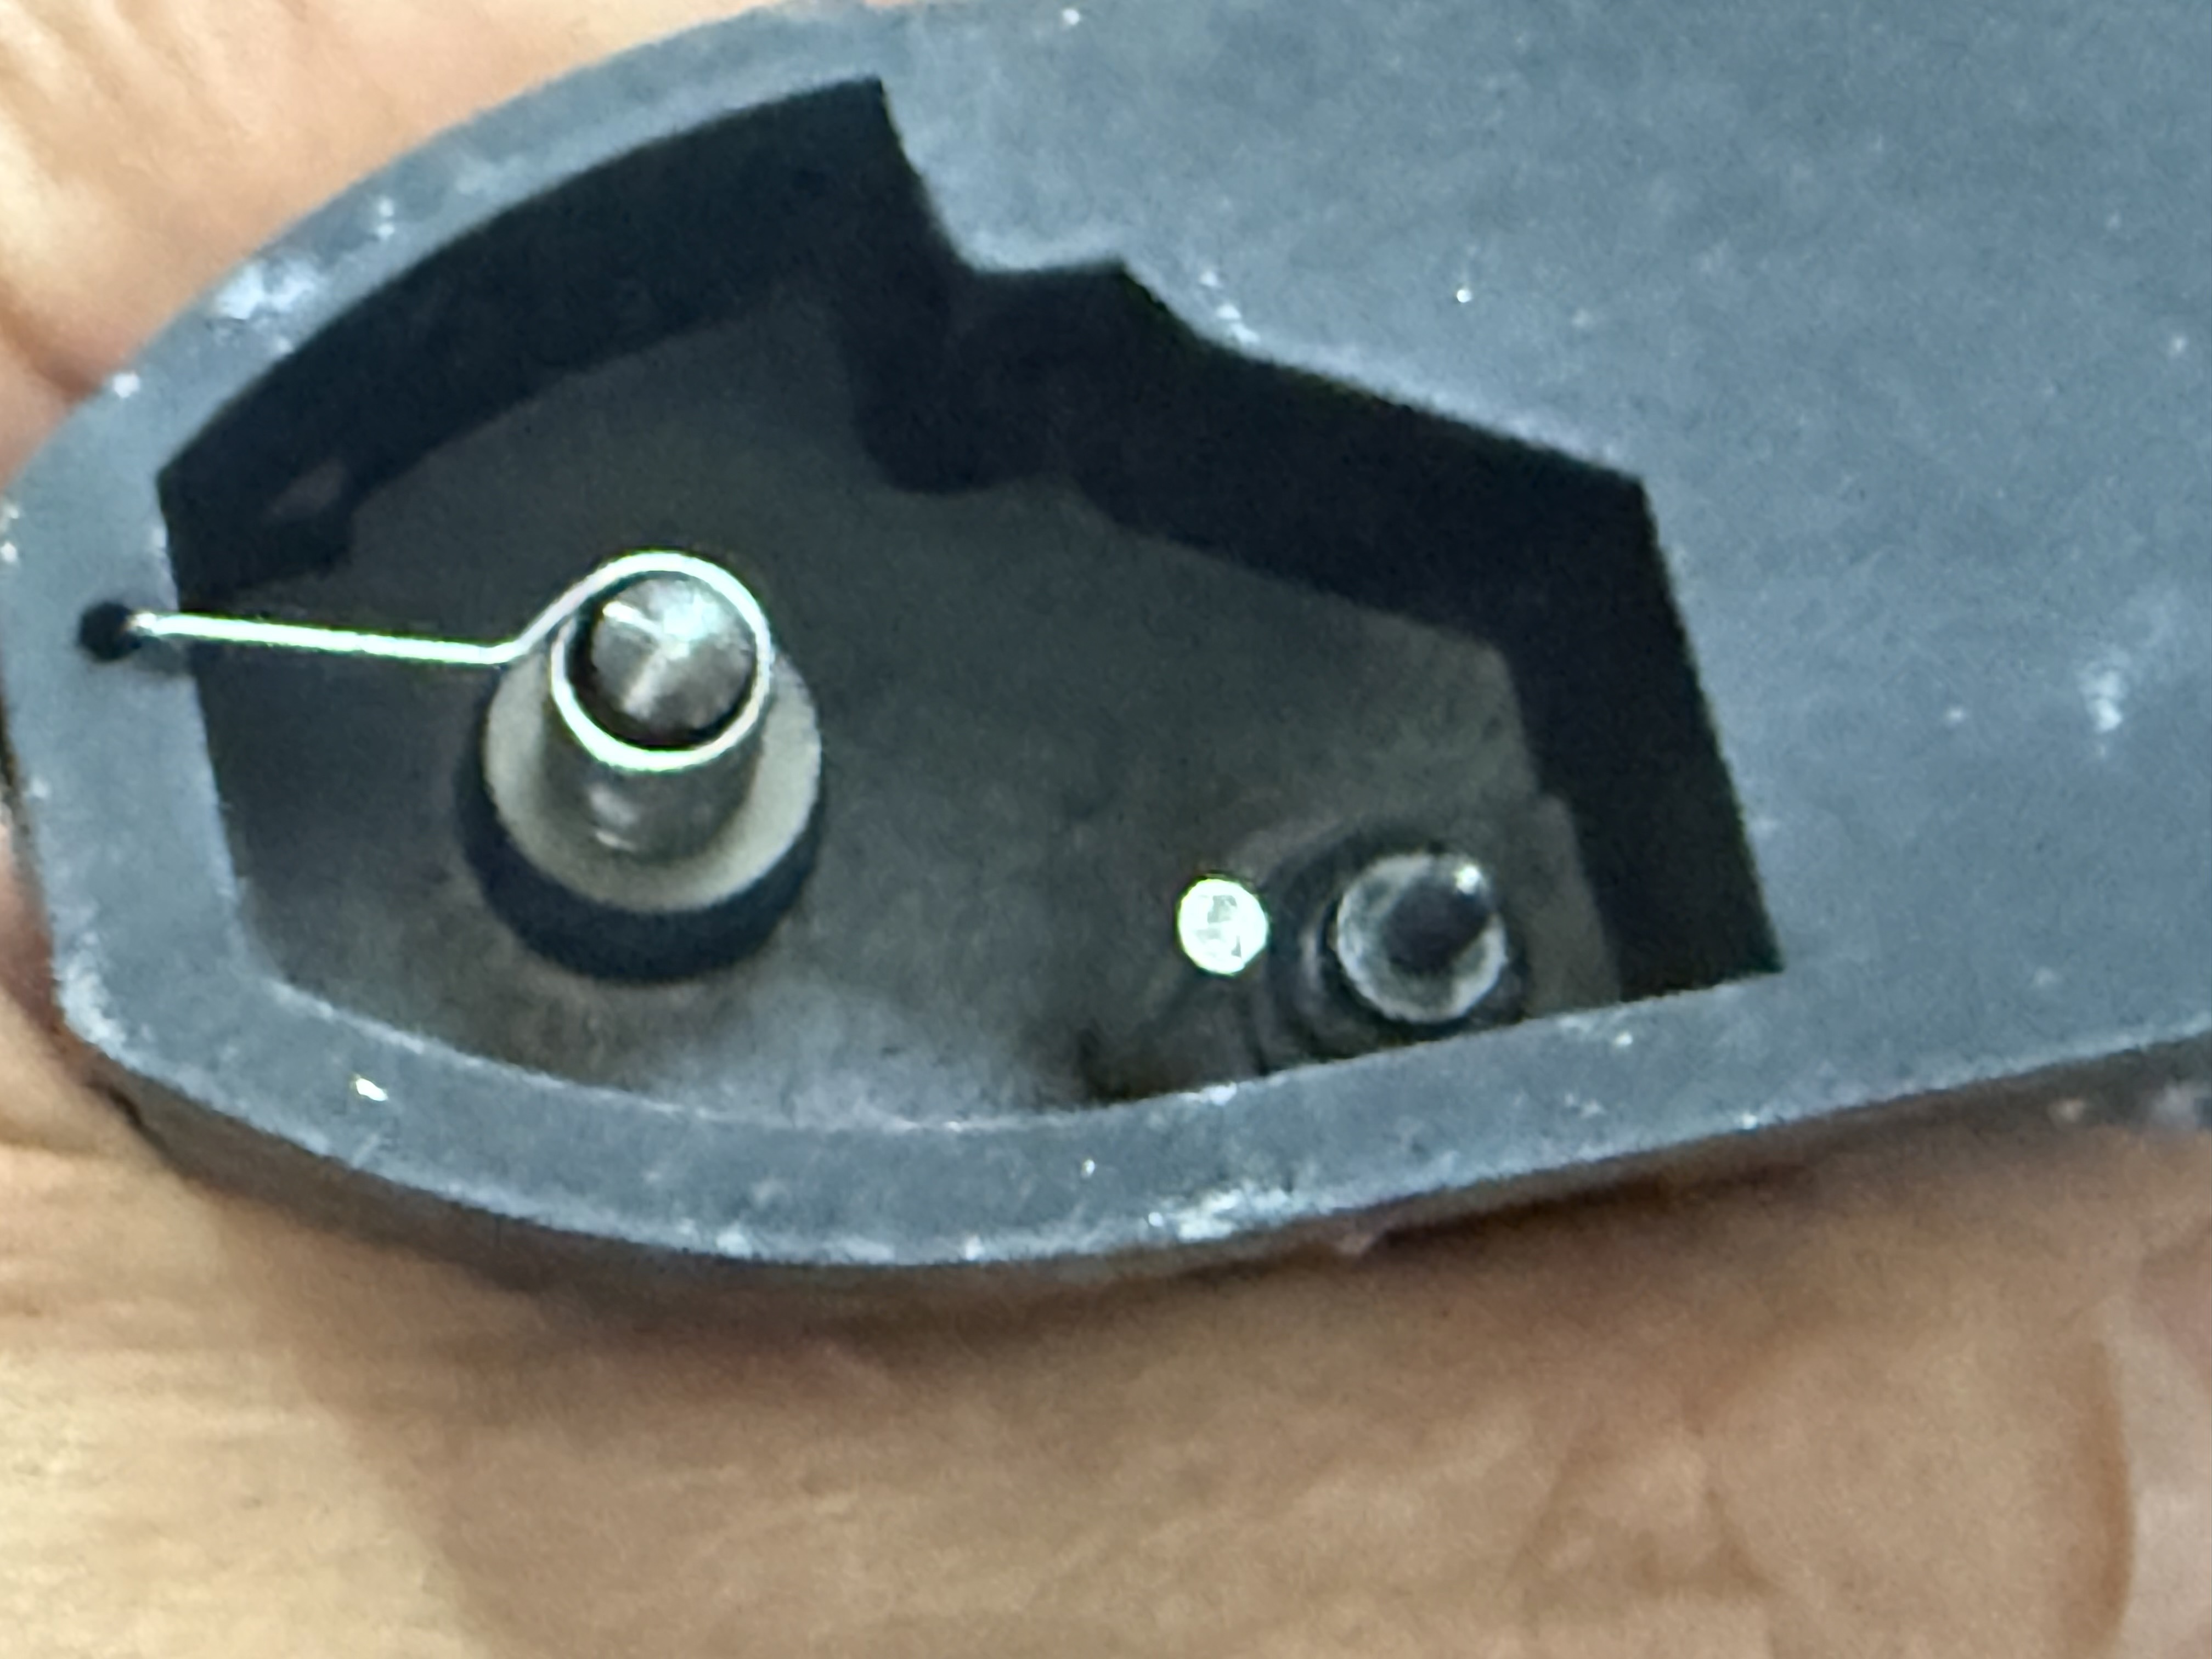
Once everything is cleaned and lubricated, reassembly is the reverse of assembly. Start by putting the lens and shutter mechanism back together, followed by the film advance mechanism, and then attach the lens front plate to the body. This part is tricky because of the springs, so be patient, take breaks, and it will fit together.
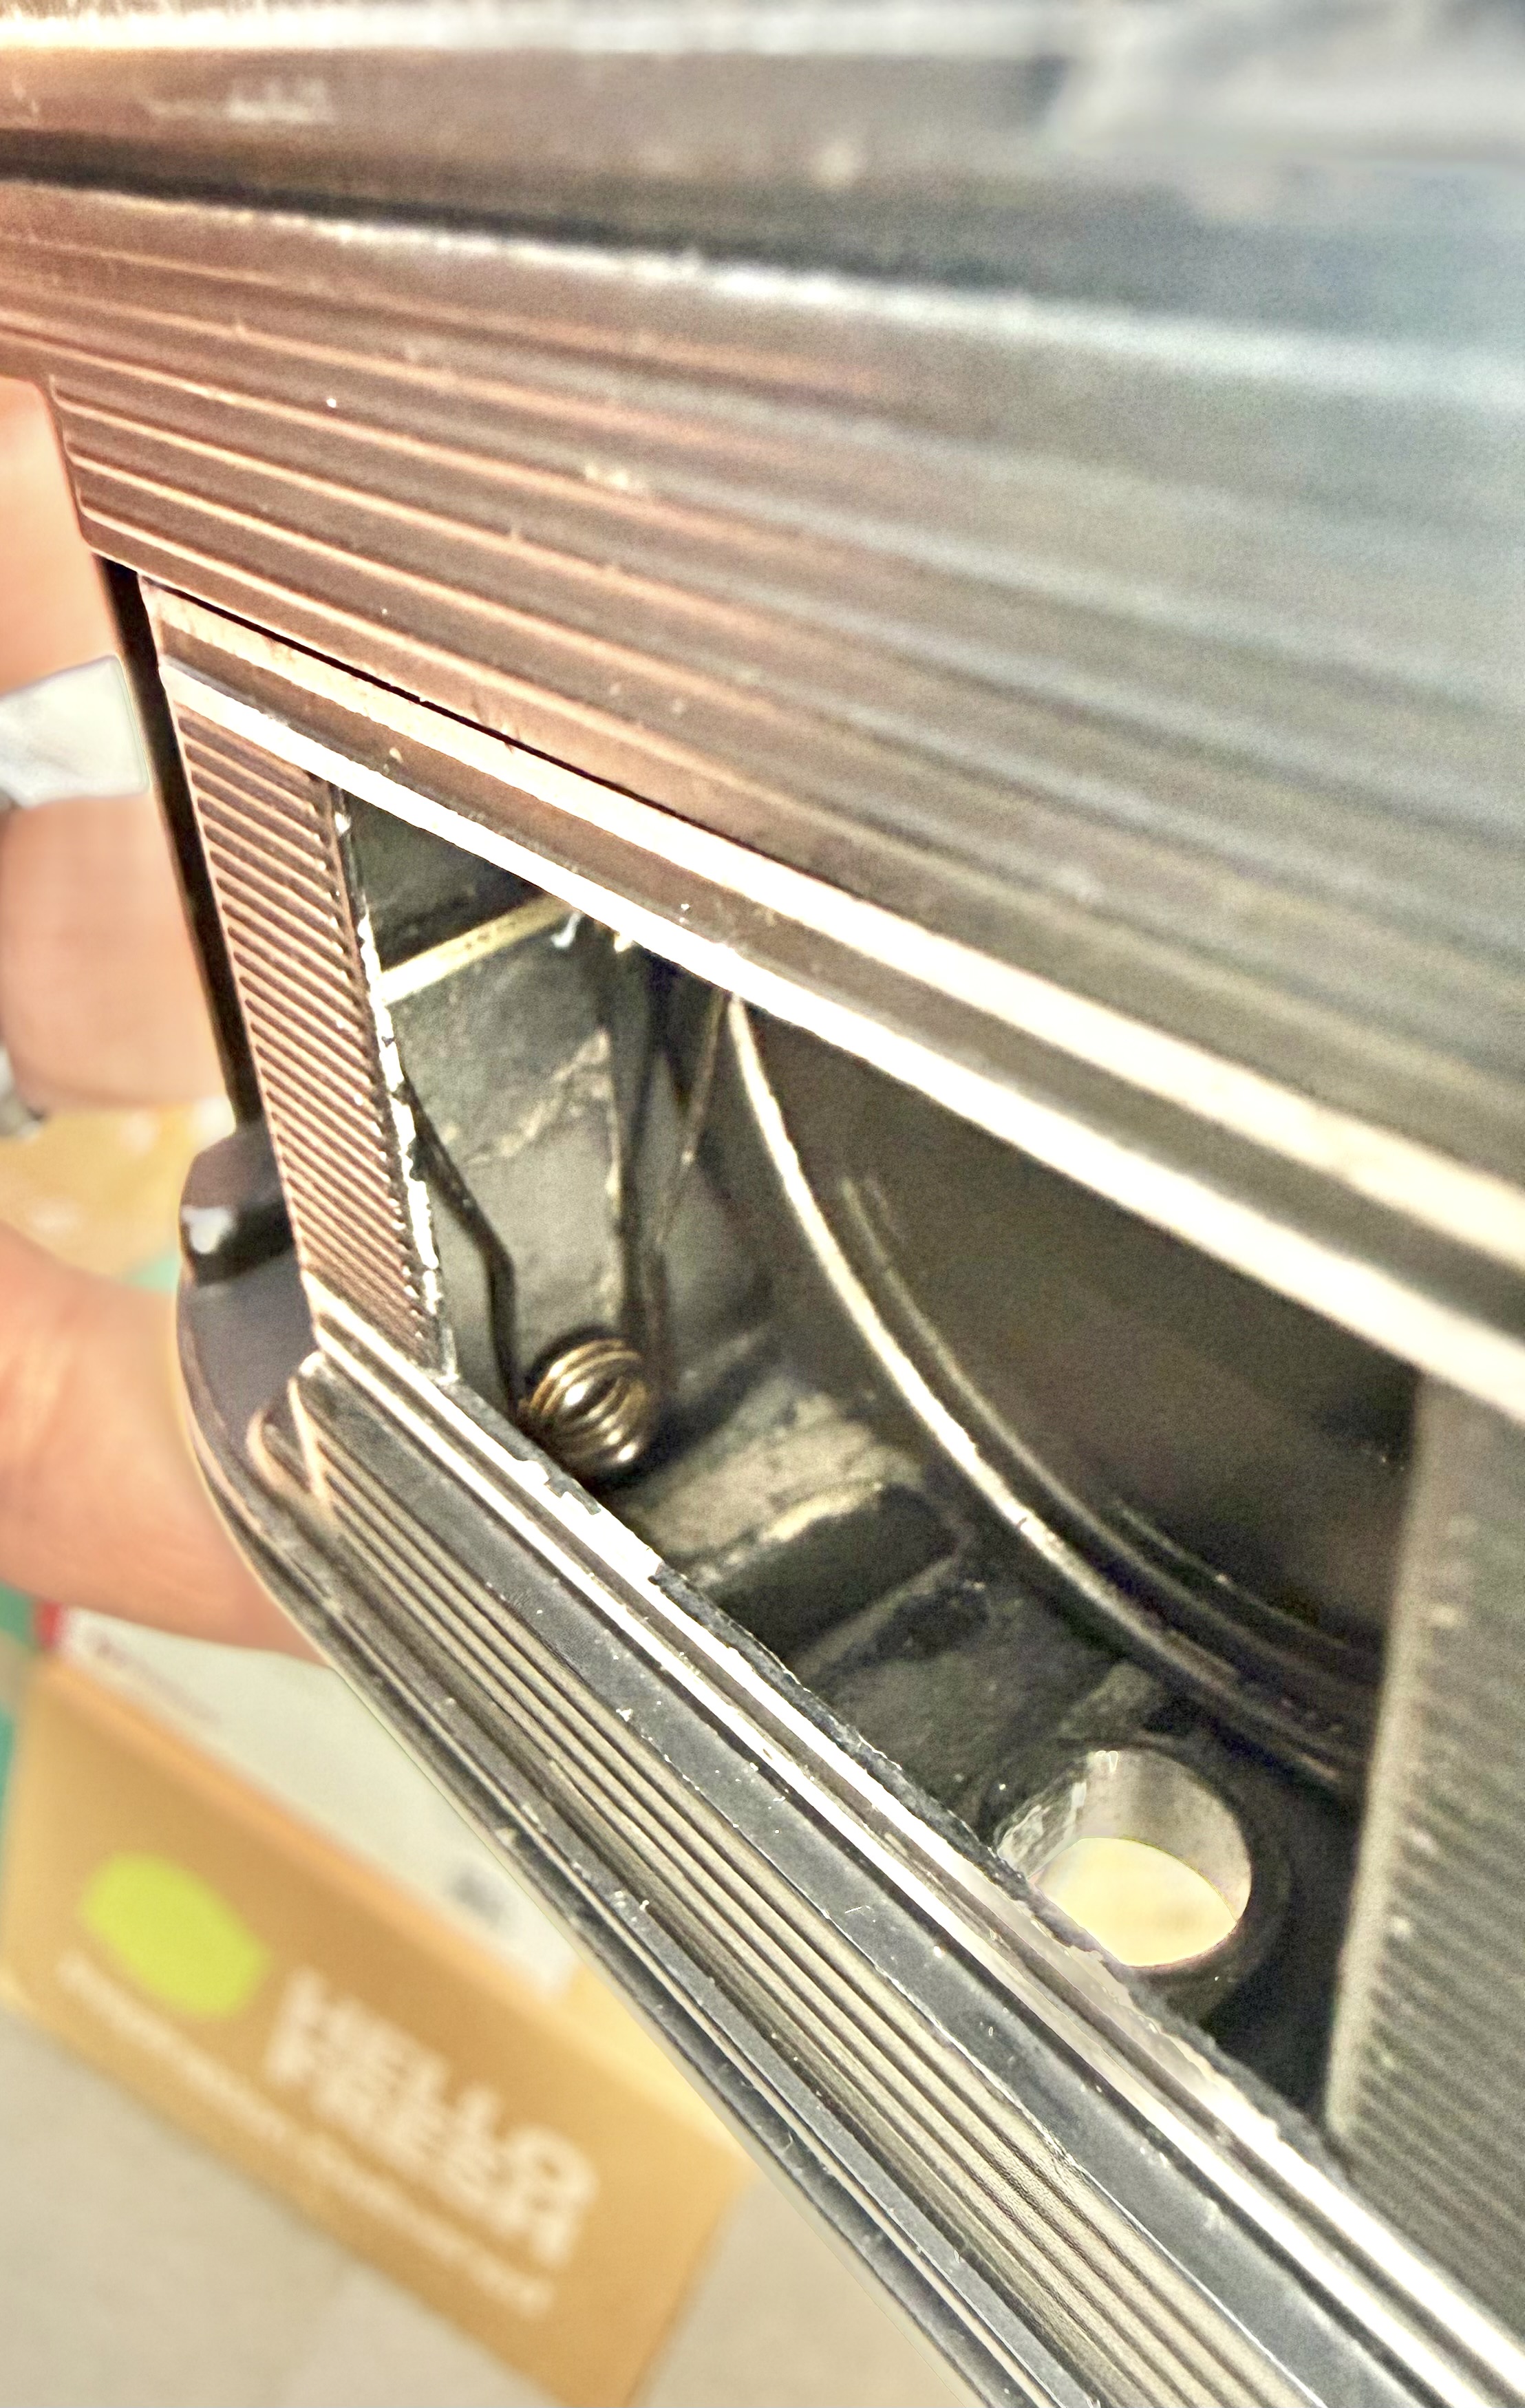
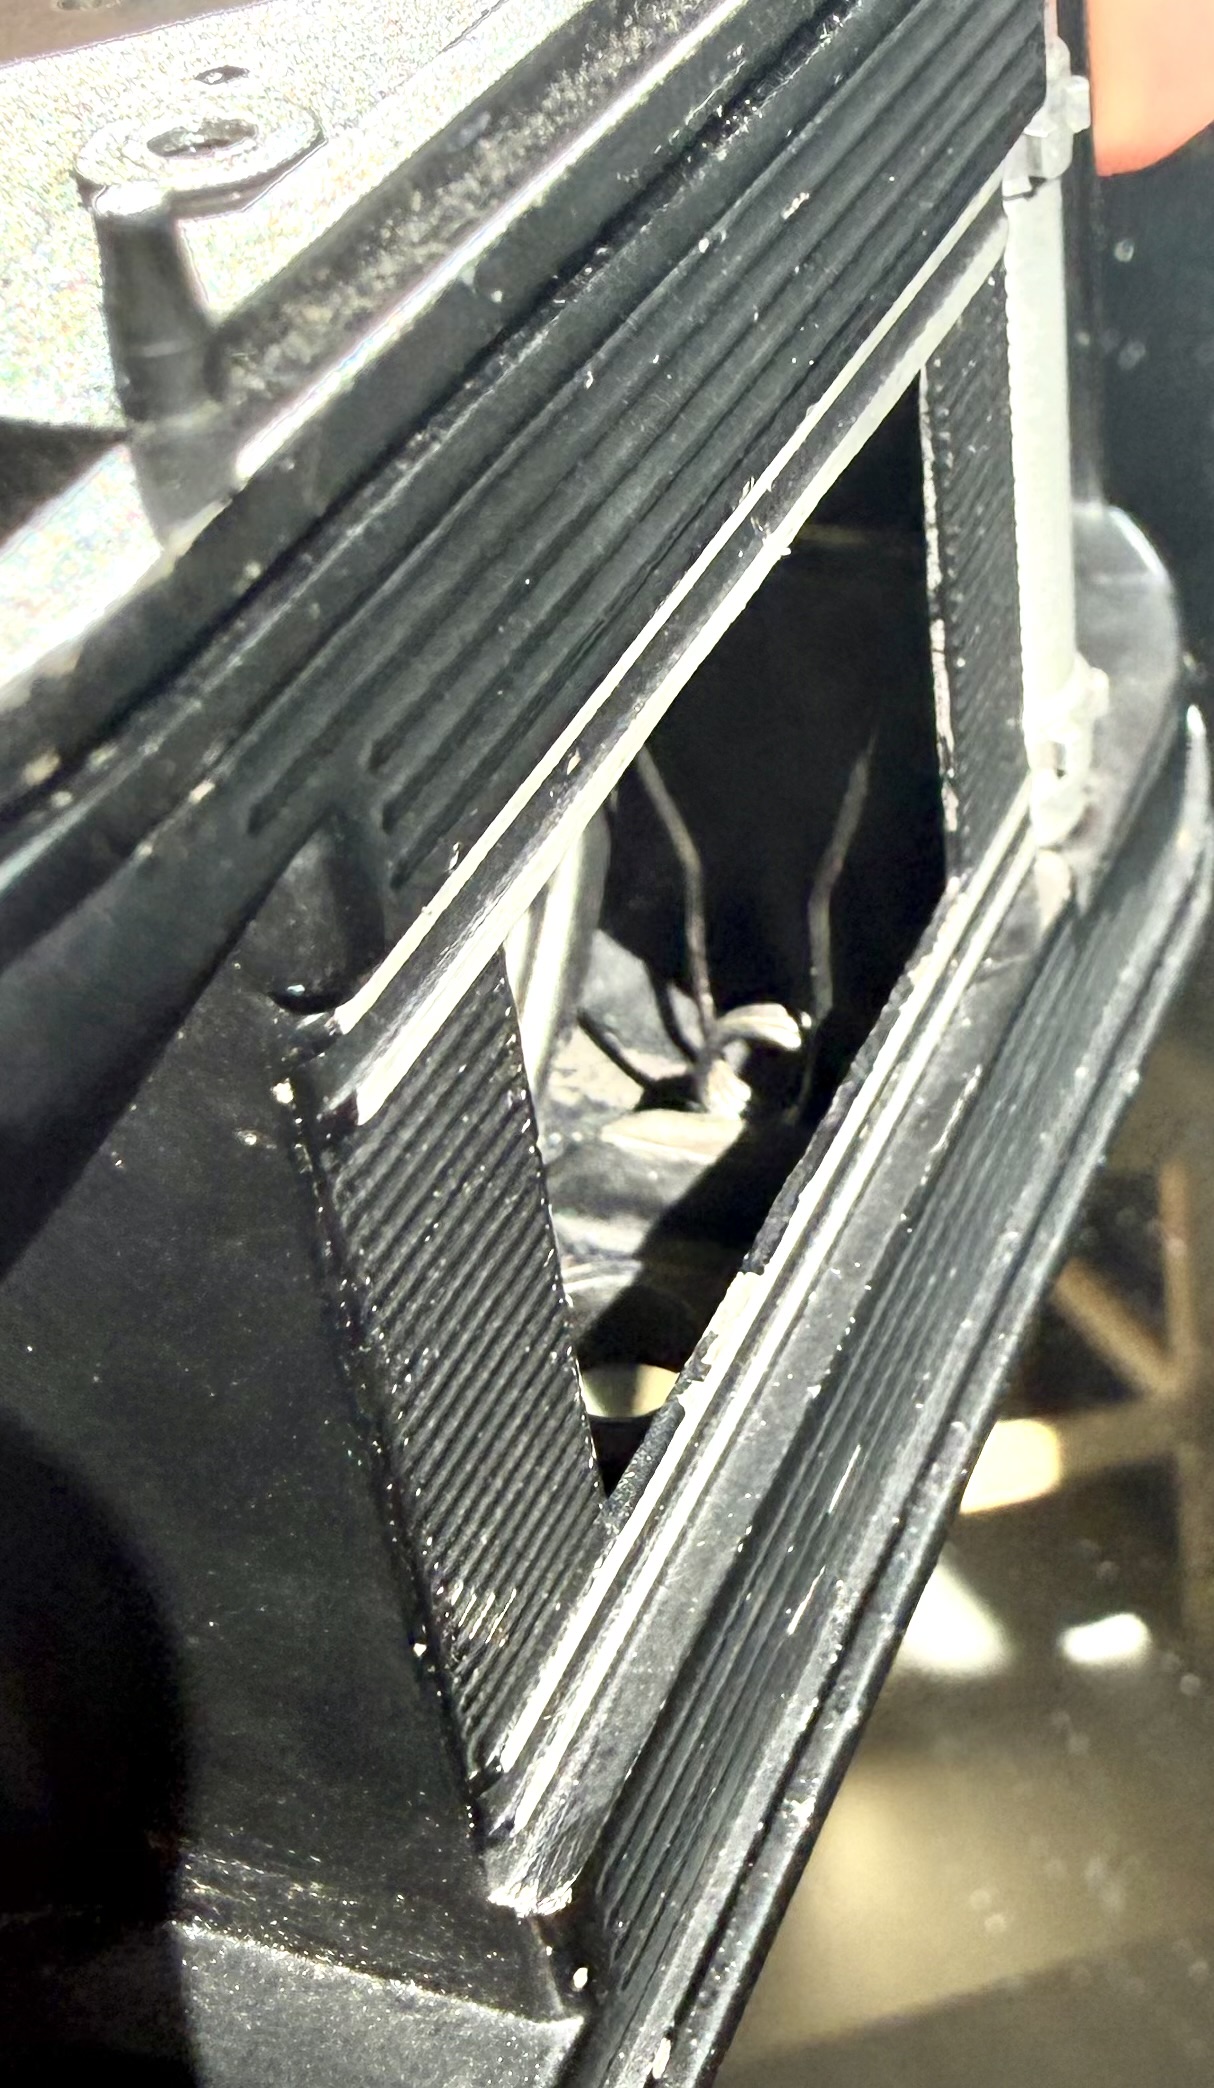
The lens tube springs are fixed in the camera to two small holes at the front and back.
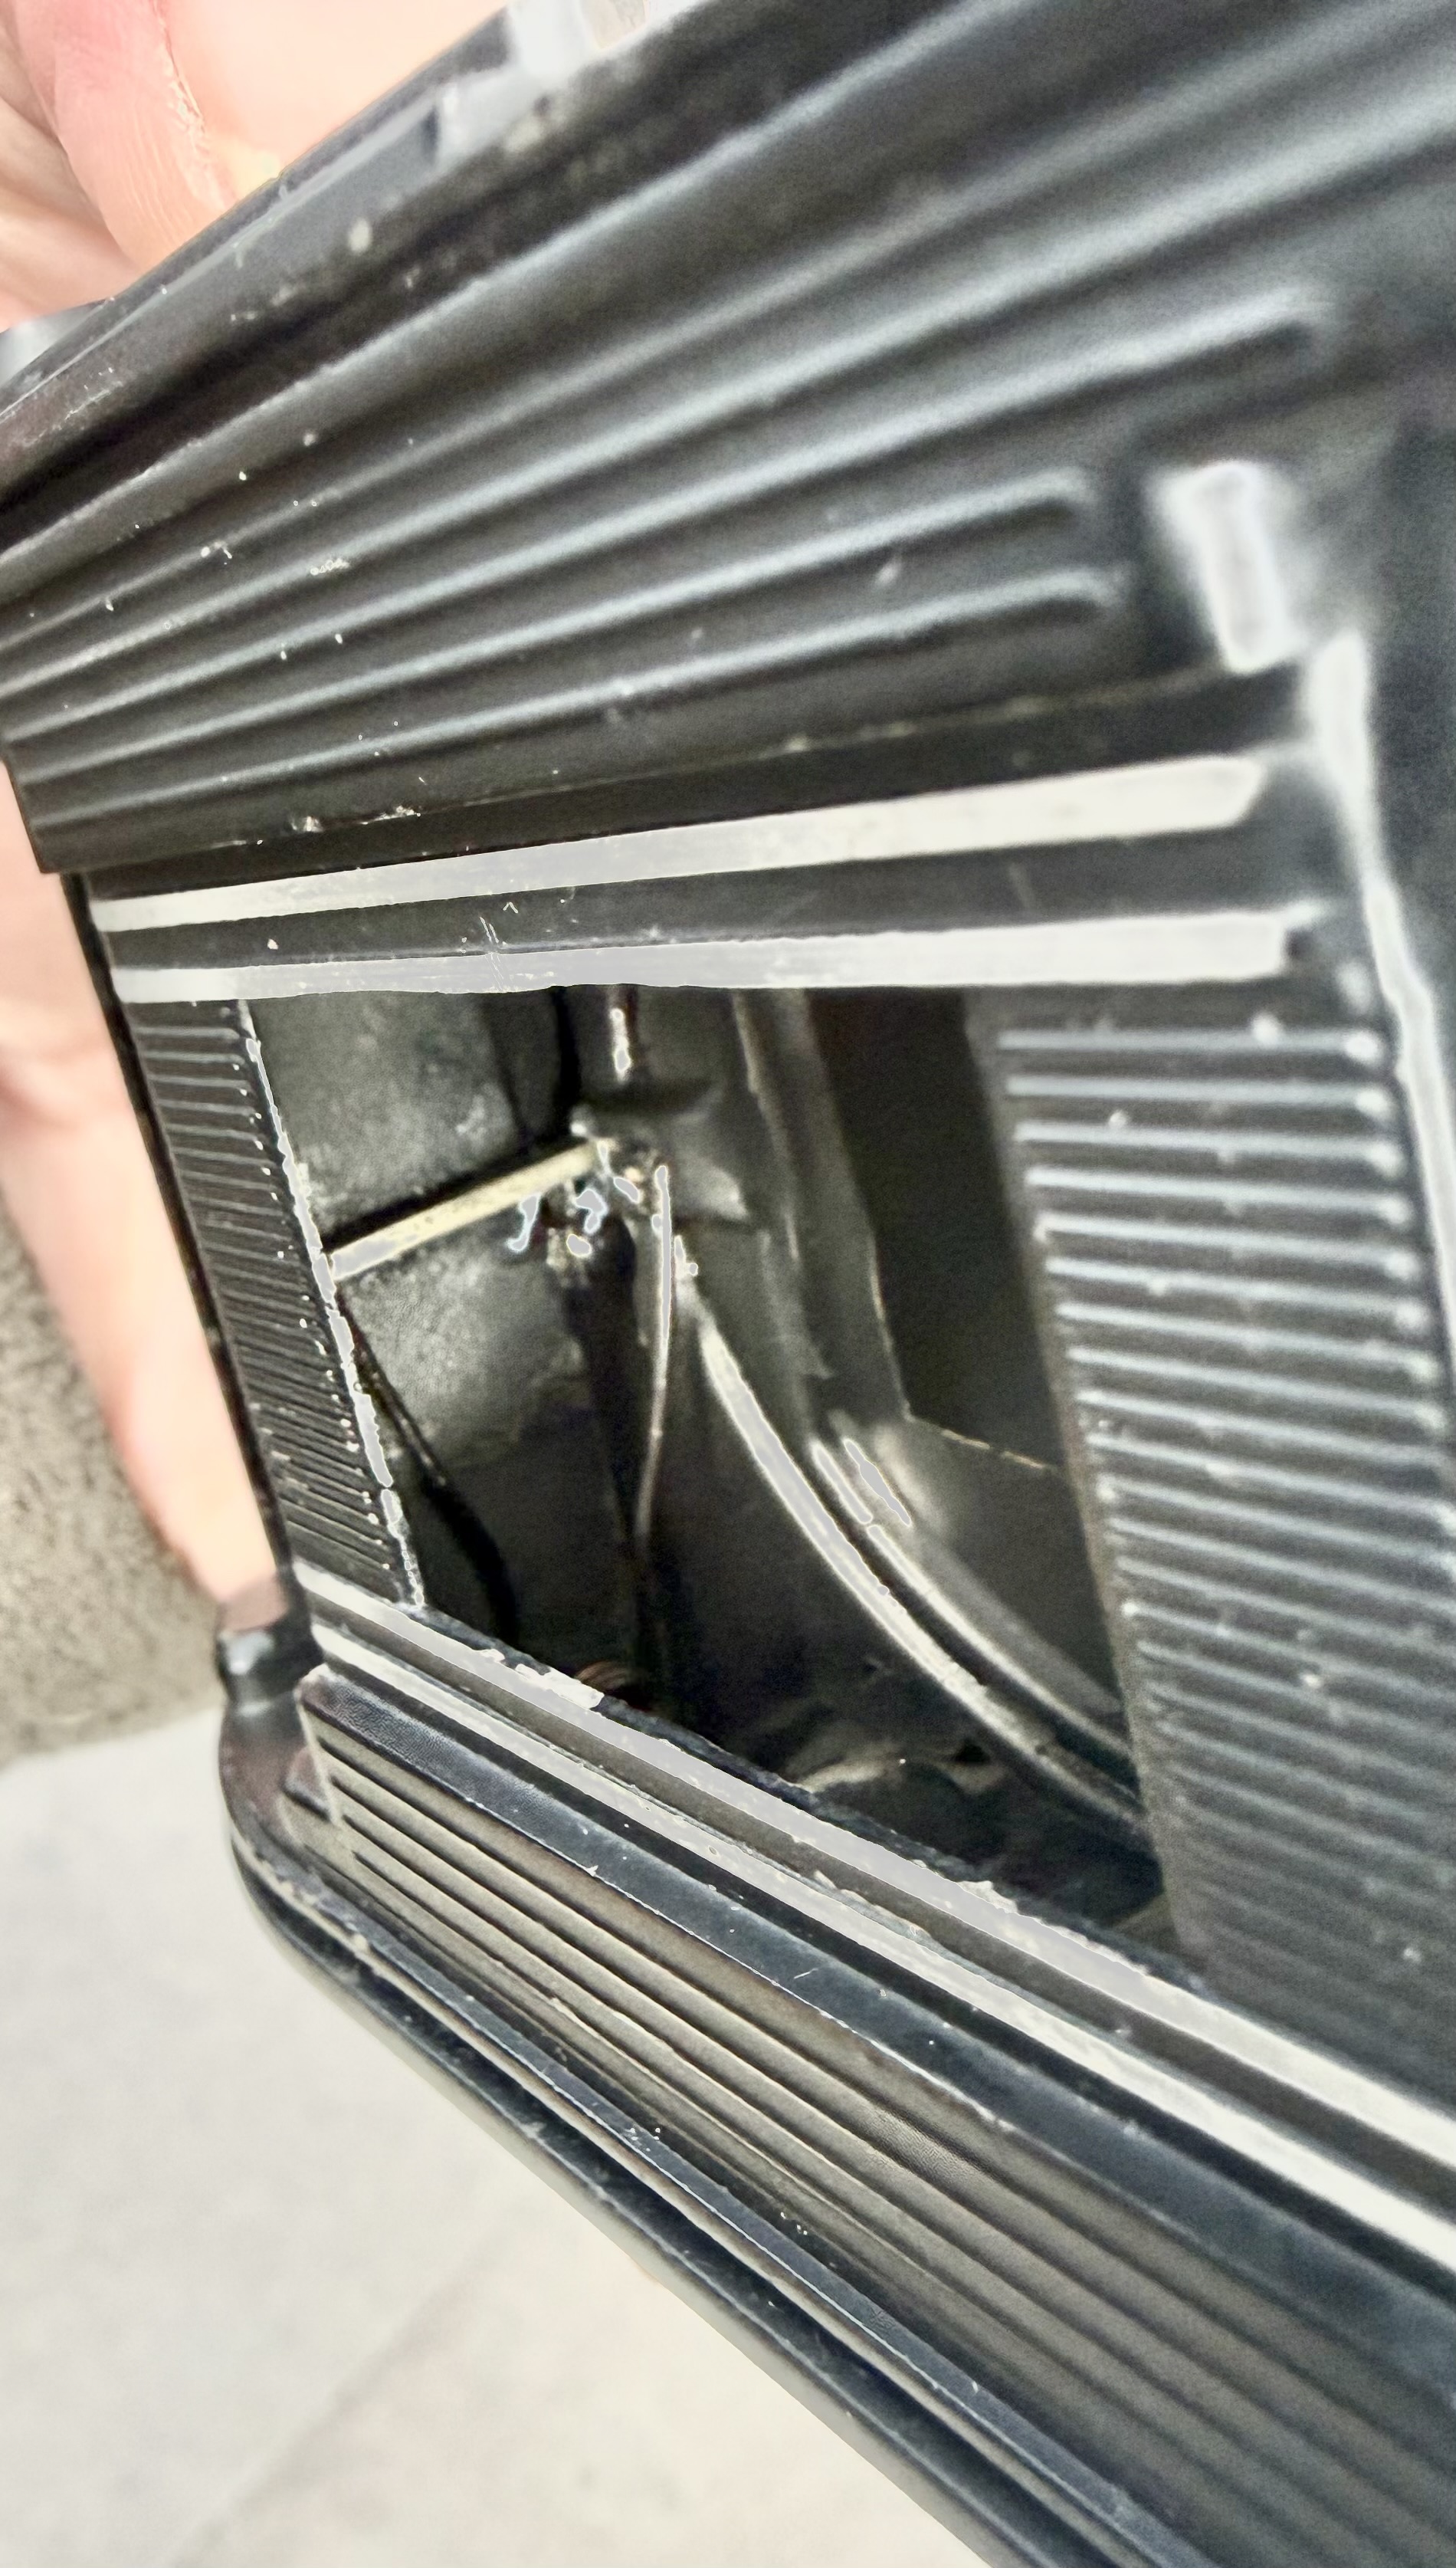
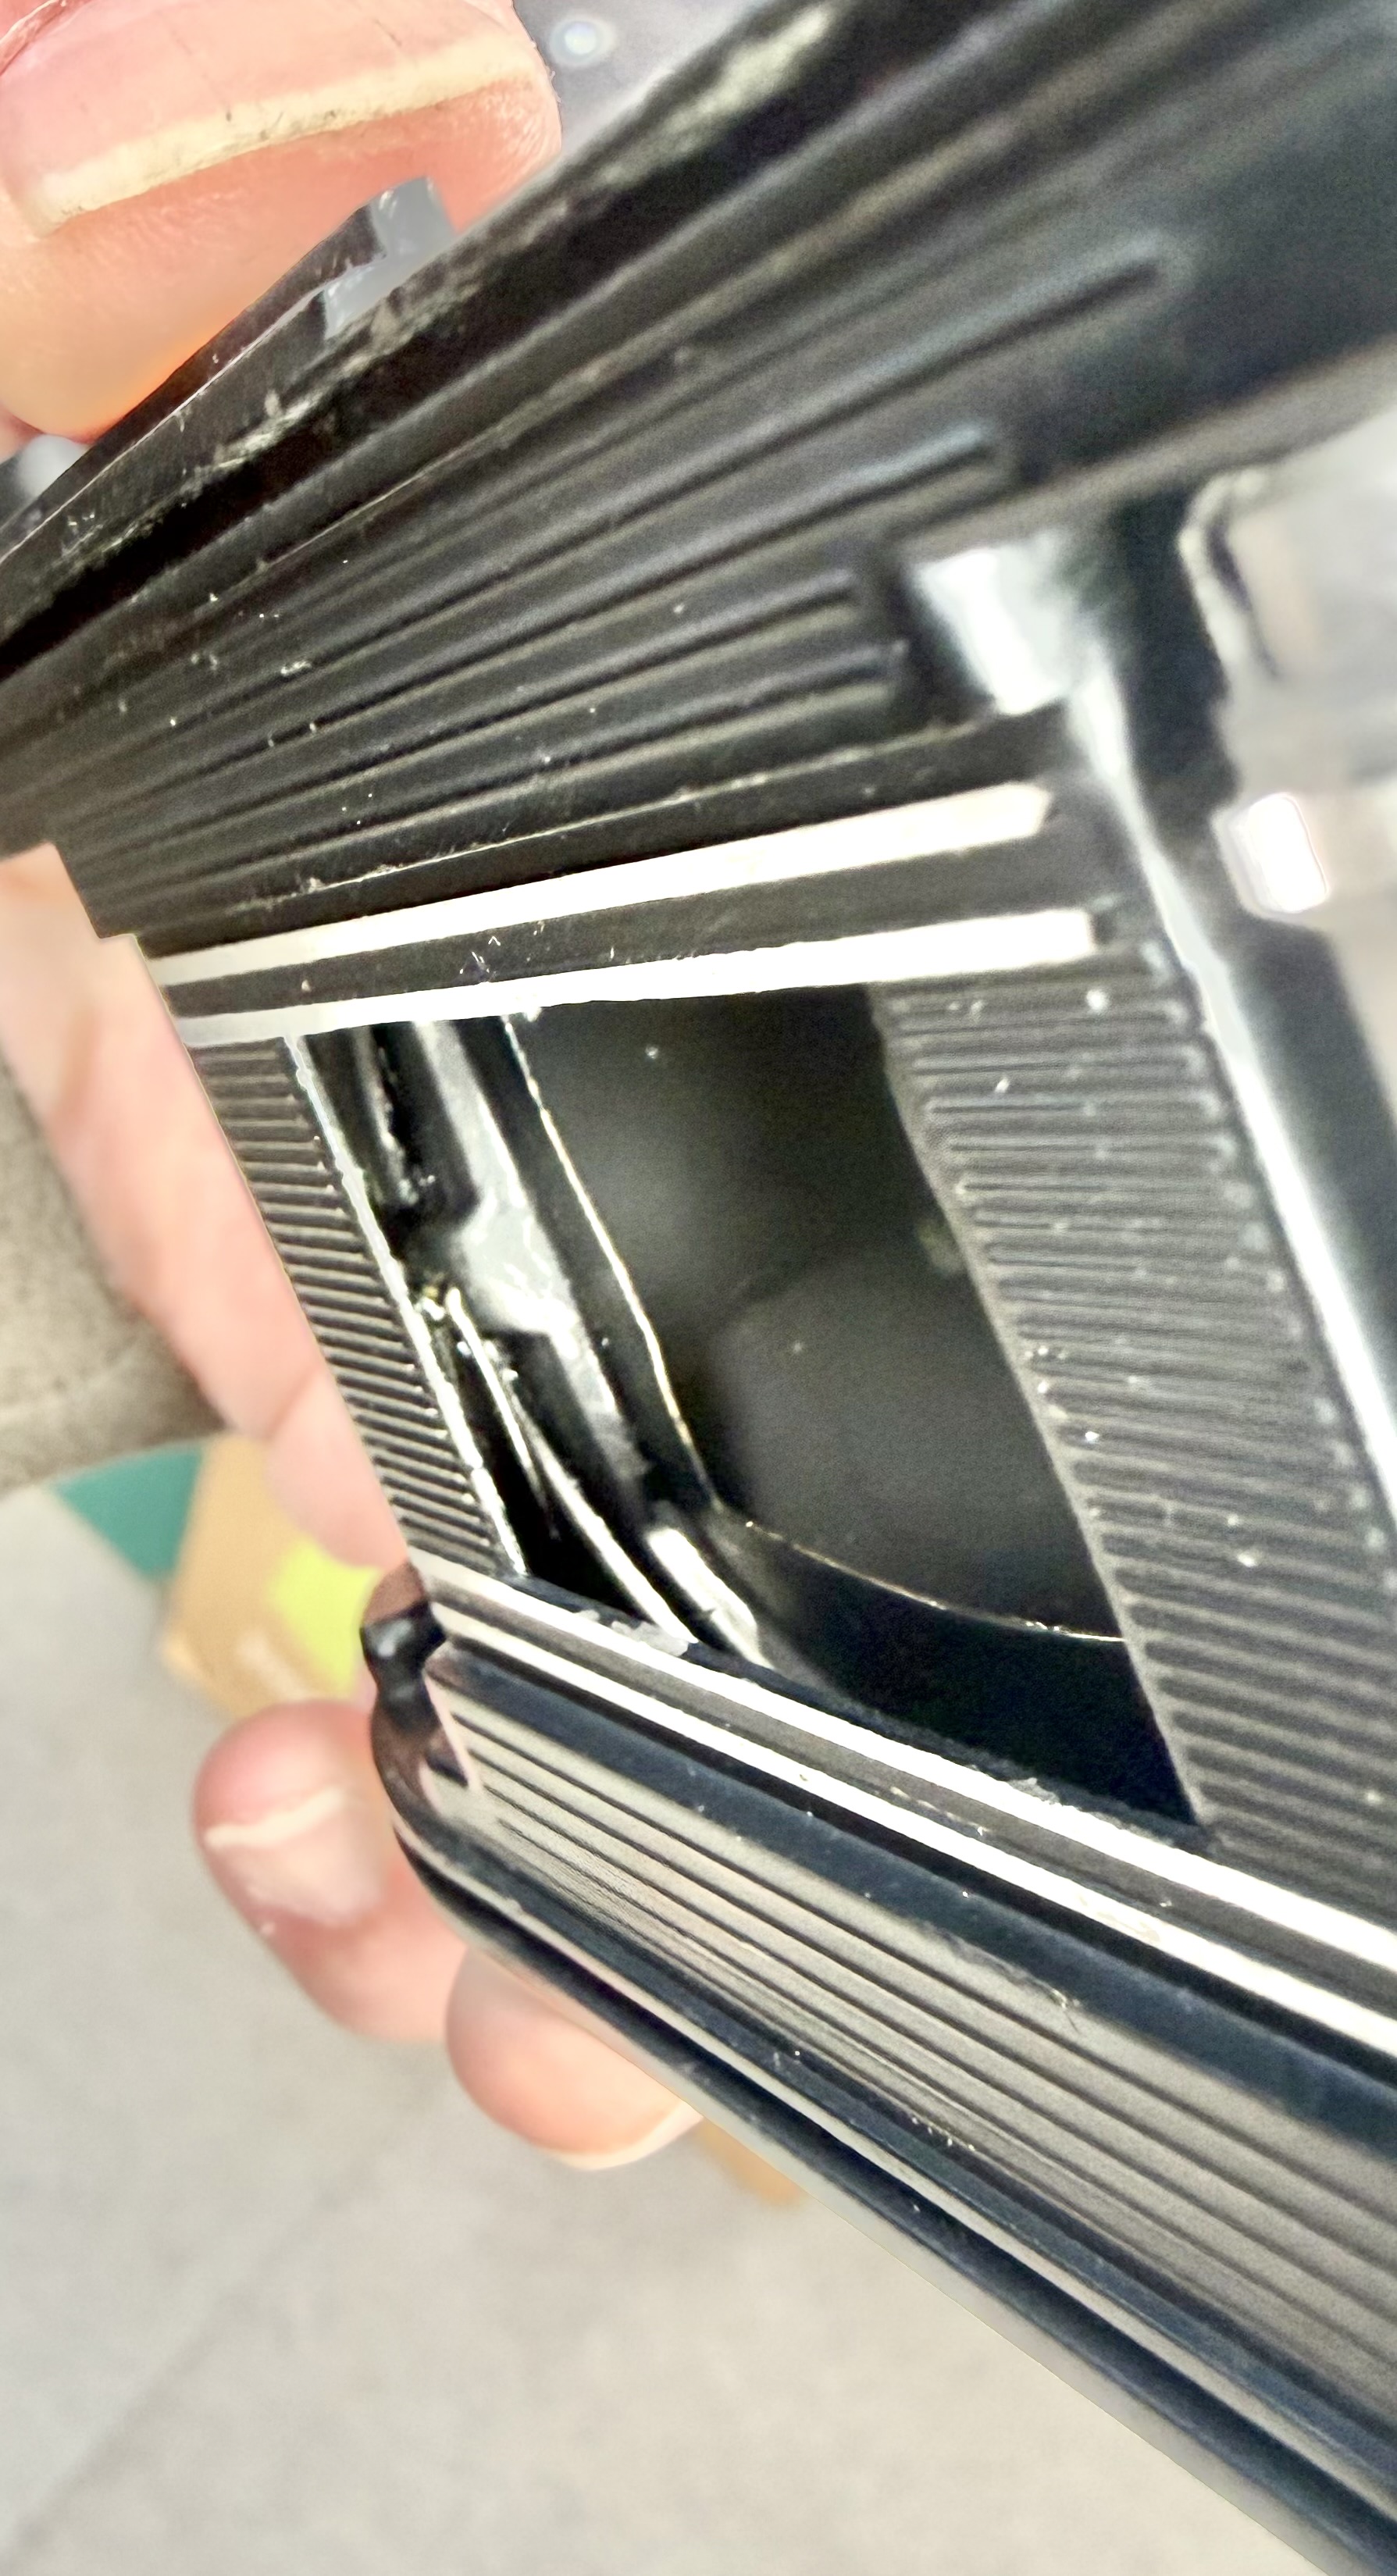
In the first picture above, the lens tube is extended. In the second picture, the lens tube is retracted. Note that the springs are under maximum tension when the lens tube is retracted. Hence when you press the lens release button, it pops out very quickly.
Once the front lens plate is re-assembled, then re-assemble the bottom plate first. Place the tripod mount into the hole in the bottom plate and then screw on the circular screw from the inside of the film chamber (with lens tube extended) to the tripod mount to secure the bottom plate.

Finally check that everything is connected properly i.e. film advance working properly, shutter cocks, shutter releases properly, before re-installing the viewing glass and prism and the film rewind shaft. Once everything is in place, re-assemble the top plate, film advance lever and film rewind knob and camera lugs.
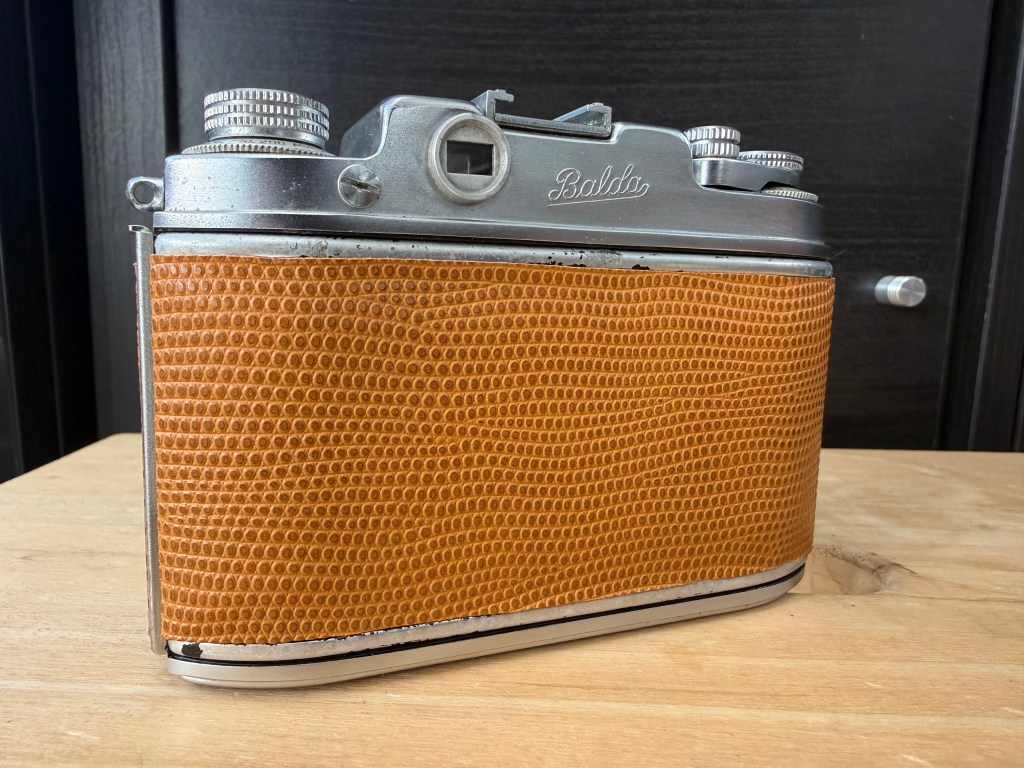
Below, Balda Baldina fully serviced with new skin.
Thanks for reading.
